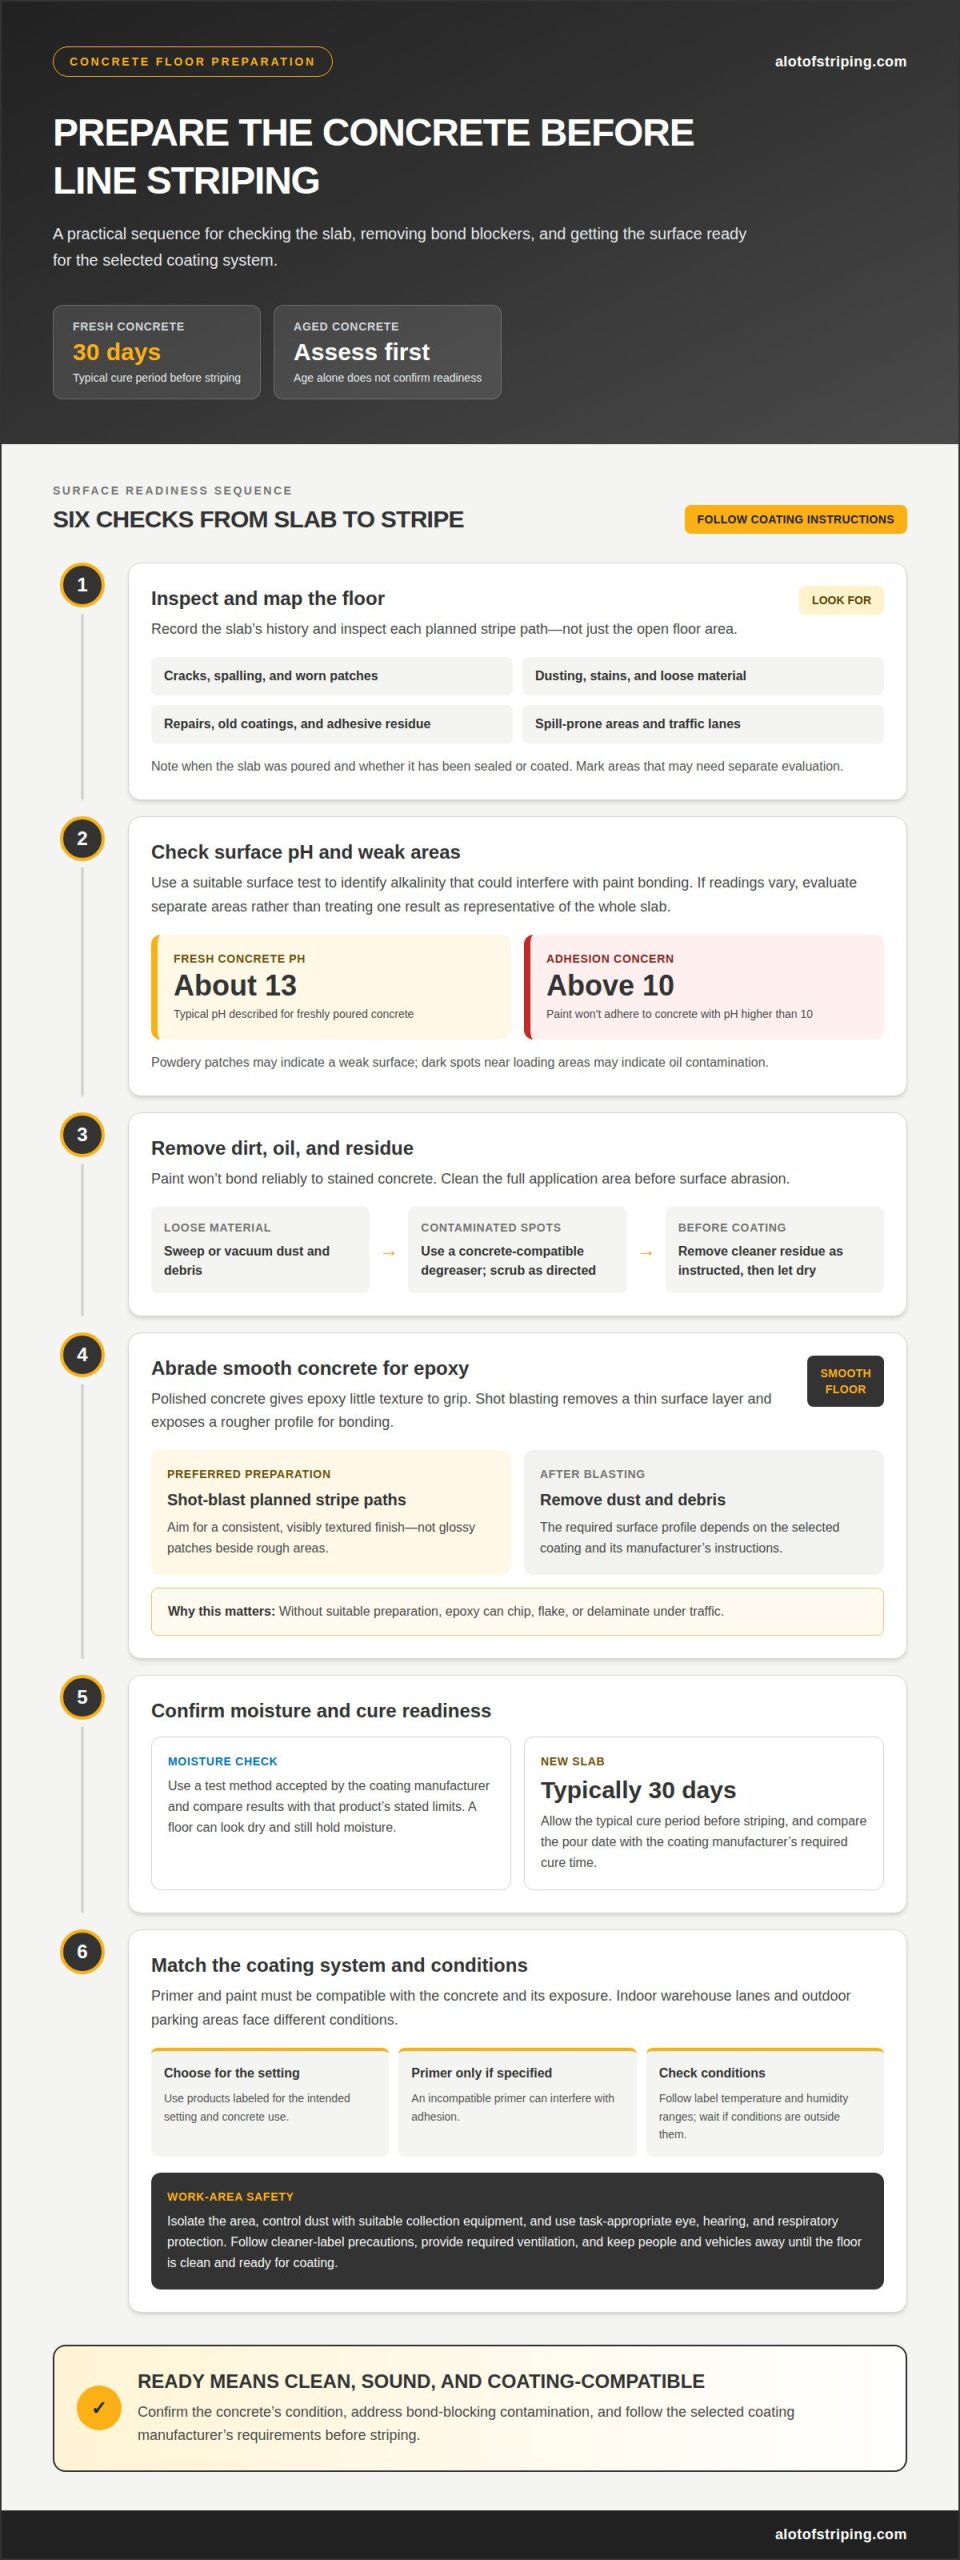
A stripe can fail before paint ever reaches the floor. Preparing concrete floors for line striping means removing dirt, dust, residue, and any bond-blocking compounds, then matching the surface preparation to the concrete and existing markings. Smooth concrete should be shot-blasted before epoxy striping for better results, and freshly poured concrete typically needs 30 days to cure before striping.
It’s easy to focus on paint and layout, but adhesion depends on the concrete beneath them. This guide explains how to prepare smooth concrete, assess aged floors, check whether existing stripes are firmly bonded, and address curing compounds before new markings go down. Each step helps reveal whether the surface is ready and why skipping preparation can leave epoxy vulnerable to chipping, flaking, or poor adhesion. The result is a practical plan for preparing the floor so striping starts with a clean, suitable surface.
Key Takeaways
- Shot-blast smooth concrete before epoxy striping to create a surface the coating can bond to.
- Freshly poured concrete typically needs 30 days to cure before striping; aged floors need assessment for conditions that can interfere with adhesion.
- Check existing stripes for loose or failing paint, since a new coat depends on the bond of the layer beneath it.
- Identify curing compounds and other residue that may block adhesion, then remove them before applying new markings.
- Clean the floor thoroughly and address oil, gas, dust, and other contaminants so the prepared surface is ready for striping.
1. Abrading smooth concrete
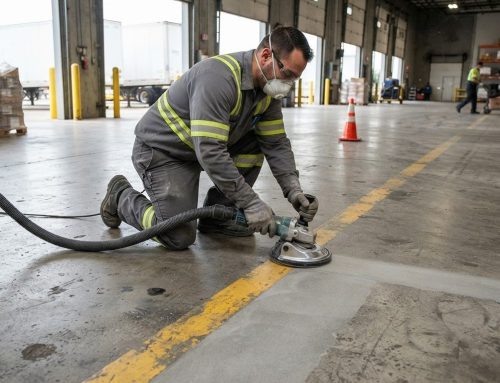
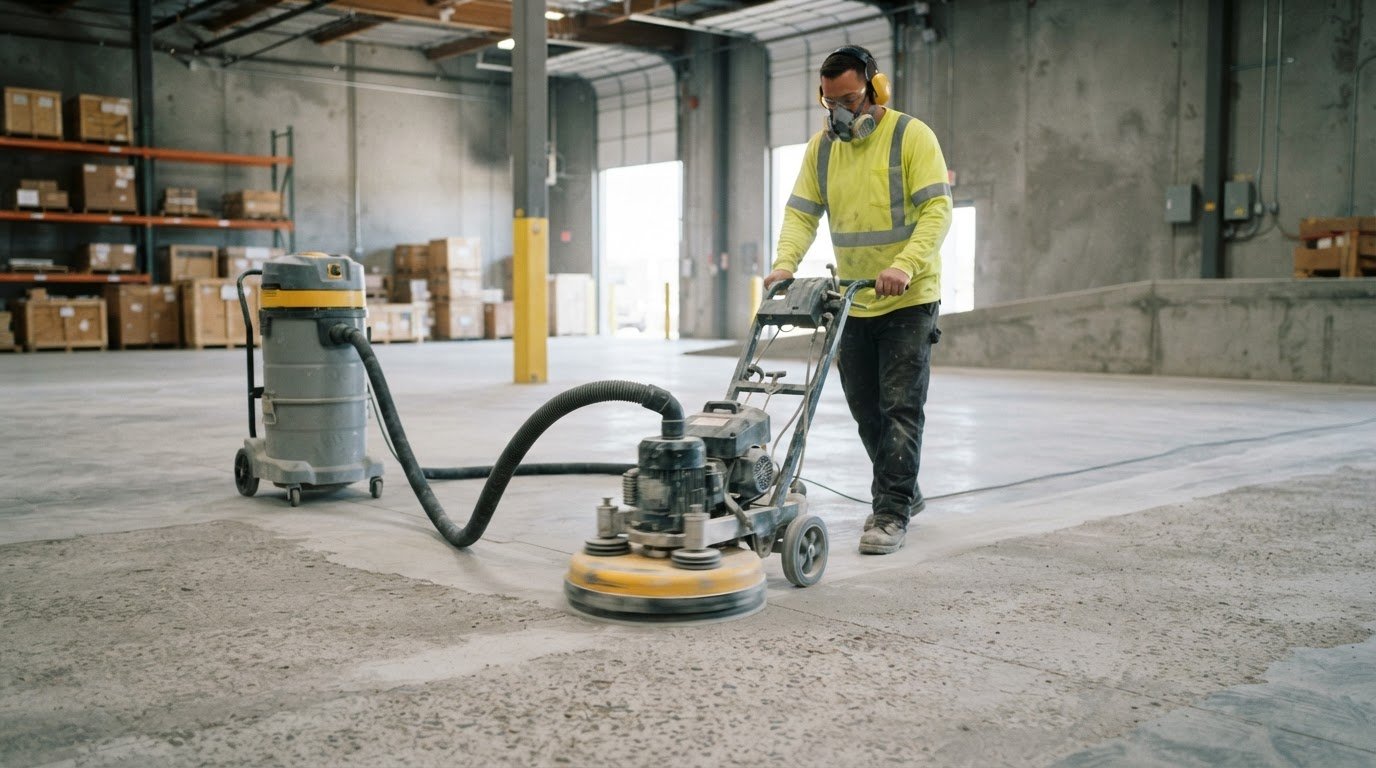
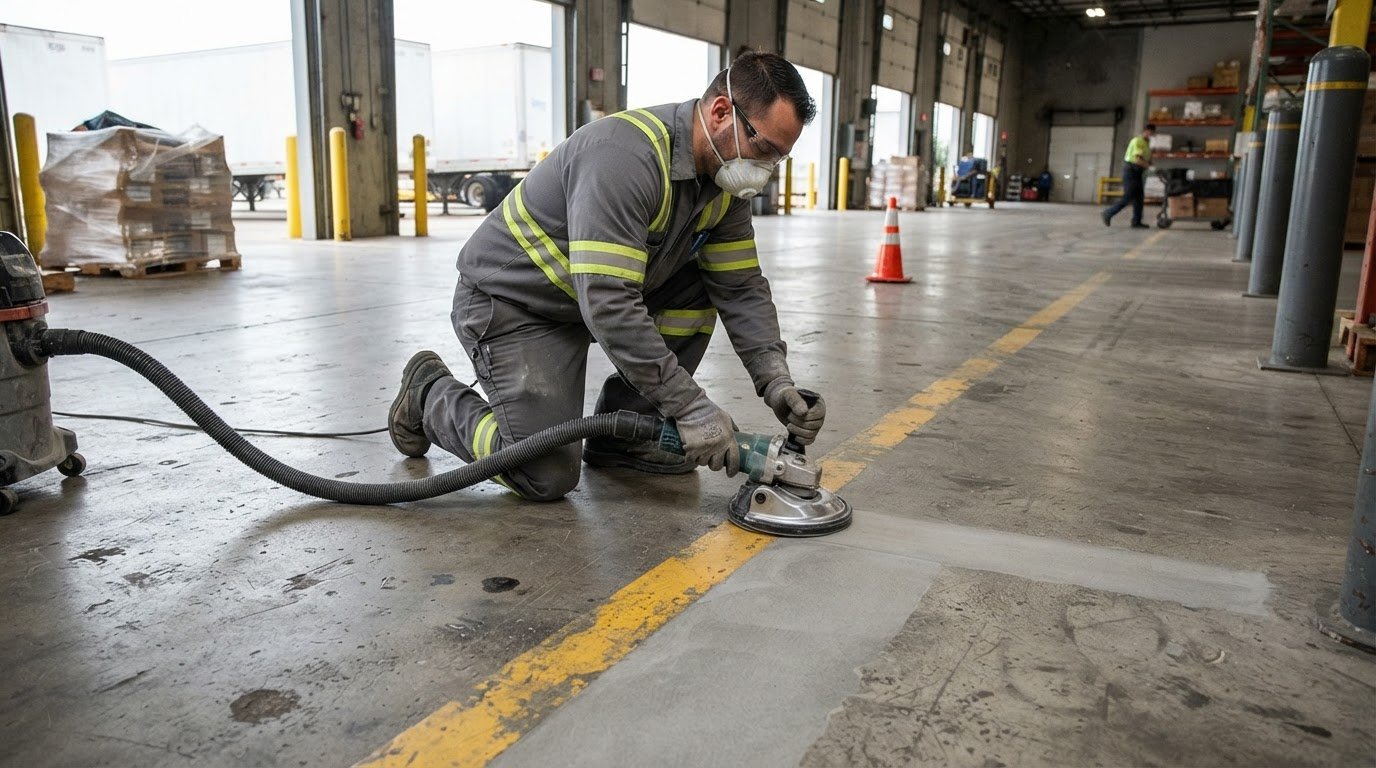
Polished concrete gives epoxy little texture to grip. Shot blasting removes a thin layer of the surface and exposes a rougher profile for bonding. For smooth floors, shot-blast preparation is preferred before epoxy striping. Without it, epoxy can chip, flake, or delaminate under traffic.
Use a shot-blast machine to abrade the planned stripe paths, then remove dust and debris before coating. Preparing concrete floors for line striping this way creates a consistent, visibly textured finish, not glossy patches beside rough areas. There’s no single surface-profile number that suits every paint system; the required profile depends on the selected coating and its manufacturer’s instructions. For warehouse applications, the epoxy warehouse striping system should match the prepared floor.
Primer and paint must form a compatible system for the concrete and its exposure. Indoor warehouse lanes and outdoor parking areas face different conditions, so choose products labeled for the intended setting and concrete use. Apply primer only when the coating system calls for it. An incompatible primer can interfere with adhesion rather than improve it.
Before abrading, remove oil, grease, and dirt from the full application area. Sweep or vacuum loose material, apply a concrete-compatible degreaser to contaminated spots, and scrub as directed on the label. Rinse or remove residue according to the product instructions, then let the surface dry. Remove oil and grease stains thoroughly because paint won’t bond reliably to stained concrete.
Moisture needs its own check before paint goes down. Use a concrete moisture test method accepted by the coating manufacturer, and compare the result with that product’s stated limits. A floor that looks dry can still hold moisture, so visual inspection alone doesn’t establish readiness. If the concrete is newly poured, allow the typical 30-day cure period before striping.
Temperature and humidity requirements vary by coating, so follow the product label’s application range rather than relying on a universal target. Record the concrete and room conditions during preparation, then recheck them before application. If conditions fall outside the coating instructions, wait. Applying paint outside its stated limits risks poor curing or adhesion. Preparing concrete floors for line striping also means matching application conditions to the coating system.
Grinding and chemical cleaning create separate hazards. Before work, isolate the area, control dust with suitable collection equipment, and wear eye, hearing, and respiratory protection suited to the task. For cleaners, follow label precautions, provide required ventilation, and prevent contact with skin or nearby operations. Keep people and vehicles away until the floor is clean and ready for coating.
The concrete should have a consistent, visibly textured finish rather than glossy patches. The required profile depends on the selected paint system and the manufacturer’s instructions.
2. Assessing aged concrete
Aged concrete can look sound while still having conditions that undermine new striping. Before work begins, inspect the floor for cracking, spalling, dusting, worn patches, stains, and old coatings. These conditions matter because paint needs a stable, clean surface, not loose concrete or residue that can separate under traffic.
Start with the floor’s history. Record when the slab was poured, whether it has been sealed or coated, and where spills or repairs occurred. To check cure time before striping, compare the pour date with the coating manufacturer’s required cure period. Aged slabs also need a condition assessment. Elapsed time alone doesn’t show whether the surface is ready.
Surface pH is another important check. Freshly poured concrete typically has a pH of about 13, and paint won’t adhere to concrete with a pH higher than 10. A suitable surface test helps identify whether alkalinity could interfere with bonding. If readings vary across the floor, treat separate areas according to their conditions rather than assuming one result represents the entire slab.
During inspection, distinguish stable discoloration from material that can compromise adhesion. For example, a dark spot near a loading area may indicate oil contamination, while a powdery patch may point to a weak surface. Cracks, patched sections, and old adhesive residues also need attention because their edges can lift or leave an uneven path beneath a stripe. When structural cracking or slab settling requires stabilization before painting, specialized concrete repair contractors such as foundationwerks.com can help restore a sound, level foundation.
- Map the floor: note damaged, stained, repaired, and previously coated areas.
- Test the surface: assess pH and identify areas needing separate evaluation.
- Check for weakness: look for dusting, loose material, flaking coatings, and spalled concrete.
- Plan preparation: determine whether cleaning or further surface work is needed before painting.
These checks help distinguish a straightforward repaint from a floor that needs additional preparation. Inspect the floor and consider further cleaning if dirt or residue remains. Base that decision on the concrete’s actual condition, especially in traffic lanes, around equipment, and near spill-prone work areas.
For a warehouse floor with mixed conditions, assess each proposed stripe path instead of judging only the open slab. A clean, sound aisle may be ready while a repaired bay or stained corner needs more attention. If the floor’s condition raises project questions, discuss the striping project before application begins.
3. Checking adhesion of existing striping
Existing stripes can conceal a weak bond beneath a fresh-looking surface. Inspect each marking for peeling edges, blisters, cracks, worn patches, and paint separating from the concrete. Pay close attention to turning areas, aisle ends, and loading zones, where tire contact and equipment movement can expose failures first.
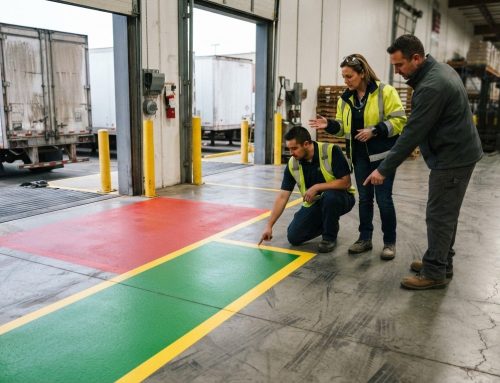
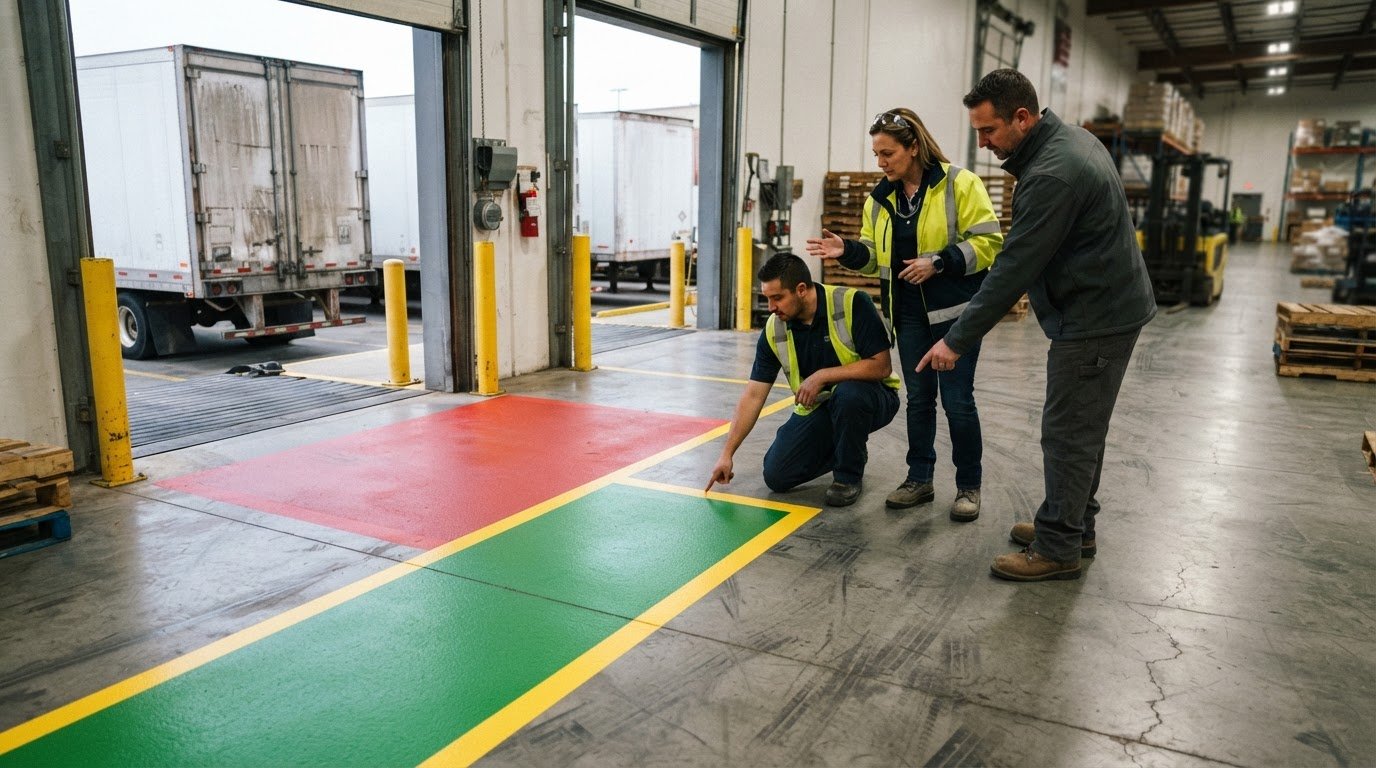
Adhesion depends on the full coating stack. A new paint layer can bond only as securely as the existing paint bonds to the concrete. If the old stripe is loose, adding another coat won’t fix the underlying failure. Mark areas where paint lifts, flakes, or breaks away, and assess them separately from markings that remain firmly attached.
Start with a close visual check, followed by gentle probing at damaged edges with a hand tool. Note whether the coating releases in sheets, breaks into chips, or remains attached. Don’t treat one intact spot as proof that every stripe is sound. Different sections may have faced different cleaning, traffic, or spill conditions.
Where the existing coating appears stable, prepare a small representative test area using the planned surface preparation and coating system. Let the test coating cure according to its product instructions, then inspect for lifting, peeling, or separation. This trial can reveal compatibility problems before applying the same material across longer aisles or multiple parking stalls.
- Inspect stripe edges: look for lifting, cracks, bubbles, and chipped sections.
- Probe damaged areas: note whether the old coating releases easily or stays attached.
- Separate sound from failing sections: don’t assume one area reflects the whole floor.
- Test the proposed system: use a small area and follow the coating’s curing instructions.
Parking lot line striping and accessibility markings must follow the requirements that apply to the property and local jurisdiction. Check the required layout and marking details before repainting; an adhesion test evaluates coating bond, not regulatory compliance. A planned parking lot line striping layout should account for both surface condition and the markings the site needs.
If existing lines are failing across a large area, the assessment can help determine whether selective removal or broader preparation is needed. For a parking lot with widespread peeling or unclear marking conditions, discuss the striping project before new paint is applied.
You can’t judge a new layer’s bond in isolation from the stripe beneath it. A new paint’s adhesion is limited by how well the existing coating adheres to concrete. Even if the surface looks continuous, a weak connection within the older coating limits the new application. The question is not only whether the proposed paint holds to the visible surface, but whether that surface remains attached to the concrete.
Use the inspection and representative test to distinguish a sound coating stack from one that only looks intact. If probing shows that existing paint separates, a successful-looking test on a different, firmly attached spot doesn’t resolve that weakness. Tie observations to the specific sections checked, and don’t treat added paint as a way to restore an unstable bond. The test can guide preparation, but it can’t make the old coat adhere more securely.
4. Removing curing compounds
Curing compounds can leave a film that prevents striping material from bonding directly to concrete. Before restriping, identify whether the slab was treated and whether residue remains along the proposed line path. A clean-looking floor may still have a surface film, so inspect the areas where new paint will go.
Begin with a controlled inspection. Look for glossy patches, uneven sheen, or residue that differs from nearby concrete. Then sweep the work area to remove loose dust and debris. If residue remains, use a thinners-based solvent or sweep the affected areas when the issue can be addressed on site. Choose a method that suits the surface and the material being removed.
Old paint and coatings need a separate assessment. Check for loose edges, flaking, and layers that could detach beneath fresh markings. Where removal is needed, mechanical abrasion can expose sound concrete; shot blasting can also remove old markings. The removal approach depends on the coating’s condition and the concrete beneath it. Don’t cover a failing layer with new paint, since the new coat can only hold as well as the surface below it.
After removal or solvent treatment, clear away loosened residue and inspect the concrete again. Check corners, repaired areas, and the edges of old stripes, where coating fragments can remain. If using a solvent, follow its label for handling, ventilation, and cleanup. Keep the area isolated during the work, and don’t apply striping over visible residue or damp cleaning material.
No single waiting period applies to every cleaning product, sealer, and striping system. After cleaning, let the floor dry fully and follow the coating manufacturer’s instructions for application conditions. After sealing, a new stripe may not bond until the sealer is removed or the coating system specifically permits application over it. The key factors are remaining moisture, residue, and compatibility.
- Inspect: identify treated areas, film, sheen differences, and old coating edges.
- Remove: use an appropriate mechanical or solvent-based method for the material present.
- Clear: sweep away loosened dust, coating fragments, and residue.
- Reassess: confirm the stripe path is clean, dry, and free of loose material.
For a warehouse floor with curing residue or failing paint, discuss the removal and restriping work before new markings are applied. Matching the removal method to the floor helps prevent hidden residue from compromising the new stripe.
Matching the removal method to the planned striping system keeps preparation connected to the material that will follow. Shot-blast floor striping uses a shot-blast machine to remove the concrete surface before applying an epoxy resin compound or similar material. This approach therefore involves removing concrete surface before applying the striping compound, not merely lifting loose paint or residue. When considering it, assess whether this surface-removal approach is appropriate for the work being planned. Coordinate the removal and application steps, so the prepared surface and the intended striping material are considered together before work begins.
StripeGuys Warhouse Line Striping
StripeGuys warehouse line striping puts surface preparation into practice when a facility needs clear, durable floor markings. If concrete is ready for new lines, warehouse floor striping and epoxy line painting can help organize work areas. When existing markings are failing or need to be cleared before restriping, warehouse line removal is a practical next step.
Turn to StripeGuys for new striping, epoxy lines, or removal of old warehouse markings. Sharing the floor’s condition, the areas involved, and their intended use helps define the work your facility needs. Contact StripeGuys to discuss your concrete striping project.
Move from Floor Assessment to a Clear Work Plan
Use the surface assessment to shape the project plan around how people, vehicles, and equipment move through your facility. Before scheduling striping, identify priority work areas, markings that need replacement, and operational constraints that affect access. This gives the striping team a practical basis for planning and keeps floor preparation aligned with the finished layout.
StripeGuys provides warehouse floor striping, epoxy line painting, and parking lot striping. Whether your project involves a warehouse floor or an outdoor lot, a clear scope connects the concrete’s condition with the markings your site needs. Preparing concrete floors for line striping starts with the surface and carries through to the intended use of each marked area.
Share your project needs with StripeGuys Warhouse Line Striping to discuss the next step. A focused plan can help your team move forward with clear priorities and organized markings.
Frequently Asked Questions
How to prepare a concrete floor before line striping?
Preparing concrete floors for line striping starts with clearing the work zone and checking the slab for oil, curing compounds, loose coatings, moisture, and damaged areas. Remove existing paint or tape where it could interfere with bonding. Mechanically prepare the surface, commonly by shot blasting or diamond grinding for epoxy line striping, then thoroughly remove dust. StripeGuys provides surface preparation for epoxy applications when required, helping new markings adhere to the concrete.
Which primers and paints work best for indoor and outdoor concrete line striping
Choose primer and paint labeled for the intended setting and concrete use, and make sure they form a compatible system. Use primer only when the coating system calls for it.