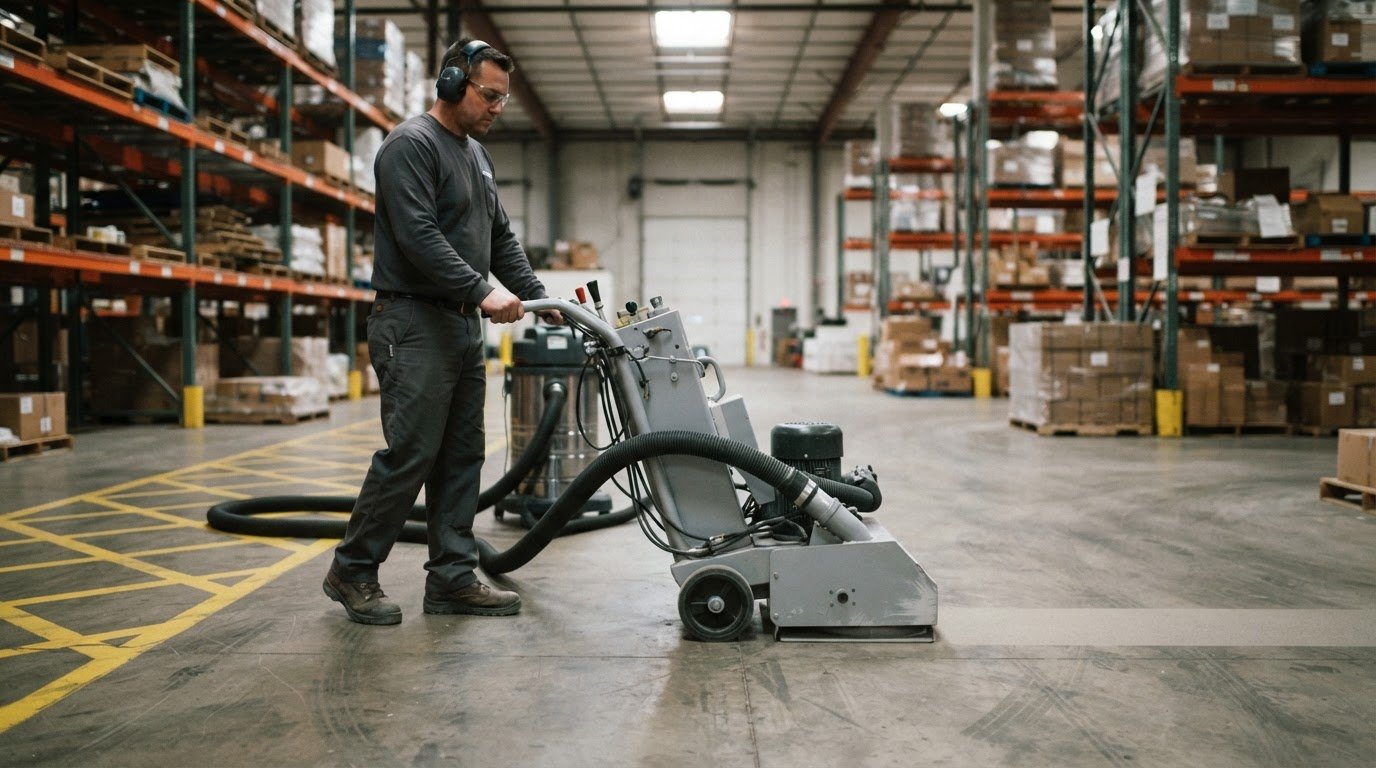
Dust control during floor preparation starts where dust is generated, not after it spreads across the work area. Use shrouded preparation tools connected to suitable dust collection, and plan controls around the task and surface. OSHA sets the permissible exposure limit for airborne silica at 50 µg/m3, and says grinding, cutting, and polishing concrete can release respirable crystalline silica that can cause lung disease, including silicosis.
A clean-looking floor does not prove that airborne dust is under control. Effective dust control during floor preparation also depends on the equipment, containment, and preparation method, so the plan must account for the work area and nearby facility operations.
This guide explains how to manage silica exposure, capture dust during surface preparation, select collection equipment, and plan safer, more orderly work. A practical dust control during floor preparation plan also considers how surface readiness connects to new markings or coatings.
Key Takeaways
- Capture concrete dust where the tool creates it, using shrouds and suitable extraction instead of sweeping or blowing dust away.
- Match the grinder, material, airflow, and collection capacity so the system can keep dust contained during the task.
- Use containment and air filtration to limit dust migration into nearby rooms, transitions, and facility spaces.
- Plan preparation around the slab’s condition and the flooring system, since effective dust control alone doesn’t establish that a surface is ready.
- Choose the preparation method with work-area access, nearby operations, cleanup, and the intended floor finish in mind.
1. Silica dust exposure during concrete grinding and shot-blasting
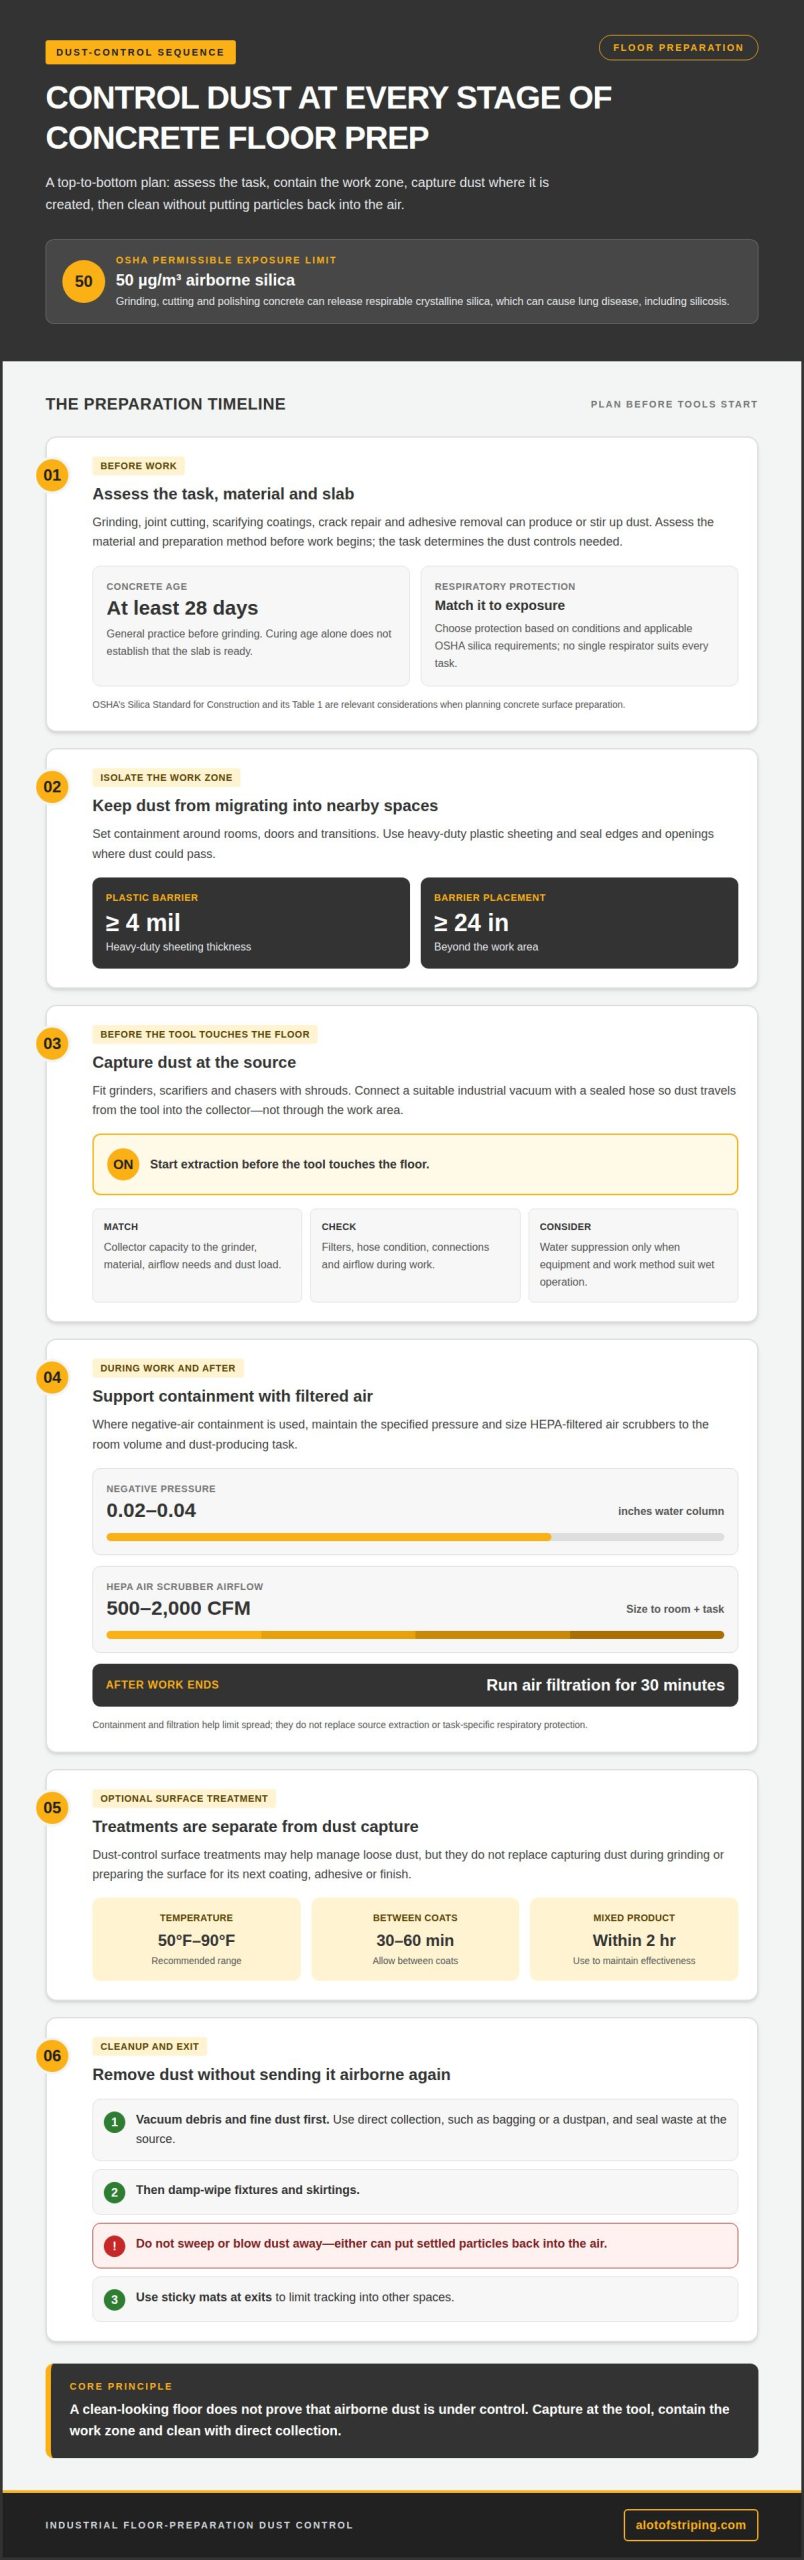
Concrete grinding can release respirable crystalline silica, which can cause lung disease, including silicosis. The Occupational Safety and Health Administration (OSHA) sets the United States permissible exposure limit for airborne silica at 50 µg/m3. OSHA’s Silica Standard for Construction and its Table 1 are relevant considerations when planning concrete surface preparation.
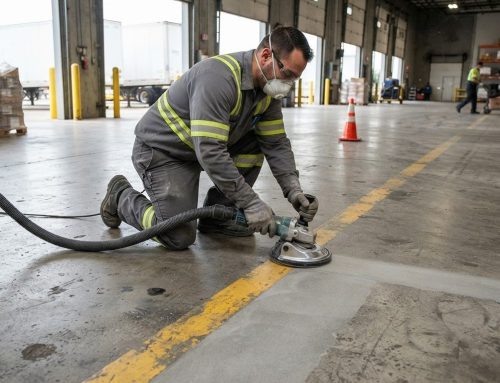
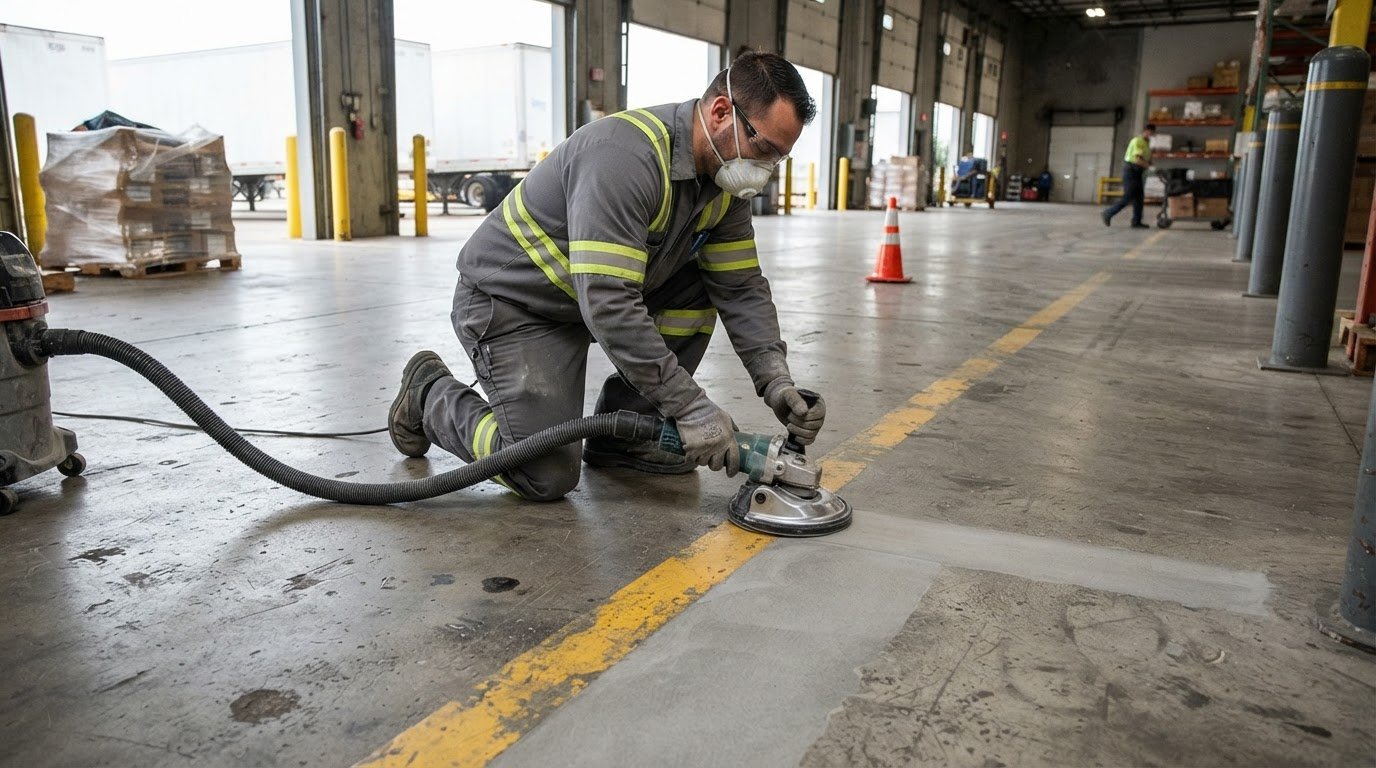
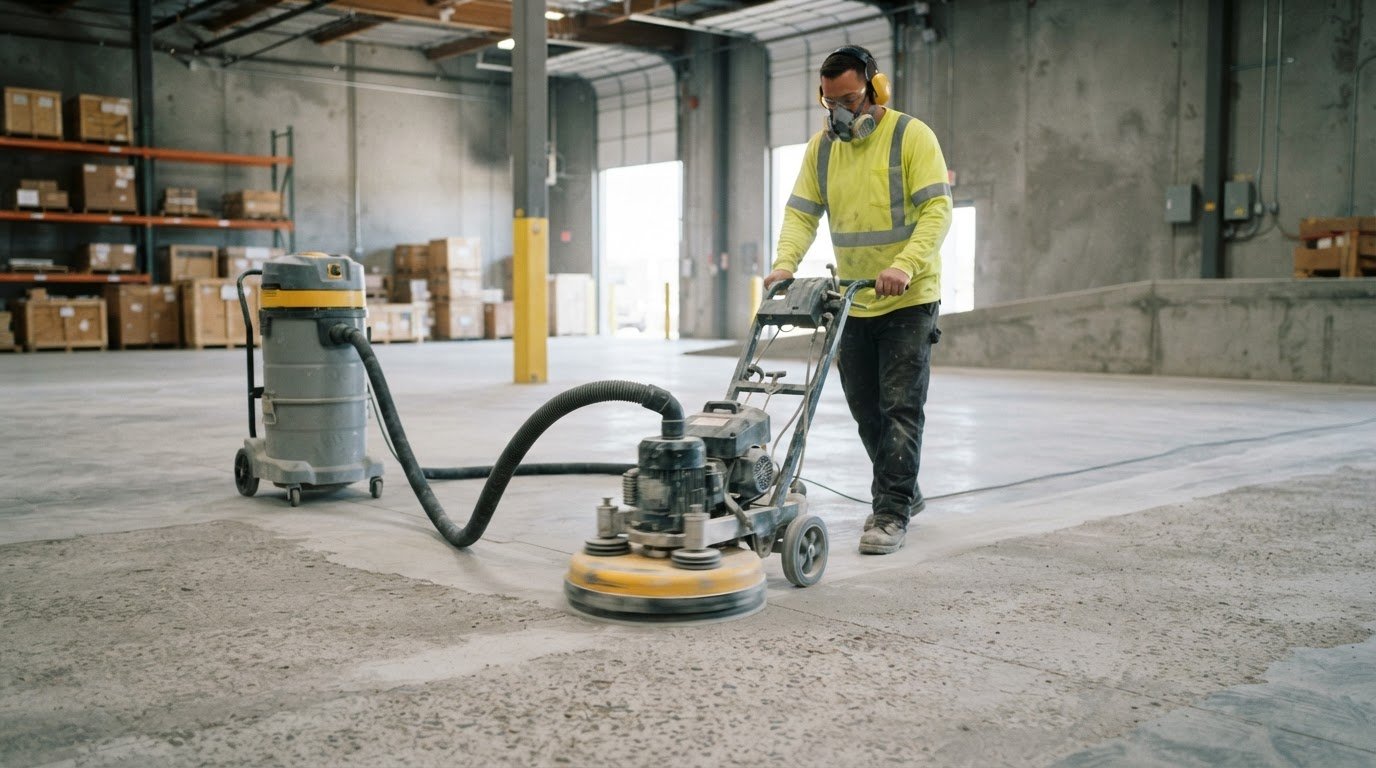
Visible dust is a warning that containment needs attention. Grinding, scarifying, and joint cutting disturb concrete at the tool’s contact point, so capture dust there instead of letting it travel through occupied spaces. Fit grinders, scarifiers, and chasers with shrouds, then connect them to an industrial vacuum suitable for fine dust. Start extraction before the tool touches the floor.
Shot blasting and grinding create different work patterns, but both require a control plan matched to the task. Include the tool, the material being removed, and the collection system in that plan. A sealed connection helps maintain airflow from the shroud into the collector. Check for blocked filters, damaged hoses, or reduced airflow during work, since these can weaken extraction. Water suppression can also reduce dust-plume generation when the equipment and work method are suitable for wet operation.
Collection capacity must match both the grinder and the material. A small collector connected to a high-output grinder may struggle to capture dust at the source. Consider the tool’s airflow needs, the dust load, hose condition, and how long the equipment must run. Residential rooms often have enclosed spaces and nearby finished surfaces; commercial floors may involve larger work areas and ongoing operations. Neither setting should be treated as dust-free. Effective controls limit the spread of dust, but no preparation plan should promise zero dust.
Concrete curing time also matters. As a general practice, concrete should be at least 28 days old before grinding. The slab’s condition and the preparation purpose still shape the work method, so curing age alone doesn’t establish readiness.
How much does professional dust-controlled floor preparation cost? The price depends on the project and is provided after a quote request. Factors include the work area, concrete condition, preparation method, containment needs, and cleanup scope.
How should floor-preparation dust be cleaned safely? Vacuum debris and fine dust before damp-wiping fixtures and skirtings; do not sweep or blow dust into the air. Seal waste at the source and use direct collection, such as bagging or a dustpan, to limit exposure during disposal.
2. Dust control and surface preparation
Dust forms when floor preparation breaks, abrades, or removes material. Grinding concrete, cutting joints, scarifying coatings, and repairing cracks can release fine particles into the air. Adhesive removal and dry sweeping can also stir settled dust back into occupied spaces. The material and method determine the dust produced, so assess both before work starts.
Indoor preparation needs controls at the tool and around the work zone. Capture dust where it becomes airborne, then isolate the area from nearby rooms, doors, and transitions. A barrier made from heavy-duty plastic sheeting at least 4 mil thick can help limit migration. Position barriers at least 24 inches beyond the work area, and seal edges and openings that could let dust pass.
Where negative-air containment is used, maintain negative pressure of 0.02-0.04 inches water column. HEPA-filtered air scrubbers with airflow of 500-2,000 CFM can support containment; size the equipment to the room volume and dust-producing task. Run air filtration for 30 minutes after the work ends. These measures control spread, but they don’t replace extraction at the source or task-specific respiratory protection.
Dust-control surface treatments are a separate option from source capture. Apply them within the recommended temperature range of 50°F to 90°F, and allow 30 to 60 minutes between coats. Use mixed product within 2 hours to maintain effectiveness. These products may help manage loose dust, but they don’t remove the need to assess the concrete or prepare it for the next coating, adhesive, or finish. Treating a floor’s surface isn’t a substitute for capturing dust during grinding or removal.
To minimize indoor dust, plan the sequence before tools start: isolate the work area, connect extraction, protect adjacent spaces, and contain waste as it is generated. Vacuum debris before damp-wiping skirtings and fixtures. Do not sweep or blow dust away, since either action can put settled particles back into the air. Seal waste at the source, and use sticky mats at exits to limit tracking.
What respirator and protective equipment are needed? Choose respiratory protection based on the exposure conditions and applicable OSHA silica requirements; there is no single respirator suitable for every preparation task. Match other protective equipment to the hazards of the specific tools and materials, including eye or hearing protection where those hazards are present.
3. HEPA vacuums and industrial dust collectors
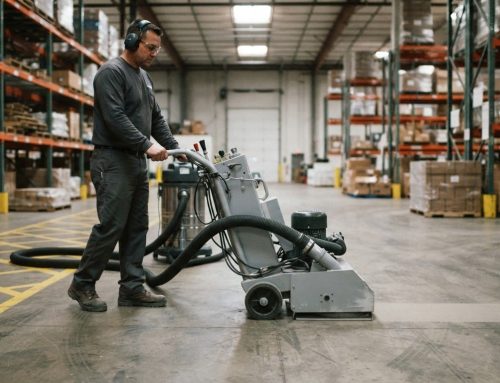
An industrial vacuum works as part of a collection system, not on its own. A shrouded grinder, sealed hose, and suitable filtration must operate together. During concrete grinding or cutting, the shroud directs debris into the hose before it becomes airborne dust. A loose connection or damaged hose can interrupt that path and reduce capture at the tool.
HEPA filtration is intended to capture very small particles, including fine silica dust. HEPA filters trap 99.97% of particles as small as 0.3 microns when equipment is maintained, sealed, and operated correctly. The filter is only one part of the system: damaged seals, poor connections, or restricted airflow can compromise collection before dust reaches it.
Match the collector’s airflow and water lift to the tool and material. A grinder removing a heavy coating creates a different collection demand from light surface abrasion. Portable HEPA dust collectors with 150-300 CFM are listed for coverage areas up to 500 square feet, but the work setup still determines whether collection is adequate. Keep the hose connection secure and use antistatic hoses to reduce dust cling and blockages.
Set up the system before work begins. Connect the shroud and hose, check seals, and position the vacuum so the hose reaches the active work without kinks. For larger areas, keep collection points 10-15 feet apart to support coverage. Automatic filter cleaning can help maintain capture during long grinding runs. A pre-separator, such as a cyclone, can collect heavier debris before it reaches the main filter.
Maintenance helps keep airflow consistent. Inspect filters, hoses, seals, and moving components before use, then monitor the system during operation. Empty the dust-collector container when it is about two-thirds full; an overfilled container can interfere with collection and handling. Follow the equipment’s safe emptying procedure so collected concrete dust does not escape back into the work area.
For example, joint cutting may need a different hose route and collector position than broad grinding across an open slab. Check that the shroud remains close to the surface and that the hose stays clear as the operator moves. If dust escapes at the tool, stop and inspect the connection, filter condition, and airflow before continuing. These checks help the industrial collector work as part of a complete system.
Surface-preparation LEV systems can combine industrial vacuums, shrouded tools, hoses, and filtration systems. HEPA filtration is recommended to capture sub-micron particles during concrete surface preparation.
4. Planning floor-preparation methods
A successful preparation plan balances dust capture with concrete readiness and facility operations. Start by identifying the flooring system, the existing surface, and the work required. Before applying an epoxy coating, assess the concrete surface for profile, damage, moisture, and contamination. Those conditions affect tooling choices and whether the slab is ready for the intended application.
Next, map the work area and its connections to active spaces. Account for doors, nearby rooms, HVAC concerns, finished surfaces, and cleanup before setting the sequence. For example, grinding beside an occupied room requires a containment plan that protects the transition, not just the active floor. Identify routes for workers, equipment, and debris so preparation does not create avoidable dust tracking.
Select the preparation method based on the material being removed and the finish that follows. Concrete grinding, coating removal, and crack repair can require different tooling and dust controls—when underlying damage is present, concrete repair and remediation contractors like trdremedial.com.au can help restore the slab’s structural integrity. A dust-controlled jobsite alone does not prove the concrete is properly prepared. Inspect the slab, choose suitable diamond tooling, maintain equipment, and verify readiness for the flooring system. A cleaner-looking surface may still have contamination or an unsuitable profile.
Plan cutting methods around the location and access. Wet cutting outdoors is an option where practical; indoors, score-and-snap cutting may be feasible. Choose the method that suits the task, material, and surrounding work area. Before mobilization, set the sequence so dust-producing tasks, collection, and cleanup happen in a controlled order. This helps keep dust exposure and disruption within the planned work zone.
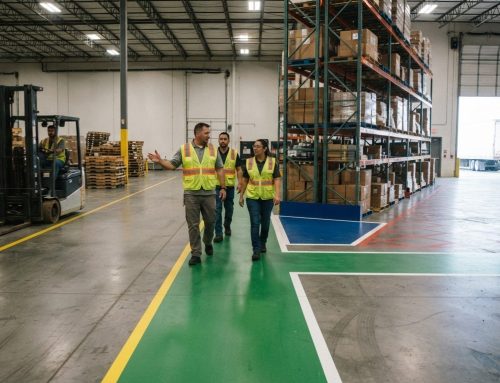
Also account for ongoing operations. In a distribution center, coordinate preparation boundaries with traffic routes and nearby work. Protect finished surfaces at transitions, and plan how collected material will leave the work area without crossing clean spaces. Include filter condition and equipment maintenance in the preparation schedule. Restricted airflow or a damaged component can undermine capture even when the chosen method is suitable.
The practical takeaway: treat surface condition, method, dust capture, and facility access as one plan. If any of those changes, revisit the sequence and controls before work continues. For help planning a floor-marking project around preparation and facility operations, discuss your project requirements with StripeGuys Warhouse Line Striping.
Before work starts, establish how the plan will address doors, nearby rooms, HVAC concerns, finished surfaces, and cleanup. These details should be settled before preparation begins.
A sound, dry garage slab may allow a garage coating project to use a one-day grinding and coating schedule. The slab’s condition is relevant when deciding whether that schedule is suitable.
StripeGuys Warhouse Line Striping
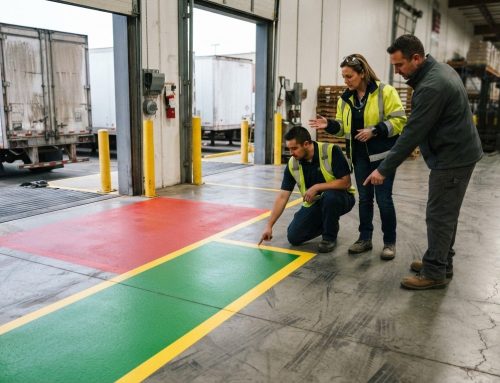
StripeGuys Warhouse Line Striping is a practical next step when a prepared floor needs clear, durable markings. Once dust control during floor preparation and surface readiness are addressed, coordinated floor striping helps facilities restore traffic guidance and organize work zones. Warehouse Floor Striping and Epoxy Line Painting support marking projects, while Warehouse Line Removal can clear existing markings before a new layout.
Bring the project into the planning stage when preparation affects marking schedules, facility access, or the condition of existing lines. Clear coordination helps align floor work with the operational needs of the space.
Contact StripeGuys Warhouse Line Striping to discuss your floor-marking project.
Make the Next Floor Decision Count
Plan dust control during floor preparation alongside the facility’s next operational step. A clear transition from surface work to floor markings helps teams coordinate access, sequence tasks, and bring the space back into use with fewer surprises. Focus decisions on the site’s needs: the intended traffic pattern, the floor’s condition, and how the work area connects to daily operations. In commercial refurbishments where concrete preparation is part of a broader interior transformation, turnkey fit-out specialists such as Excel Business Environments Ltd help ensure dust containment and surface works align with the wider workspace upgrade.
For a warehouse or commercial property, aligning floor preparation with the marking plan helps make the finished layout practical, not just clean. StripeGuys provides Warehouse Floor Striping, Epoxy Line Painting, and Parking Lot Striping for facilities planning their next marking project.
Share the project scope and operational priorities to start a focused conversation about the work ahead. Contact StripeGuys Warhouse Line Striping to discuss your floor-marking needs and take the next step with a clear plan.
Frequently Asked Questions
How to control dust when sanding or grinding floors?
Use a shrouded tool connected to a dust collector suited to the equipment and material. For example, a floor grinder removing a coating can produce a heavier dust load than light sanding, so the collection setup must fit the task. Keep the tool’s dust path connected as operators move, and stop if dust escapes around the shroud. Capture debris during the work rather than relying on cleanup afterward.
Which dust extraction tools and HEPA vacuums are best for floor preparation?
Choose a collector based on the tool’s airflow needs, the material being removed, and the size of the work area. A sealed hose and compatible shroud help move dust into the vacuum; HEPA filtration can capture very small particles when the system is maintained and operated correctly. For example, edge grinding may need a more mobile setup than open-floor work. Check filter condition and airflow during operation.
What dust control methods are required for concrete floor grinding under OSHA silica rules?
OSHA’s Silica Standard for Construction addresses respirable crystalline silica, and Table 1 is relevant when selecting controls for concrete grinding. The appropriate approach depends on the task and equipment. Use the specified controls applicable to the work, and account for the tool, dust collection, and worker exposure. According to the Occupational Safety and Health Administration (OSHA), grinding concrete can release respirable crystalline silica that can cause lung disease.
How to contain dust and protect nearby rooms during floor preparation?
Define the work boundary before equipment starts, then protect doorways, adjacent rooms, and occupied routes. For example, isolate a grinding area beside an active corridor and keep a clean path for workers and material removal. Consider HVAC pathways when planning containment, since air movement can carry dust beyond the work zone. After preparation, clean the boundary and nearby surfaces before removing barriers, so settled debris is not tracked into other spaces.
What are the health risks of concrete, wood, and adhesive dust?
Health risks depend on the dust’s material and composition. Concrete grinding can release respirable crystalline silica, which the Occupational Safety and Health Administration (OSHA) says can cause lung disease, including silicosis. Wood dust and adhesive residue vary, so do not assume they present the same hazards as concrete or are harmless. Identify the material being disturbed and use its product safety information to guide exposure controls and protective equipment.