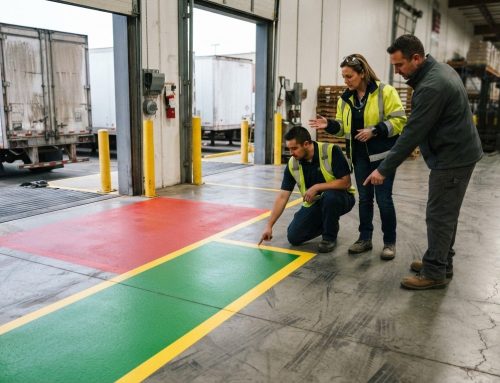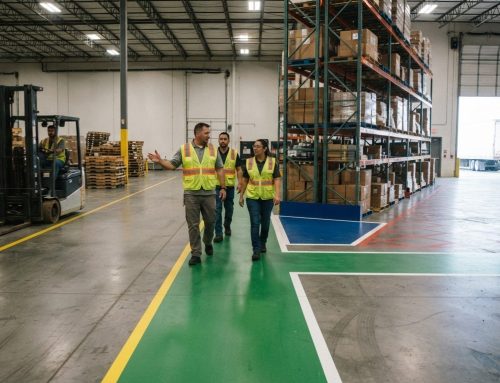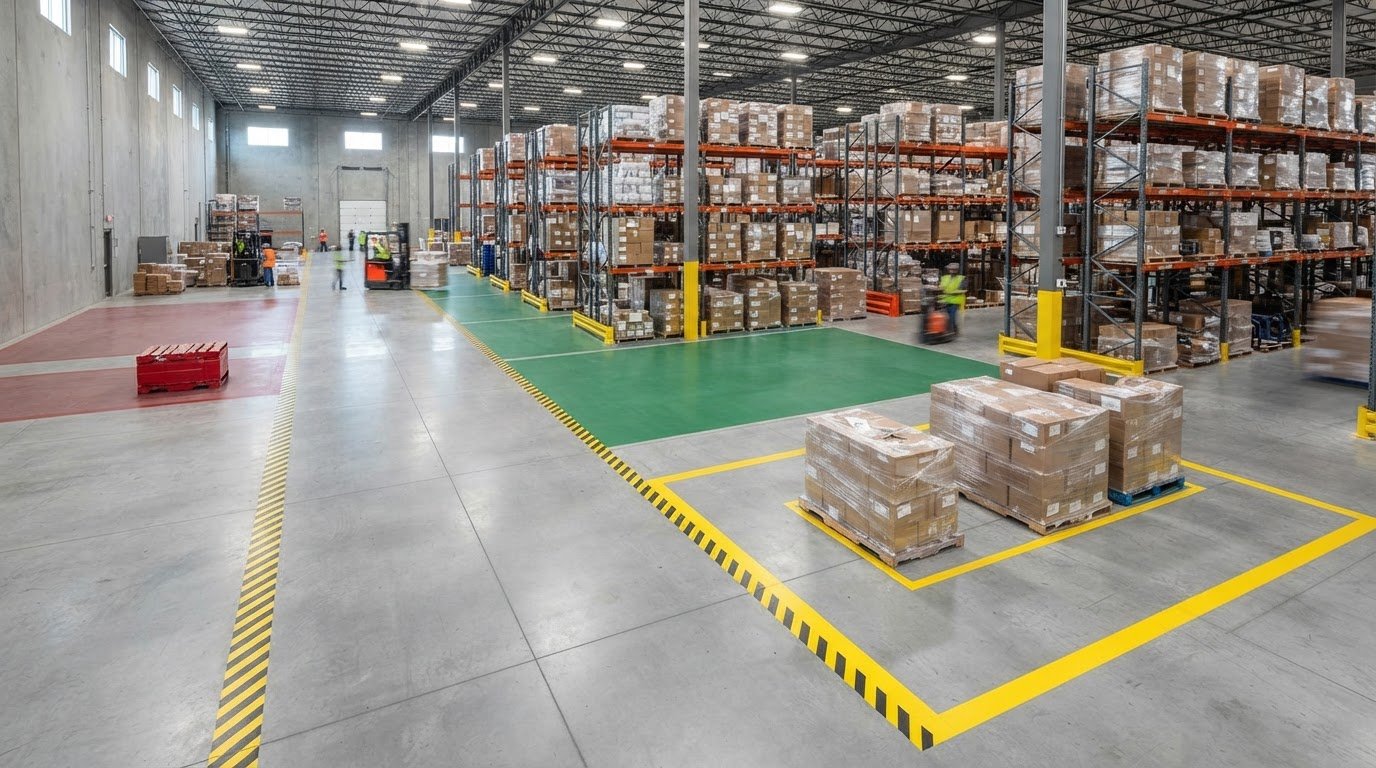
Floor lines are operational controls, not decoration. Floor marking for quality control areas uses visible boundaries, colors, and labels to separate products awaiting inspection or approval from normal storage and approved stock. OSHA regulations don’t specify an exact floor-marking line width; lines are generally 2 to 6 inches wide, with the right choice depending on visibility and the work area. A consistent layout helps employees understand where materials belong and keeps quality-hold zones distinct from active aisles.
It’s easy to think of floor marking as a simple paint or tape job, but the layout matters just as much as the material. This guide explains how quality-control zones work, how color conventions and 5S practices support clear decisions, and how line width affects visibility. You’ll also see how to define zone boundaries and material limits so markings support daily operations instead of creating confusion.
Key Takeaways
- Keep quality-hold stock separate from approved inventory, and plan enough space so held materials don’t obstruct aisles.
- Use one consistent color system across the facility, and make sure employees understand what each color means.
- Make each marked zone practical by defining what belongs there, how much it can hold, and who is responsible for it.
- Choose marking widths for clear visibility in the specific work area rather than treating every line as the same size.
- Match the marking method to how long the layout needs to last: durable paint or epoxy suits permanent zones, while tape can fit areas that change.
Quality-hold zones and segregating nonconforming products
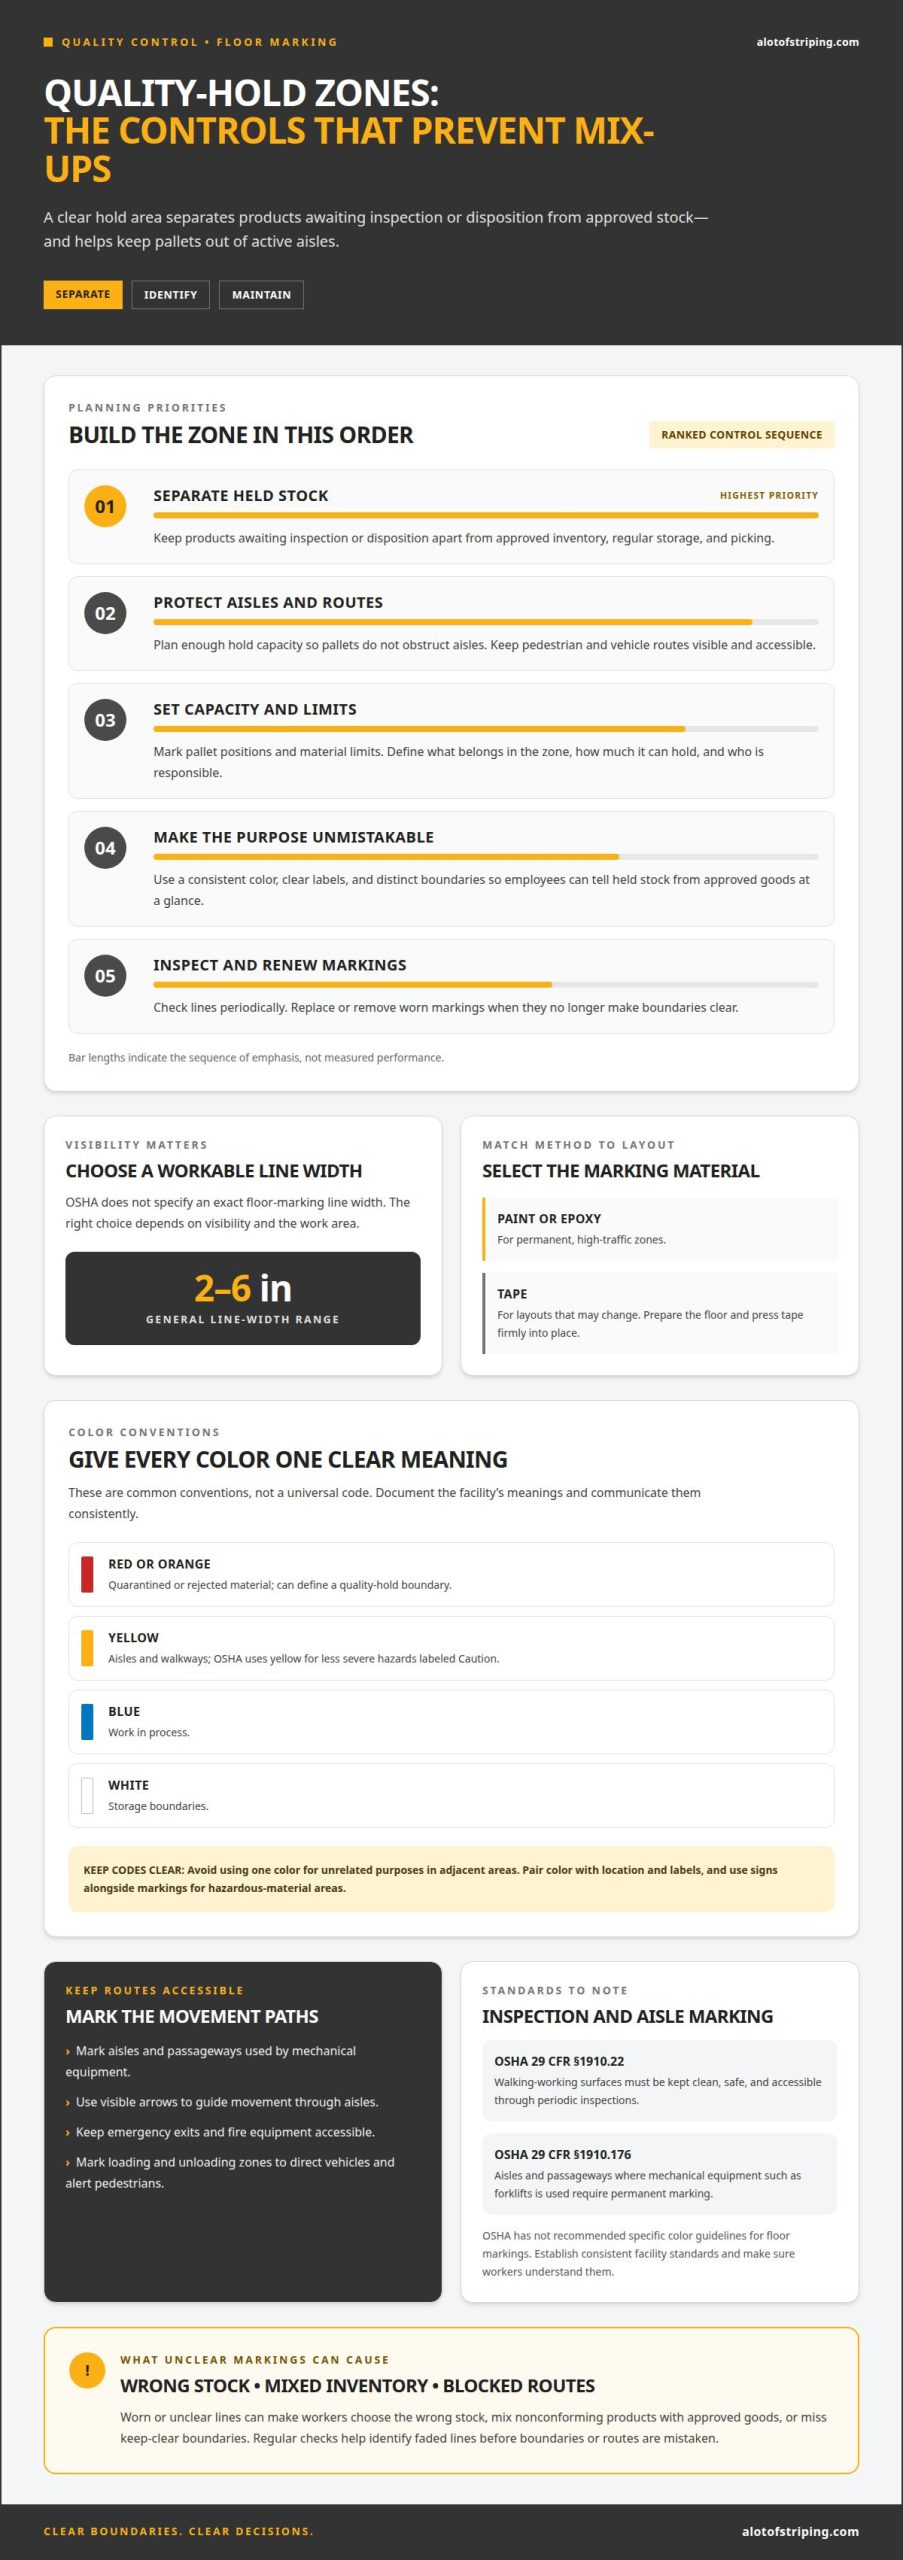
A quality-hold zone separates products awaiting inspection or disposition from approved stock. Clear boundaries help prevent misplaced pallets, mixed inventory, and blocked warehouse aisles.
Marking Installation and Upkeep
Plan markings around product flow, storage capacity, and employee and vehicle routes. Map production, storage, and quality-control inventory separately, then mark each zone’s boundaries and purpose. For floor marking for quality control areas, choose visible, durable materials suited to the floor and traffic.
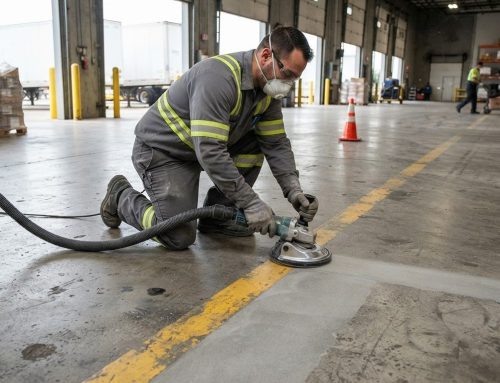
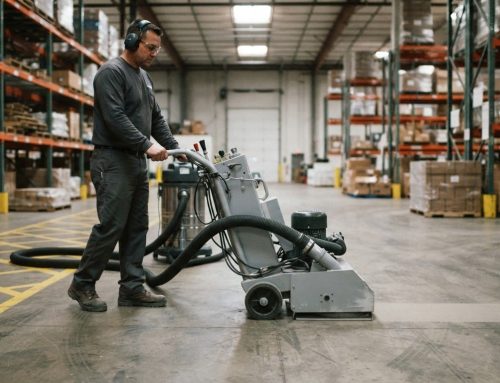
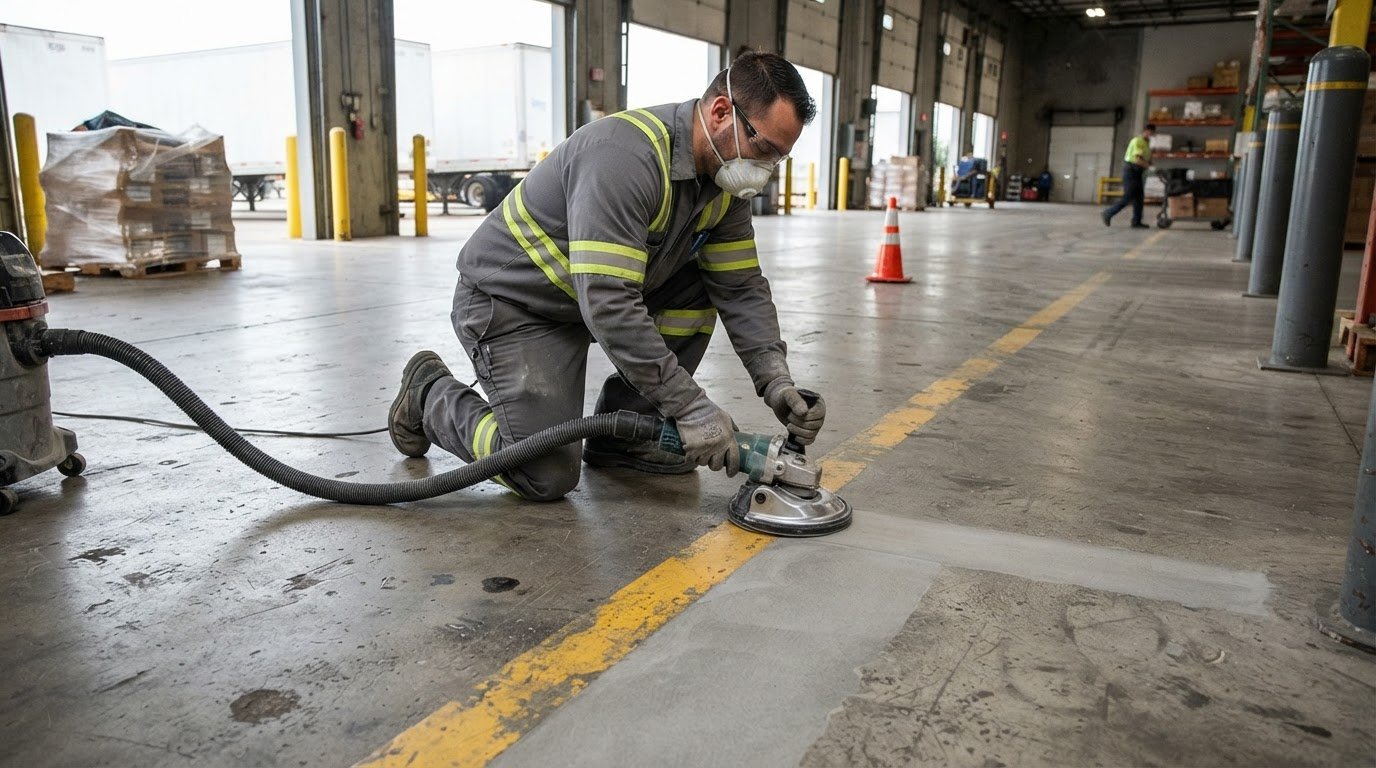
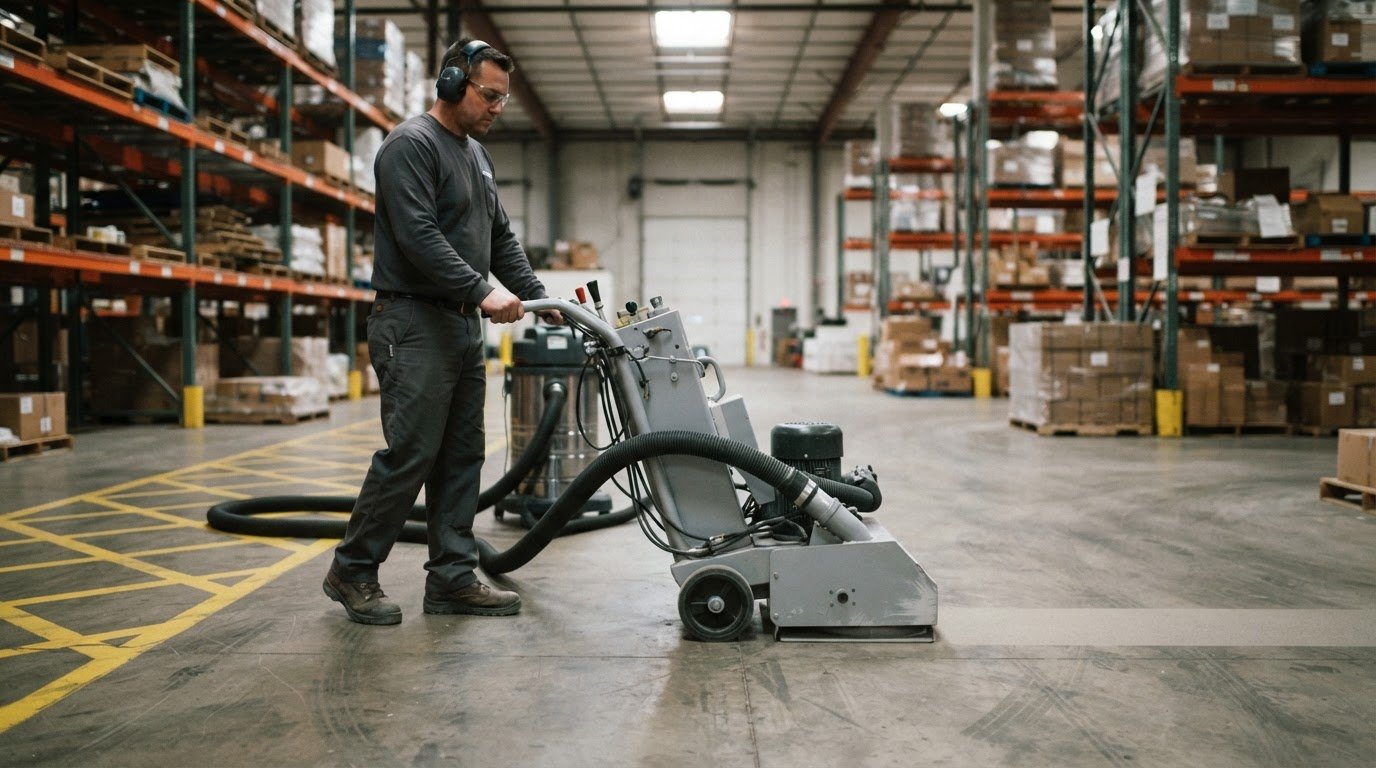
Use floor-grade paint or epoxy for permanent, high-traffic zones; use tape where layouts may change. Prepare the floor carefully and press the tape firmly into place to help it adhere. Inspect markings periodically: OSHA 29 CFR §1910.22 requires walking-working surfaces to be kept clean, safe, and accessible through periodic inspections. Replace or remove worn lines when they no longer show the zone clearly.
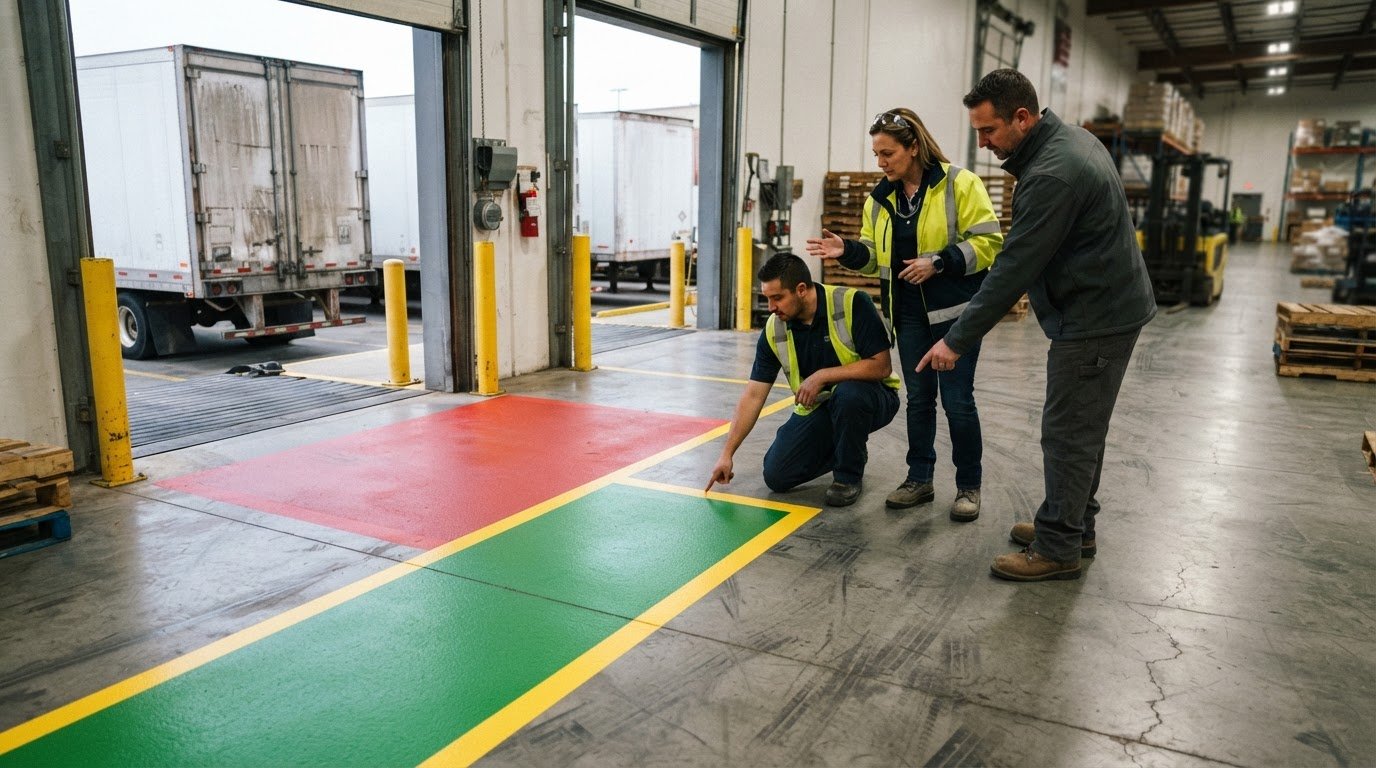
Keep a quality-hold area separate from regular storage and picking, with enough capacity to keep pallets out of aisles. Red or orange commonly identifies quarantined or rejected material. Mark pallet positions and limits so employees can distinguish held stock from approved inventory at a glance.
Risks of Unclear or Damaged Markings
Unclear or damaged markings can lead workers to the wrong stock, mix nonconforming products with approved goods, or make keep-clear boundaries hard to spot. Faded aisle edges can also obscure pedestrian and vehicle routes in busy areas.
Mark hazardous-material storage and keep-clear areas so their boundaries remain distinct from storage and work zones. Use signs alongside floor markings for hazardous-material areas. Mark loading and unloading zones to direct vehicles and alert pedestrians, and use visible arrows to guide movement through aisles. OSHA 29 CFR §1910.176 requires permanent marking of aisles and passageways where mechanical equipment such as forklifts is used.
Parking structures also need clear separation between vehicle routes and restricted areas; parking garage floor marking can define those boundaries. Assign responsibility for each quality-hold zone, and act promptly when products cross its marked limits. Regular inspections help identify worn lines before employees mistake a boundary or place pallets in a clear route.
Floor markings can define pallet storage areas, while color coding distinguishes zones by contents. A dedicated quality-control area shows employees where to place goods awaiting inspection and helps keep them separate from approved stock.
Floor marking colors and hazard conventions
Color codes make zone purposes easier to recognize, but only if employees interpret them consistently. Choose a marking material and color system suited to the floor, traffic, and work performed.
For permanent, high-traffic zones, floor-grade paint or epoxy striping can create a durable boundary; industrial tape suits layouts that may change. On sealed or epoxy-coated floors, use compatible materials and prepare the surface for proper adhesion. Match tape to the surface: some areas need heavy-duty tape, while others suit thinner or more flexible tape.
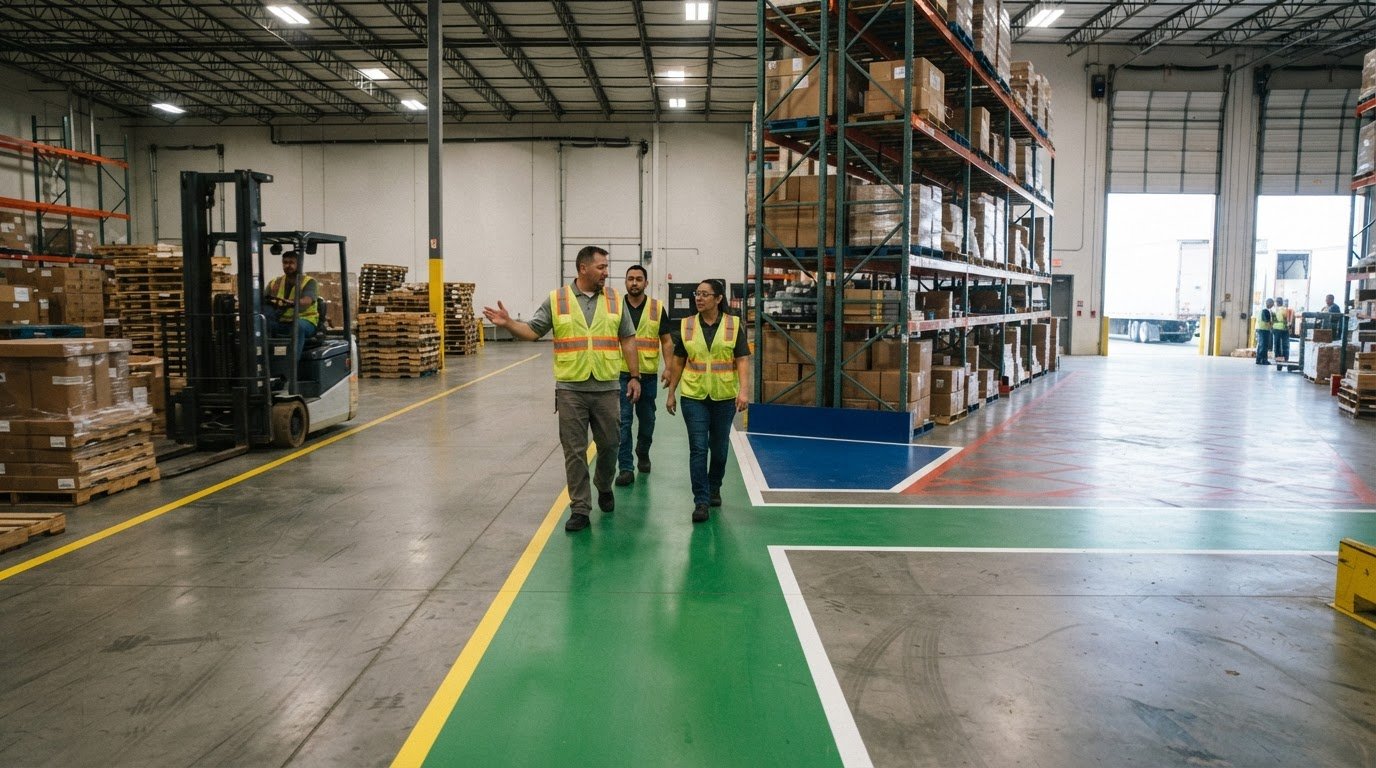
Common conventions include blue for work in process, red or orange for quarantined or rejected material, and yellow for aisles and walkways. Facilities can use color to distinguish safety-related areas, provided the meanings are defined and communicated consistently. White lines can mark storage boundaries. These are conventions, not a universal code, so document their meanings and train employees to use them consistently.
OSHA’s 29 CFR 1910.144 uses red for severe hazards labeled Danger and yellow for less severe hazards labeled Caution. OSHA hasn’t recommended color guidelines specifically for floor markings, so facilities should establish consistent standards and ensure workers understand them. OSHA’s 29 CFR 1910.176 requires permanent marking of aisles and passageways where mechanical equipment, such as forklifts, is used. Use signs with floor markings for hazardous-material storage, and keep emergency exits and fire equipment accessible.
Warehouse, factory, and cleanroom layouts support different workflows. In a warehouse, distinguish picking, packing, storage, and vehicle routes; in a factory, use boundaries to clarify workstations and material flow. In cleanrooms, choose materials compatible with cleaning and contamination-control procedures. In specialized production facilities—such as supplement contract manufacturer Harmony Pharma Lab—clear visual demarcation helps prevent cross-contamination and supports strict quality control. In every setting, give colors a defined purpose rather than adding codes employees have to guess.
In quality-control zones, pair color with location and labels. A red or orange hold boundary can separate products pending inspection from approved stock, while arrows guide traffic past it. Avoid using one color for unrelated purposes in adjacent areas. Use strong contrast against the floor and keep signs legible so the boundary is recognizable during normal operations.
Per-square-foot cost depends on the marking material, floor condition, preparation needs, coverage, and layout complexity; the price is provided after a quote request. Compare paint, epoxy, and tape by permanence and surface compatibility, not color alone. A clear specification helps align materials with the work area. For a facility-specific marking layout, discuss your floor marking needs.
5S visual management and floor marking
Floor marking supports 5S, a lean manufacturing system for organizing workspaces for efficient, effective, and safe work. In practice, lines make the expected locations for materials, equipment, and movement visible on the floor.
Observe traffic patterns, intersections, and points where workers double back or vehicles cross pedestrian routes. Use what you see to place boundaries that solve real workflow problems. For example, a marked staging area near a workstation can keep work-in-process materials from spreading into an aisle.
Give every line a clear purpose and assign someone responsibility for its zone. Define what belongs inside each boundary, where items should sit, and how much the area can hold. A storage rectangle, for instance, can show the pallet footprint and the limit for additional inventory. Without clear rules, employees may interpret the same line differently.
Use markings to make placement repeatable. A white boundary can outline a storage location, while separate floor boxes distinguish workstation supplies from items awaiting use. For excess inventory stored off pallets, combine a designated floor area with signs or shelving. These visual cues help workers find the intended location without relying on verbal reminders.
Connect the marking plan to movement through the facility. Lines can define pedestrian paths, evacuation routes, and transitions between work areas. Arrows in warehouse aisles guide vehicle and pedestrian traffic, while intersection markings clarify where routes meet. Clearly identify loading and unloading areas so nearby pedestrians can see where vehicles operate.
Visibility depends on contrast, placement, and line width. Industrial aisle lines at least 2 inches wide are accepted for visual clarity. Use a width that remains easy to distinguish beside equipment, stored materials, and other floor markings. A boundary partly hidden by a pallet cannot communicate its limit, even if its color is clear.
Choose marking materials to suit how long the zone is expected to remain in place. Floor-grade paint or epoxy suits permanent, high-traffic areas; industrial tape works for layouts that may change. For a workstation that moves during process changes, reconfigurable tape can simplify adjustments. Permanent storage boundaries need materials suited to repeated traffic and cleaning.
Review marked areas as part of routine visual management. Check whether the line still matches the process, whether the assigned zone stays within its limits, and whether workers follow its purpose. When operations change, revise outdated boundaries rather than leaving conflicting lines in place. A consistent 5S floor plan keeps storage, workstations, and routes legible as daily demands shift.
Floor marking line width
Line width affects how easily workers distinguish boundaries from floor texture, equipment, and stored materials. OSHA regulations don’t specify an exact floor-marking line width; lines are generally 2 to 6 inches wide. Choose within that range according to visibility, traffic, and the purpose of each boundary.
A narrow line uses less floor space but may disappear beside pallet racks, machinery, or floor joints. A wider line creates a stronger boundary in open, busy areas, though excessive width can crowd compact work zones. The practical test is whether employees can identify the line from their usual working position.
Start with the function of each marking. A storage boundary around a pallet location must remain clear beside the load, while an aisle edge must stay visible along its route. Use a consistent width for markings with the same purpose. If adjacent lines have different meanings, distinguish them with color, placement, or labels rather than width alone.
Measure the layout before applying paint, epoxy, or tape. Mark straight runs and corners, then check that intersections remain readable where lines meet. For example, an aisle crossing a quality-control boundary should make clear where the travel route continues and where space for held products begins. A clean layout prevents overlapping stripes from becoming a confusing block.
Consider viewing distance and floor conditions. A boundary beside a workstation is viewed up close; an aisle marking must remain visible farther along the route. Contrast matters too. A line that blends into concrete or disappears under dust is harder to follow, whatever its width.
Keep the specified width consistent during installation and future repairs. A patch that narrows at a corner or widens unevenly can make a boundary appear to shift. Cut and press marking tape to follow the intended line, and lay out painted edges cleanly. Surface preparation helps either material stay in place.
Use the 2-to-6-inch range as a planning guide, not a universal size for every zone. OSHA’s lack of an exact width means facilities must choose a practical standard and apply it consistently. Select a width that stays visible under normal operations, then assess it from worker and vehicle viewpoints before marking the full area.
For a warehouse plan with multiple aisle and storage boundaries, establish the width standard before installation. Discuss your floor-marking layout to align line widths with the facility’s zones and traffic patterns.
StripeGuys Warhouse Line Striping: Warehouse Floor Striping
StripeGuys warehouse floor striping defines quality-control zones, storage boundaries, and traffic routes. Clear, consistent lines help employees distinguish inspection areas from approved inventory and keep layout rules visible in daily operations.
For durable markings in high-traffic work areas, epoxy line striping can establish long-lasting boundaries. If an existing layout no longer fits the workflow, warehouse line removal clears outdated markings before a revised plan is applied. These services support facilities updating quality-hold locations, aisle routes, or production zones.
Share your warehouse marking needs with StripeGuys Warhouse Line Striping to discuss a layout suited to your facility.
Put Your Marking Plan Into Operation
Make the floor plan a working standard that stays useful as production and storage needs change. Assign responsibility for reviewing the layout, and revisit it when equipment moves, routes shift, or inventory patterns change. A practical plan for floor marking for quality control areas should reflect how employees and materials move through the facility, not just how the space looked on installation day.
Use operational needs to shape the next project. StripeGuys offers warehouse floor striping, epoxy line striping, and parking lot line striping to help establish clear boundaries across facility spaces and support a consistent marking approach.
Bring your layout goals and the areas that need clearer definition into the planning conversation. Contact StripeGuys Warhouse Line Striping to discuss a practical next step for your facility.
Frequently Asked Questions
What Is Floor Marking?
Floor marking uses visible lines, symbols, colors, or labels to communicate how an area is used. In a facility, markings can show where people walk, where pallets belong, or where materials await inspection. For example, a marked inspection station distinguishes the checking point from the route products take afterward. This visual system helps employees understand the workspace without relying solely on verbal directions.
What floor marking colors are used for quality control areas in the United States?
Facilities commonly use red or orange for quarantined or rejected products and blue for work in process. Yellow often identifies aisles, while green can identify safety equipment and black-and-yellow stripes can signal caution. These colors do not make up a universal floor-marking code. For example, label a red hold zone “Awaiting Inspection” so employees understand both the color’s meaning and the product’s status.
How should quality control zones be separated from production, inspection, and storage areas?
Separate zones with distinct boundaries and clear transitions between workflow stages. For example, show where production ends, where inspection takes place, and where approved goods move into storage. Position inspection space so products can enter and leave without crossing active vehicle routes. Marking a designated transfer point also helps staff avoid leaving unchecked items beside approved inventory or in an unassigned staging area.
How wide should floor lines and quality control zone markings be?
Floor markings are generally 2 to 6 inches wide, and OSHA regulations don’t specify an exact width. Choose a width employees can distinguish from their normal working positions, considering floor contrast, viewing distance, and nearby equipment. A short boundary beside an inspection bench may need a different visual weight from a long aisle edge. Apply the chosen width consistently to markings with the same purpose.
How should floor markings identify inspection stations, nonconforming products, and quarantine areas?
Use a defined boundary and a plain-language label for each status. For example, distinguish an inspection station from a quarantine location, then label the latter “Hold” or “Rejected” according to the facility’s process. Add arrows to show where products should go next, and keep labels readable from the approach direction. Together, these cues help workers distinguish a place for inspection from one reserved for separated material.