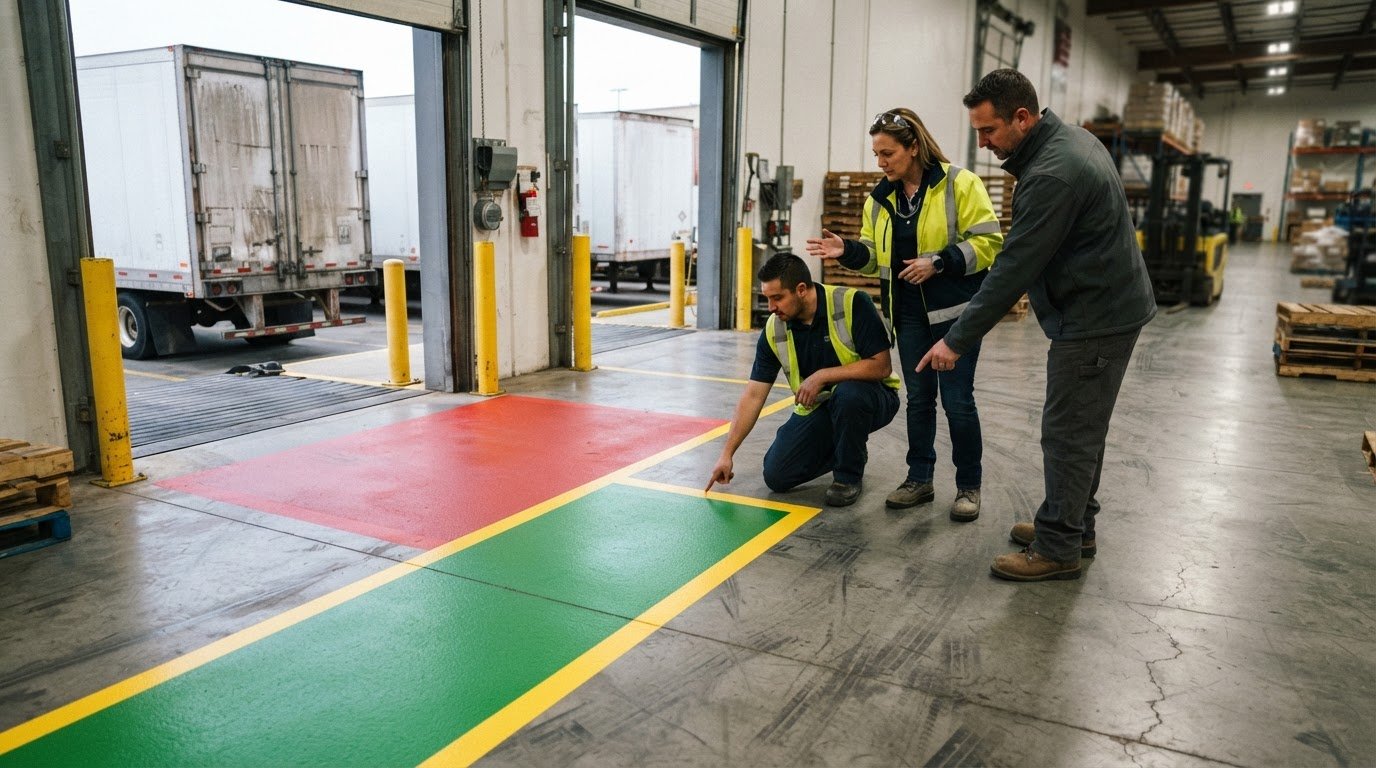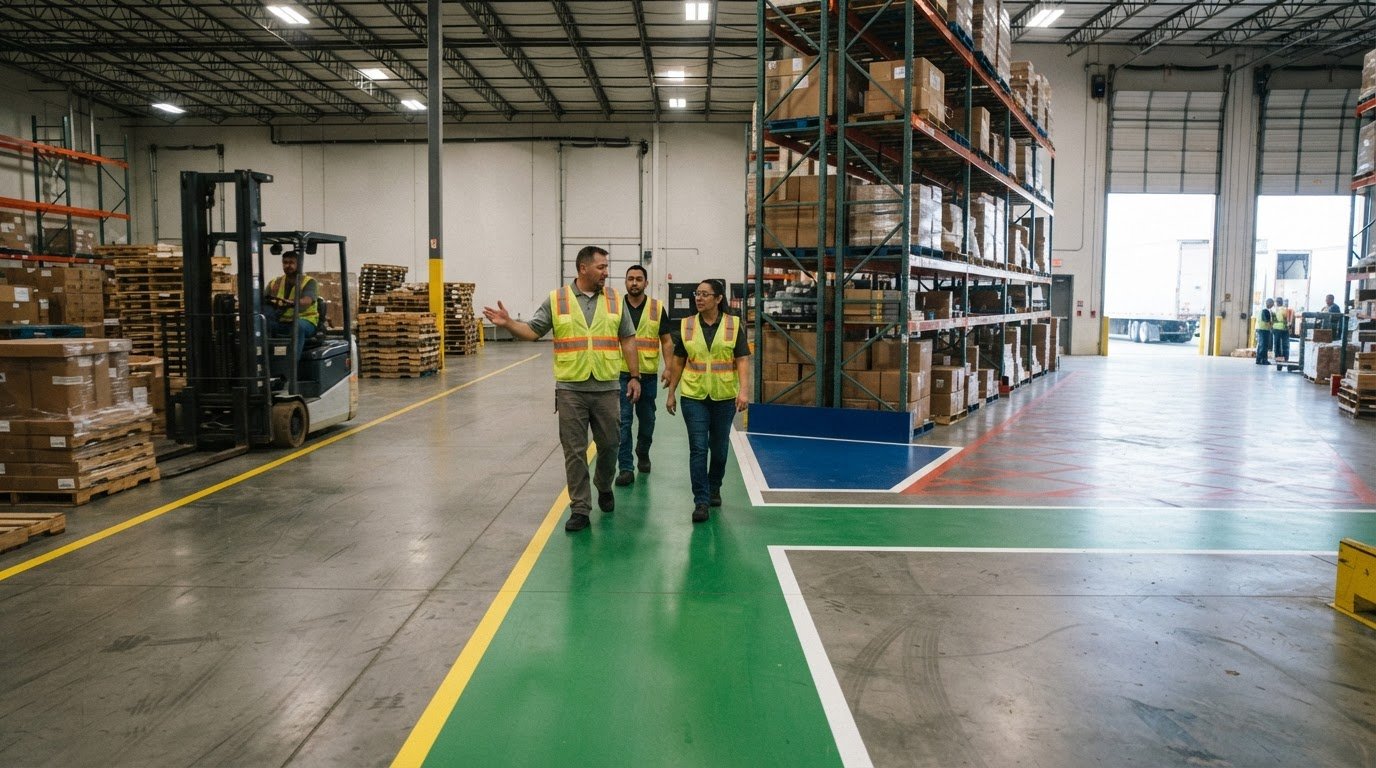
Warehouse floor markings help people distinguish pedestrian routes, forklift lanes, work zones, and hazards. Aisles and passageways must remain clear, and epoxy floor marking is one way to make traffic routes visible. Whether it suits your facility depends on floor conditions, traffic demands, and how much installation and curing downtime you can accommodate.
Clear, durable markings make warehouse traffic easier to understand. This guide explains how colors, symbols, and route boundaries support safer movement, and compares epoxy coatings with tape and projected lines so you can weigh their practical trade-offs.
You’ll also learn where markings are most useful, how to distinguish pedestrian and forklift traffic, and what to consider when choosing a system. Use your facility’s layout, operating conditions, and downtime requirements to guide the decision.
Key Takeaways
- Choose floor-marking paint, tape, or projected lines by weighing traffic, surface conditions, visibility, and how much downtime installation and curing require.
- Prepare concrete carefully before painting: surface cleanliness and abrasion affect how well the coating adheres, while wet washing can extend drying time.
- Use safety colors consistently, and keep blue, green, and black markings distinct rather than combining them in ways that could confuse workers.
- Separate pedestrian walkways from forklift lanes with clear boundaries, then use icons to show whether a marked route is for people or motorized traffic.
- Mark aisles, passageways, crossings, stops, and exits so workers can understand how to move through the facility and keep routes clear.
Warehouse line marking: Is Epoxy Paint really the best option for you?
Epoxy is suited to fixed warehouse routes where a durable coating is worth the preparation and curing time. Compare it with tape or projected lines based on the floor surface, traffic, lighting, and work schedule.
Epoxy Paint Preparation and Curing
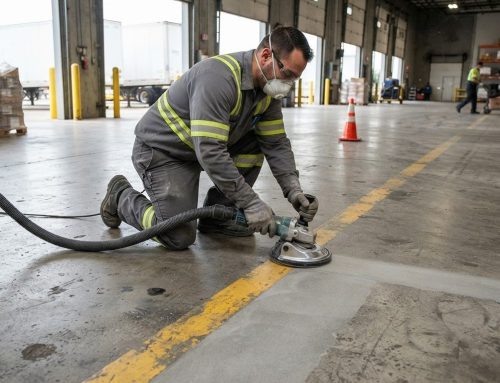
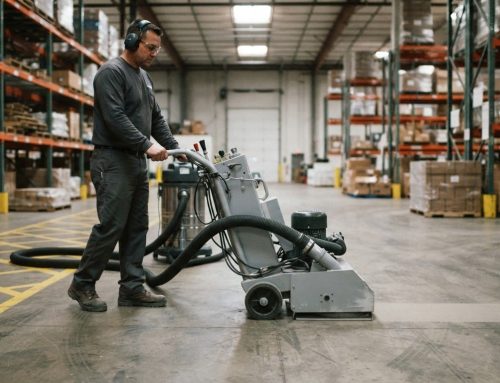
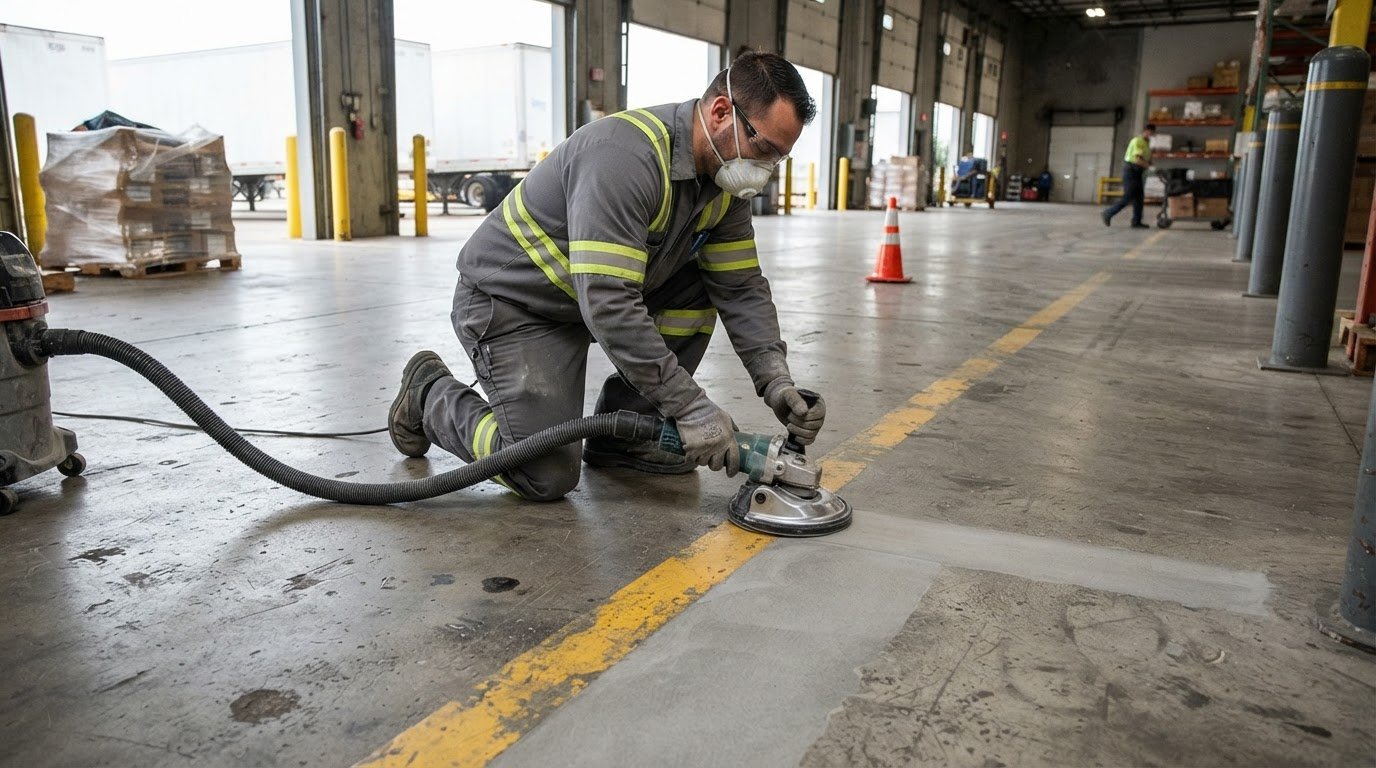
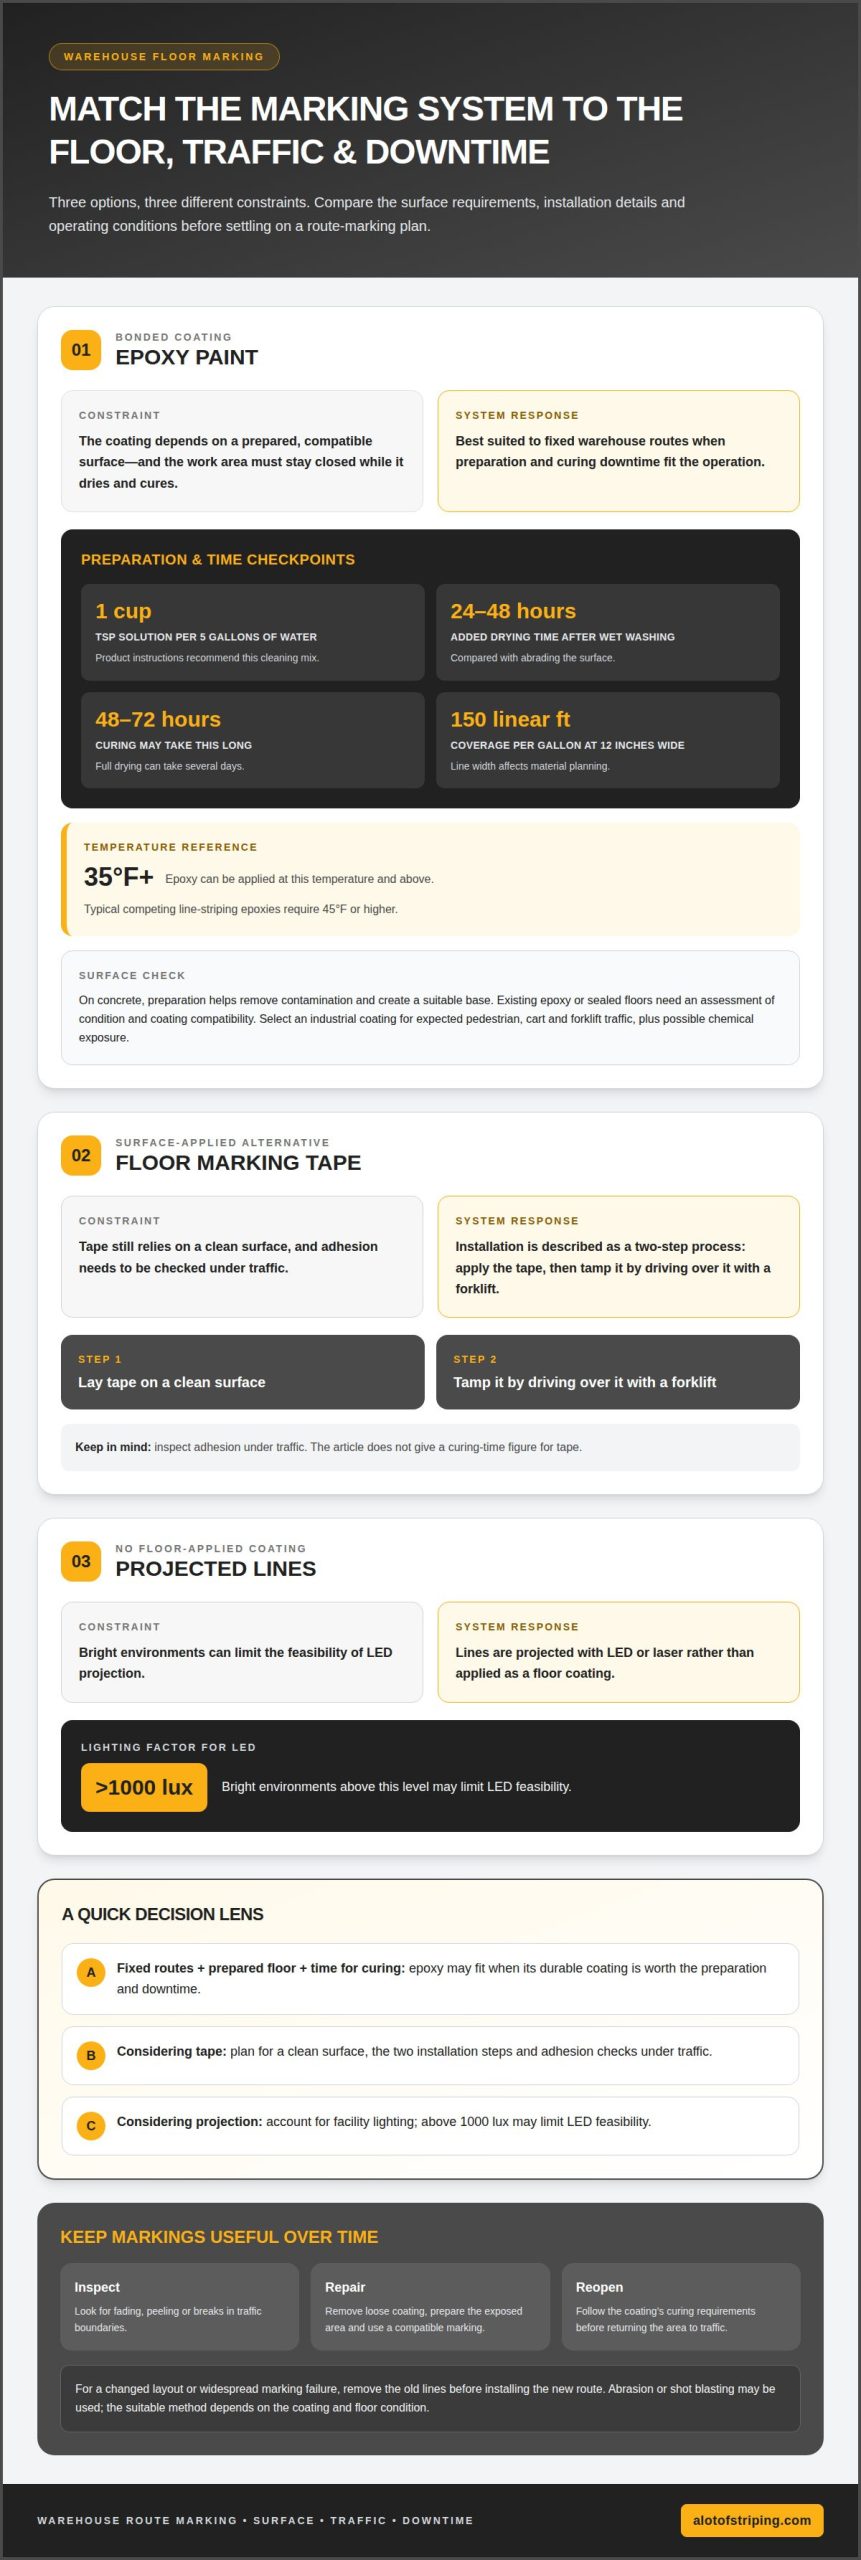
Epoxy paint is a bonded coating, so concrete must be clean and prepared before application. Product instructions recommend cleaning with a TSP solution of 1 cup per 5 gallons of water. Wet washing can add 24-48 hours of drying time compared with abrading the surface. Epoxy can be applied at 35 °F and above; typical competing line-striping epoxies require 45 °F or higher. Curing may take 48 to 72 hours, and full drying can take several days.
Coverage also changes with line width: one gallon covers 150 linear feet at 12 inches wide. That makes layout and material planning part of preparation, not an afterthought.
Striping Paint Across Surfaces
Striping paint for concrete, existing epoxy, or sealed floors must be compatible with the surface. On concrete, preparation helps remove contamination and create a suitable base. Existing epoxy or sealed floors need assessment for condition and coating compatibility: a smooth, intact finish calls for a different approach than worn or damaged concrete. Choose an industrial coating for expected pedestrian, cart, and forklift traffic, as well as possible chemical exposure.
The same surface considerations apply to parking garage floor marking, where existing coatings and concrete condition affect the marking approach. Don’t assume one paint system fits every floor.
Marking Maintenance, Repair, and Removal
Keep epoxy markings clean and inspect them for fading, peeling, or breaks in traffic boundaries. To repair a damaged section, remove loose coating, prepare the exposed area, and apply a compatible marking so it adheres to the base. Follow the coating’s curing requirements before reopening the area to traffic.
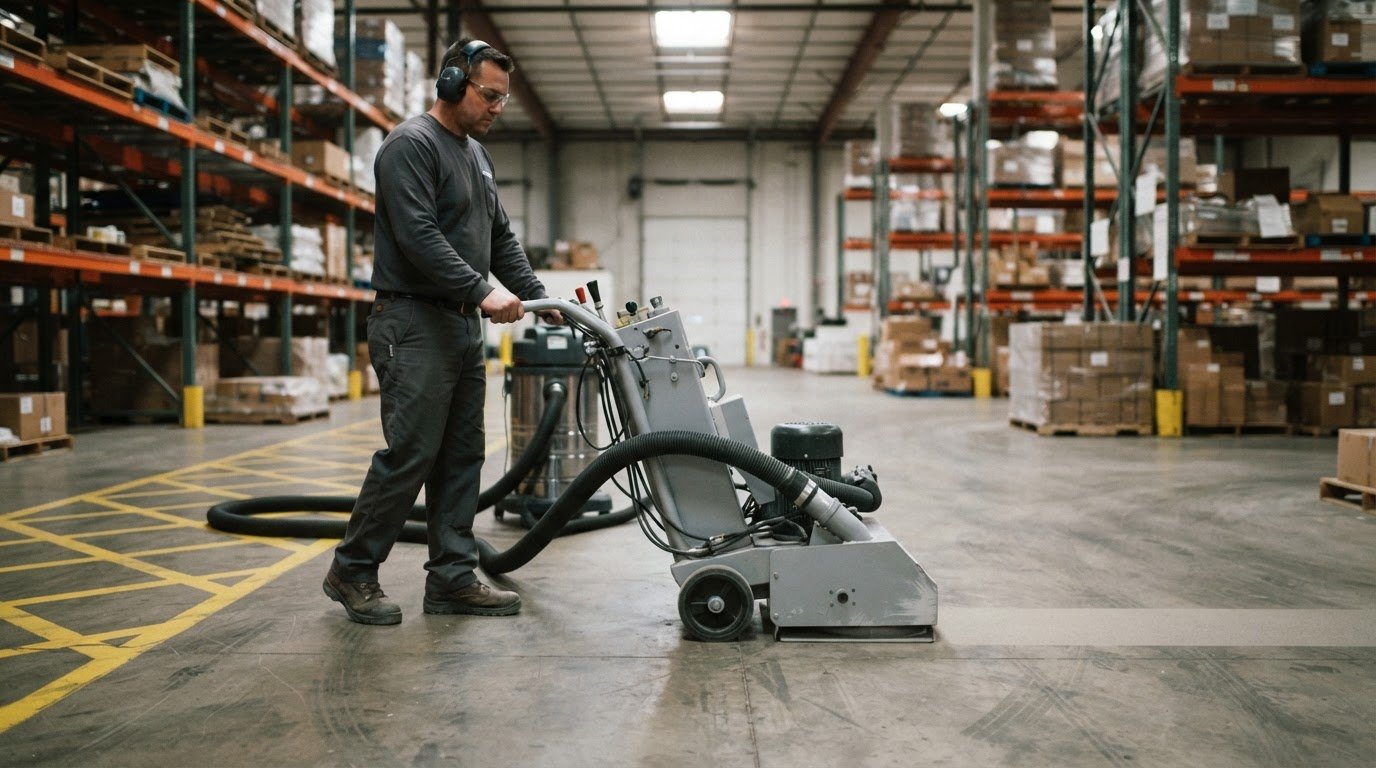
If the layout changes or markings fail across a broad area, remove the old lines before installing the new route. Abrasion or shot blasting can remove markings; the appropriate method depends on the coating and floor condition. Unlike routine touch-ups, full removal prepares the surface for a revised layout.
| Option | Surface and preparation | Traffic and downtime |
|---|---|---|
| Epoxy paint | Prepared concrete; observe cleaning and drying steps. | Suitable for industrial traffic; allow curing time. |
| Floor marking tape | Applied to a clean surface; lay it down, then tamp it by driving over it with a forklift. | Installation uses two steps; inspect adhesion under traffic. |
| Projected lines | Uses LED or laser projection rather than floor-applied coating. | Bright environments above 1000 lux may limit LED feasibility. |
Choose epoxy for fixed routes on a prepared floor when curing downtime fits your operations. Consider tape or projected lines when installation constraints are more important.
What Colors Are Used for Floor Safety?
Use floor colors consistently to distinguish routes, hazards, and restricted areas. Pair markings with clear signs or icons so workers do not have to rely on color alone.
Compliance-Focused Floor Markings
Compliance-focused markings make passageways and traffic boundaries visible and consistent. The stated OSHA safety floor-marking standard requires passageway lines to be at least 2 inches wide. In a large warehouse, markings of three or four inches can improve visibility. Treat those wider lines as a visibility recommendation, not as a replacement for the stated minimum.
Build the layout around daily work: mark permanent aisles, keep passageways clear, and identify areas used by mechanical handling equipment. Establish a facility-wide color key and apply it consistently at crossings, exits, and restricted zones. Consistency makes the system easier to follow during routine movement and layout changes.
Workplace Safety Markings
Markings should guide people through real tasks, not just across open floor. Show pedestrian crossings where walkways meet forklift routes, and keep exit paths identifiable and clear of stored materials. Add icons or floor signs for stops, yields, exits, and crossings wherever a colored line alone could be unclear.
A yellow lane can be confusing if it serves both pedestrians and motorized traffic. Use icons to show who should use each route, and make pedestrian paths visually distinct from equipment lanes. Check the layout against actual movement patterns, including cart turns and approaches to work zones.
Epoxy Coating Types and Colors
Choose a coating based on the floor surface, expected traffic, and exposure conditions. Epoxy is applied directly to the floor; select a finish and color scheme that makes each boundary easy to see against its surroundings. Consult the coating’s technical data sheet for application and surface requirements, and its safety data sheet for product-specific handling information.
Read both documents before application, then plan the work area, access controls, and application steps. Give each color one clear meaning throughout the facility. A consistent system reduces the chance that workers interpret the same marking differently in different zones.
Available Safety Colors
A product’s standard safety palette includes 6 colors. Blue, green, and black are best used individually rather than combined, which helps prevent confusion between separate marking meanings. Assign each selected color a distinct purpose in the facility’s marking plan, then reinforce it with wording or an icon where the route or hazard needs extra clarity.
For example, a blue marking should retain the same meaning wherever it appears; don’t use it for a second purpose nearby. Review color choices alongside the floor finish, lighting, and adjacent markings. For a coordinated warehouse color layout, discuss your floor-marking needs with the team.
Forklift and pedestrian traffic separation
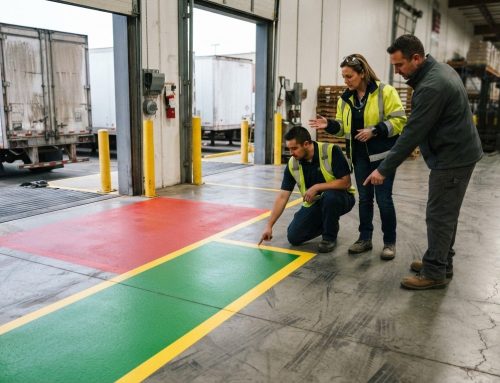
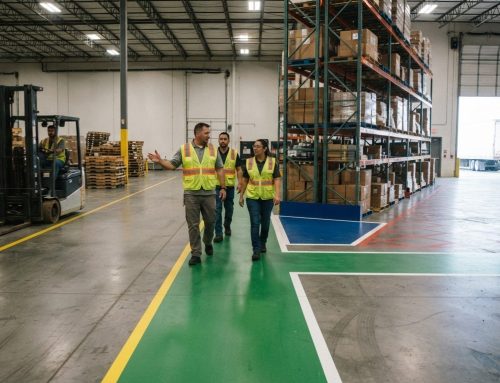
Forklift and pedestrian routes should be distinct, continuous, and easy to follow at crossings. Floor markings identify hazards and designate pathways, helping workers see where foot traffic ends and powered equipment moves. Markings guide behavior, but paint alone is not a physical barrier.
The stakes are clear: between 2000 and 2017, forklift incidents resulted in 7000 non-fatal injuries and 614 deaths. Separating pedestrian walkways from forklift lanes can reduce accident risk in warehouses and manufacturing plants. A durable layout starts with actual traffic patterns, including aisle entrances, blind corners, loading areas, and places where workers cross equipment routes.
Plan routes before applying lines. Trace how workers move between workstations, exits, and shared areas, then map forklift travel between storage aisles and operating zones. Mark the points where those routes intersect. For example, a walkway beside a rack should remain clear through an intersection rather than disappearing where a forklift lane begins.
- Keep pedestrian paths separate from forklift lanes wherever the floor plan allows.
- Mark crossings and turning points so workers can identify where routes meet.
- Use icons to clarify whether a yellow-marked lane serves pedestrians or motorized traffic.
- Keep permanent aisles and passageways clear of stored materials and other obstructions.
Line width affects visibility. Safety passageway lines must be at least 2 inches wide under the stated OSHA floor-marking standard. In large warehouses, three or four inches can make boundaries easier to see. Choose a width that remains visible from the approach, especially where racks or equipment could obstruct a worker’s view.
Yellow lines can mark traffic boundaries, but color alone may not show who should use a route. Add pedestrian or forklift icons at entrances and crossings. Stop or yield signs can clarify busy intersections, while exit symbols make routes easier to identify at a glance.
Review the layout from both perspectives: walk the pedestrian route and follow the forklift path. Look for markings hidden by stored loads, confusing intersections, and lines that end unexpectedly. When operations change, update boundaries and icons together. The system works best when floor markings match daily movement.
For example, where a forklift route passes a packing area, keep the walkway boundary continuous and place crossing cues where people actually cross. This gives workers and operators a clear shared reference. Recheck crossings after changes to racks, workstations, or storage patterns, since these can alter the routes people naturally take.
Warehouse floor-marking purposes and applications
Warehouse markings do more than outline travel lanes. On concrete floors, they can identify aisles, work areas, boundaries, and key locations. Their purpose is practical: make the facility layout easy to read during everyday tasks, from storing materials to moving goods between work zones.
Start with permanent aisles and passageways. Keep them unobstructed, and mark routes used by mechanical handling equipment. Clear aisle boundaries help workers recognize the route when racks, pallets, or active work areas compete for attention. Mark staging areas separately so their purpose is distinct from the aisle.
Next, identify where workers need to make decisions. A stop marking at an intersection, an exit symbol near a doorway, or a yield icon where routes meet gives people a visible cue at the right place. A pedestrian-crossing symbol can show where to cross an equipment route, rather than leaving workers to infer it from nearby lines.
- Mark permanent aisles so storage and work activity don’t blur their boundaries.
- Use floor signs or icons for stops, exits, yields, and pedestrian crossings.
- Separate staging areas from passageways so stored goods don’t block movement.
- Identify equipment operating areas where mechanical handling takes place.
Make markings reflect how work happens. A picking area, for example, may need a clear boundary beside its access aisle, while a receiving zone needs visible edges for staging goods. The aisle guides movement; the zone boundary shows where a task or temporary activity belongs.
Keep the marking plan consistent across the facility. If an exit icon appears at a doorway, use the same recognizable symbol at other exits. If a stop marking indicates a decision point in one aisle, don’t use that same symbol for an unrelated instruction nearby. Consistency helps workers interpret markings without learning a different visual system in each zone.
Review the layout after changes to storage, equipment, or work areas. A moved rack can make an existing boundary misleading, while a newly active route may need a clear connection to an aisle. Walk the floor from a worker’s perspective, then follow the equipment route. Check for blocked symbols, broken boundaries, and instructions placed away from the point where a decision is needed.
When a layout needs new boundaries or old markings need removal, discuss your warehouse floor-marking layout and the routes it needs to communicate.
StripeGuys Warhouse Line Striping: Warehouse Floor Striping
StripeGuys provides warehouse floor striping and epoxy line painting to make facility routes, work zones, and boundaries easier to see. Turn to these services when planning a new layout, refreshing worn lines, or applying epoxy markings to a warehouse floor.
If existing markings no longer fit your operation, warehouse line removal clears the way for a revised layout. It provides a clean starting point for defining aisles, pedestrian paths, and equipment zones. The work is tailored to the existing markings and the changes your facility needs.
For facilities with interior and exterior traffic areas, StripeGuys also provides parking lot striping. Share your warehouse marking needs with StripeGuys to discuss a practical next step.
Set Up Your Next Floor-Marking Project
Before changing warehouse markings, turn the layout into a practical work plan. Identify routes that must remain clear, where people and equipment intersect, and which boundaries no longer reflect current operations. A defined purpose keeps the project connected to how the facility actually runs.
Then decide what matters most for your floor: a fixed coating, minimal installation disruption, or a marking system that can adapt to layout changes. Consider floor condition and traffic alongside the time available for the work. A successful epoxy floor marking project starts with these operational priorities, not color selection alone.
StripeGuys provides warehouse floor striping, epoxy line painting, and parking lot striping. Share your layout priorities and the areas that need attention to discuss a workable next step for your facility.
Contact StripeGuys Warhouse Line Striping to discuss your floor-marking project. A clear plan is a solid start toward a more organized facility.
Frequently Asked Questions
Why Is Floor Marking Important?
Floor markings make operating rules visible where workers need to act, reducing confusion between storage, travel, and work areas. They also give new or reassigned workers a visual reference during shift handoffs. For example, a marked staging boundary can show where incoming goods belong without blocking an aisle. Review markings whenever workflows or equipment arrangements change so the floor continues to reflect current operations.
What are the downsides to an epoxy paint system?
Epoxy requires careful surface preparation and curing, which can take areas out of service. Wet washing can add 24-48 hours of drying time compared with abrading the surface, and curing may take 48 to 72 hours. Application temperature also matters: epoxy can be applied at 35 °F and above. A fixed coating can be less convenient than removable markings when facility routes change often.
What is epoxy floor marking and where is it used?
Epoxy floor marking uses a coating to create lines or symbols bonded to a floor. Facilities use it to define warehouse aisles, equipment routes, pedestrian paths, work zones, and hazard boundaries. For example, a distribution facility might use painted lines to distinguish a picking area from its access route. Choose a coating suited to the floor surface and its exposure to traffic or chemicals.
How durable is epoxy floor marking compared with painted floor lines or thermoplastic tape?
Properly applied epoxy warehouse line marking can last over 10 years, while DIY epoxy marking is typically expected to last between one and two years. Those figures describe epoxy applications, not a universal ranking against every painted line or thermoplastic tape. For a useful comparison, consider application quality, floor preparation, traffic, chemical exposure, and whether the layout needs frequent changes.
How do you prepare a concrete floor for epoxy marking?
Prepare concrete by removing dirt and contaminants, then creating a clean surface for coating adhesion. Product instructions recommend cleaning with a TSP solution of 1 cup per 5 gallons of water. Abrasion is another preparation approach; if you wet-wash the floor, allow for the additional drying time before coating. Keep dust, cleaning residue, and ongoing traffic away from the prepared area.
How long does epoxy floor marking take to cure before foot or vehicle traffic?
The coating may need 48 to 72 hours to cure, and it can take several days to fully dry. Keep foot and vehicle traffic off the marked area during curing to protect the finish. Plan closures around the full application and drying process, not just the time needed to apply the lines. This matters especially when a marked route is essential to warehouse operations.