A sound post-project cleanup and inspection moves through rough, light, and final cleaning, with the final clean scheduled 24-48 hours after construction activity ends. Book the cleaning 2-3 weeks before the expected completion date, then begin with an inspection to identify priority areas and build a checklist. For fine dust, use a HEPA-filter vacuum before wiping and wet-cleaning surfaces; HEPA vacuums capture 99.97% of particles at 0.3 microns.
It’s easy to assume cleanup is a single pass once contractors leave, but dust can settle on floors, fixtures, vents, and other surfaces. A staged plan helps prevent rework and makes the handoff to employees or tenants more orderly. This guide explains what rough, light, and final cleaning involve, how project size affects scheduling, and how to remove fine dust systematically. You’ll also learn how inspection and task checklists help teams track what’s complete before the space is ready for use.
Key Takeaways
- Separate cleanup into rough, light, and final phases so debris removal and detailed cleaning happen in the right order.
- Use project size, materials, and occupancy plans to build a realistic cleaning schedule and assign responsibilities.
- Remove fine dust from high surfaces, vents, fixtures, and floors using a deliberate top-to-bottom process.
- Prepare a checklist of tools, protective gear, and chemical-handling steps before cleanup begins.
- Inspect corners, edges, and hard-to-reach areas before marking tasks complete and preparing the facility for use.
1. Rough, light, and final cleaning phases
Post-construction cleaning happens in stages, not in one all-at-once pass. Start by inspecting the project area, then build a cleaning checklist around debris, priority areas, and hard-to-reach corners. The construction company typically handles the initial cleanup after work ends. Remove remaining materials such as screws, nails, wood scraps, drywall pieces, and packaging from high-traffic floors.
Rough cleaning removes construction debris and makes rooms accessible for the next trades or cleaning tasks. Keep sharp objects and loose wires out of walkways, and secure anything that cannot be removed immediately. Light cleaning follows as work progresses or nears completion. Use dry methods first, such as sweeping and dusting, to remove loose particles before wet cleaning begins.
Final cleaning takes place just before a building is ready for occupancy. Schedule it 24-48 hours after construction activity ends, allowing airborne dust to settle before detailed work. Clean from ceilings and light fixtures down to floors, so falling particles don’t resettle on finished surfaces. The final checklist can include wiping fixtures, doorknobs, and air ducts; cleaning glass; and restoring floors through methods suited to their materials.
Professional post-construction cleaning takes an estimated 4-48 hours with a trained crew, while DIY cleanup can take 20-80+ hours for a typical renovation. The difference depends on project scale, accumulated debris, surface types, and how much detail the checklist requires. A staged cleaning process also helps teams divide tasks and track completion rather than repeatedly cleaning the same areas.
Permits, codes, and local rules may shape a project’s formal inspection, but that inspection is separate from a cleaning checklist. Treat cleaning as preparation for occupancy, not as proof that permit or code requirements have been met.
Under typical project arrangements, the construction company handles the initial cleanup after construction. The contract and project plan define who takes care of later cleaning and the final inspection, so record those responsibilities before work begins.
Before cleanup, remove or safely secure loose wires, stray nails, and other sharp objects. Wear protective gear, and assign debris removal to workers trained to handle construction waste and cleaning equipment.
Remove drywall pieces, wood scraps, packaging, and other construction debris from busy areas. Separate hazardous waste and dispose of it according to local regulations. Before sign-off, use the checklist to confirm that corners, edges, fixtures, and floors are thoroughly cleaned. Polish glass surfaces as a final detail.
Keep the transition between phases clear: the initial stage removes remaining construction materials such as screws, nails, and wood. Clear drywall pieces, wood scraps, and packaging from high-traffic areas before detailed cleaning begins throughout the facility. The process moves from clearing construction debris to detailed cleaning, with each phase handled in order.
At the occupancy-ready stage, final cleaning includes detailed cleaning, surface polishing, glass cleaning, and floor care. Detailed work can include dusting light fixtures, doorknobs, and air ducts, as well as cleaning glass surfaces. After the detailed cleaning, polish glass, windows, and mirrors as a final touch.
2. Cleaning timelines by project size
Set the cleaning window around the project’s footprint, materials, and move-in date. A bathroom remodel is estimated to take 4-8 hours with 1-2 cleaners. A kitchen remodel takes 8-16 hours with 2 cleaners. The post-project cleanup and inspection schedule should also allow time for detailed checks, especially where drywall dust or residue remains.
Larger scopes need coordinated labor. A full home renovation is estimated to take 24-48 hours with 3-4 cleaners, while a new-build home takes 40-80 hours with a crew of 4-6. A single-room addition is estimated at 8-16 hours. These are cleaning-hour estimates, not calendar-day guarantees; crew size and access windows affect how work is arranged.
For commercial construction cleaning, estimate the workload by area and condition, not room labels alone. Open floor space may need less detailed work than light fixtures, vents, cabinets, and finished surfaces. The material matters, too: floors may need vacuuming, mopping, polishing, or carpet cleaning. Include these tasks in the plan to prepare the facility for occupancy.
Book cleaning services 2-3 weeks before the anticipated completion date. This creates time to coordinate with construction milestones and the move-in plan. Confirm construction work is complete before detailed cleaning starts, or fresh drywall dust and debris may settle on cleaned surfaces. Allow space in the schedule for final corrections after trade work ends.
A construction cleaning checklist should name each area, task, and assigned team member. Include corners, edges, hard-to-reach surfaces, glass, fixtures, and floors. Assigning tasks and having workers initial completed items supports accountability and shows which areas still need attention.
A post-project cleanup and inspection checklist should record each space, required cleaning task, visible damage, and completion status. Note dusty surfaces, glass residue, debris in corners, and unfinished work. Assign each issue an owner and a follow-up step before occupancy.
Inspect workmanship systematically by comparing completed areas with the project plans and agreed scope. Check finishes, edges, alignment, and operation. For example, note chipped finishes, uneven transitions, or fixtures that do not function. Photograph defects, record their exact location, and track corrections before sign-off.
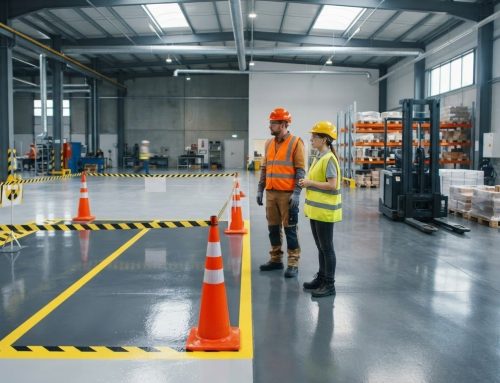
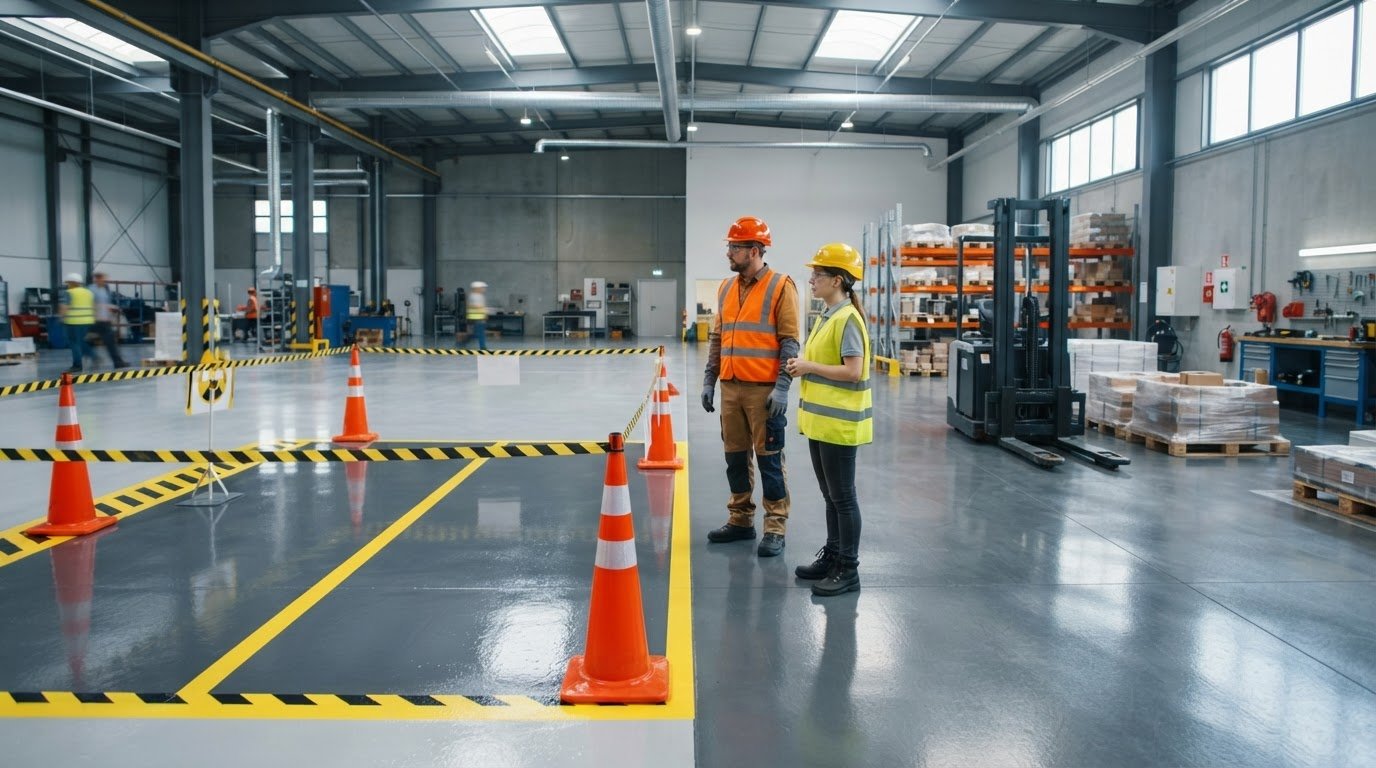
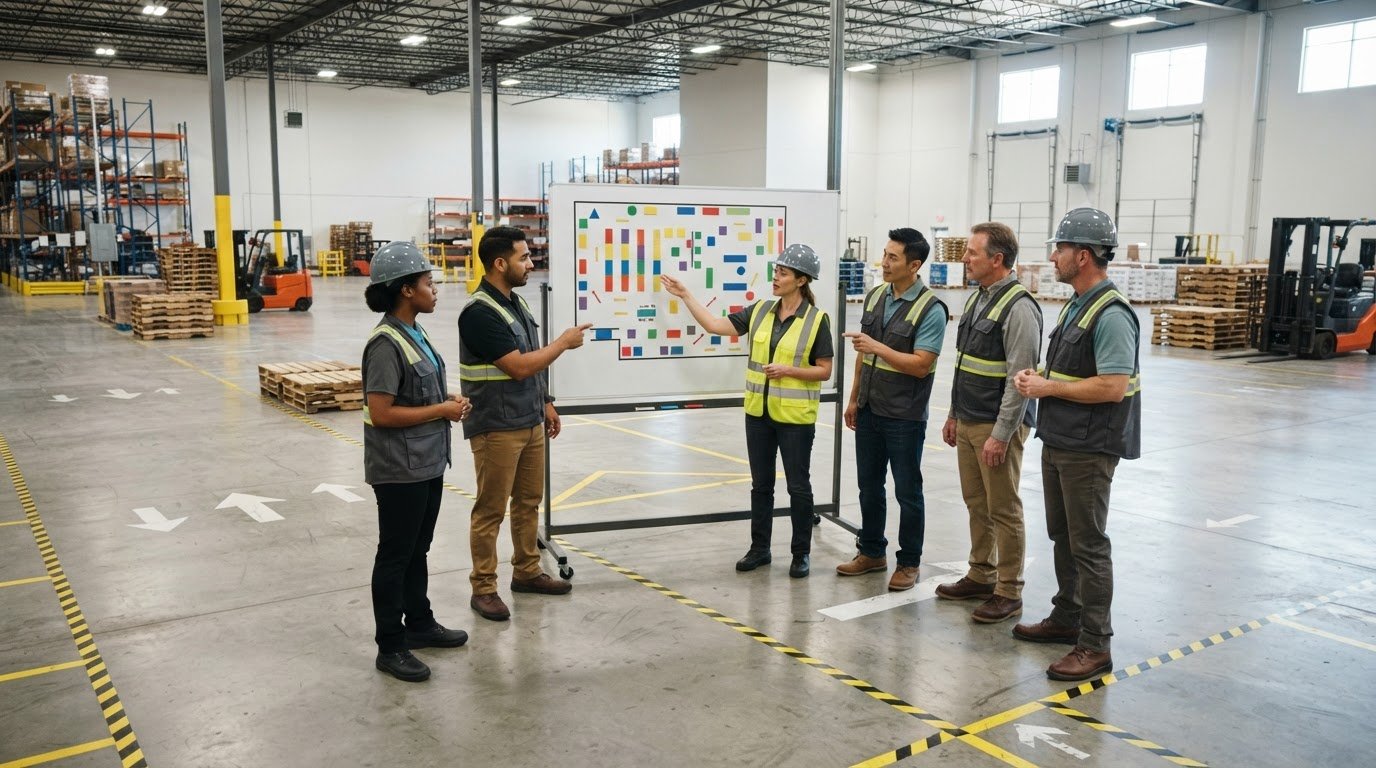
For warehouse projects, include floor markings in the walkthrough. Check whether existing markings remain legible and whether removal or replacement is within the project scope. Reviewing markings as part of post-project cleanup and inspection helps teams coordinate the handoff without losing track of separate tasks.
Prices can vary with the project’s footprint and condition, the amount of detailed work required, and the materials and surfaces involved. The required cleaning tasks, crew size, and access windows also affect the workload.

3. Fine dust removal
Construction dust doesn’t stay near the work area. Fine particles from concrete, drywall, and tile cutting can settle on walls, floors, light fixtures, air vents, windows, and inside cabinets. Dust can also travel through air systems and continue circulating if it isn’t removed thoroughly. Fine particles may cause respiratory problems if inhaled, so include dust control in the cleanup plan before the space is occupied.
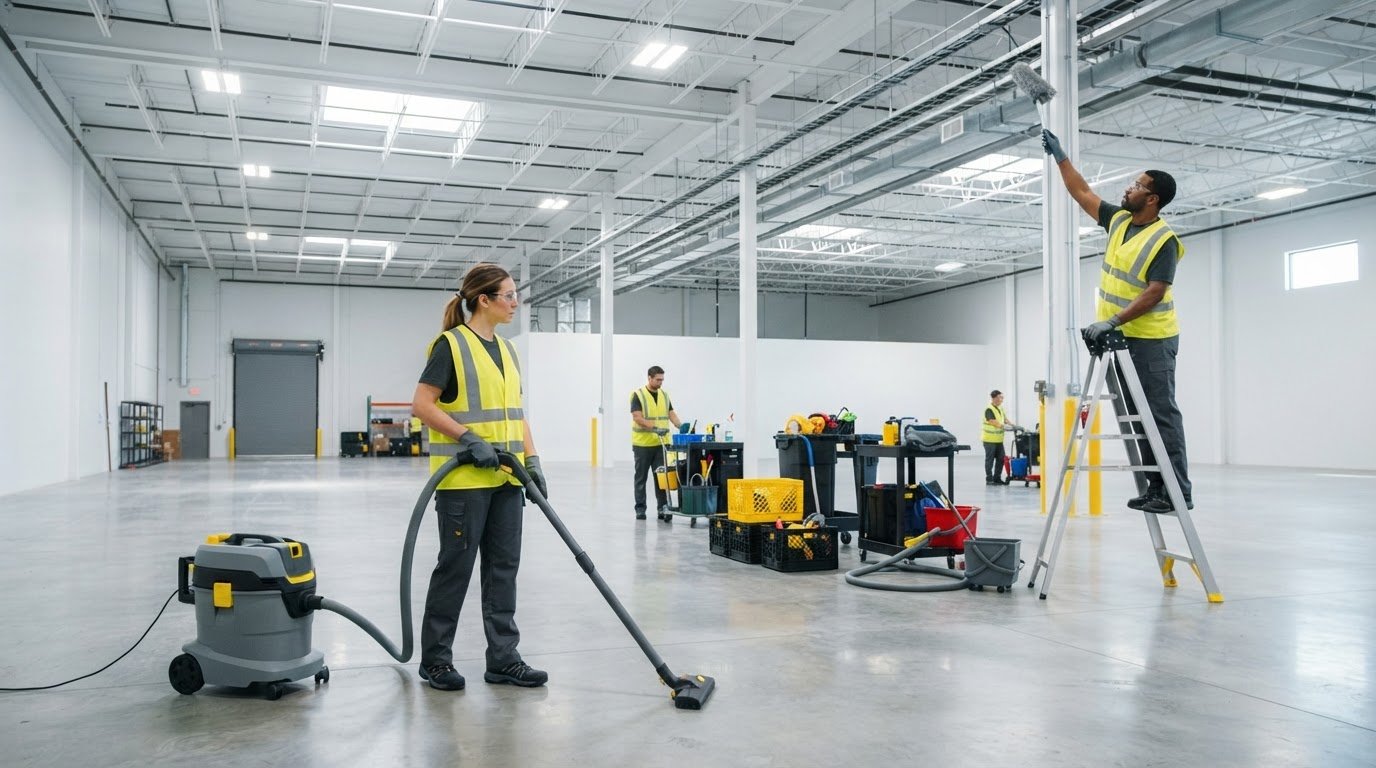
Fine construction dust can remain airborne for 24-48 hours after work ends. A HEPA-filter vacuum helps capture it as surfaces are cleaned. HEPA vacuums capture 99.97% of particles at 0.3 microns. Avoid dry sweeping that stirs settled particles back into the air. Use a careful sequence, then inspect cleaned surfaces for residue.
- Work from high surfaces downward. Dust ceilings, light fixtures, vents, and upper shelves first. Continue to walls, doors, cabinets, and countertops. This order directs falling particles toward surfaces that haven’t yet been cleaned.
- Vacuum before wiping. Use a HEPA-filter vacuum on surfaces and floor areas where it’s suitable. For cabinets and fixtures, vacuum reachable dust, then wipe with a clean cloth. Replace or clean cloths as they collect residue, rather than spreading dust to the next surface.
- Finish floors last. Vacuum or mop according to the flooring material. Hard floors may need damp cleaning after loose dust is removed; carpeted areas require suitable vacuuming. Check corners and edges, where dust can collect after the main floor area looks clean.
After vacuuming, wipe doors, baseboards, cabinets, countertops, fixtures, and other surfaces with visible residue. Clean windows and glass after overhead dusting, then inspect them from different angles for streaks or remaining particles. A single pass may miss dust on ledges or inside cabinets, so list those locations on the cleaning checklist.
Professional post-construction cleaning may use HEPA filtration vacuums and specialized floor-care machines to remove construction dust. These tools support an efficient process across large areas and different flooring types. The method still depends on the surface: vacuum or mop as appropriate, and avoid treating every floor with the same equipment or technique.
Finish with a room-by-room inspection. Look along the bottom edges of walls, behind doors, around vents, and on cabinet shelves. If a clean cloth picks up visible dust, repeat the relevant step before marking the area complete. Consistent sequencing, suitable tools, and a documented check help maintain cleaning standards throughout the facility.
Once larger debris has been removed, detailed post-construction cleaning includes wiping surfaces, vacuuming, mopping, and sanitizing. A HEPA-filter vacuum is recommended for capturing dust during this work. Vacuum or mop floors depending on the flooring type to help remove dust and contaminants. Include walls, doors, baseboards, cabinets, countertops, and fixtures when removing dust and construction residue.
Pay attention to high-touch surfaces, and remove dirt buildup from appliances, fixtures, cabinets, and closets. Fine particles from concrete, paint, and drywall can settle on surfaces and may cause respiratory problems if inhaled. Include these areas in detailed cleaning alongside other surfaces and floors, using wiping, vacuuming, mopping, and sanitizing as appropriate.
4. What tools and supplies are needed for post-project cleanup?
Match each tool to the debris, surface, and task. A practical cleanup kit includes protective gear, collection supplies, dry-cleaning tools, wet-cleaning equipment, and a checklist. Prepare it before entering the work area. Address loose wires, stray nails, and sharp scraps before cleaning starts. Keep walkways clear while tools and waste containers move through the site.
Use equipment suited to the material being cleaned. A hard floor and a carpeted room, for example, need different floor-care methods. Set out:
- Protective gear appropriate to the work area and cleaning tasks.
- Heavy-duty bags or containers for drywall pieces, wood scraps, packaging, and other debris.
- Brooms, dustpans, and scrapers for collecting loose material from reachable surfaces.
- A vacuum with HEPA filtration for fine dust, plus suitable floor-care equipment.
- Microfiber cloths, clean water, buckets, and mops for wiping and wet cleaning.
- Glass-cleaning tools and extension tools for windows, fixtures, and high surfaces.
- A written cleaning checklist, labels, and markers to track areas and supplies.
Check the vacuum, cords, attachments, and collection container before use. Choose a suitable attachment for edges and corners, then clean those areas without dragging debris across finished surfaces. Keep separate cloths for different tasks, such as glass and general surfaces. Replace a dirty cloth instead of transferring residue to another area.
Handle cleaning chemicals deliberately. Read each product label, use it only for its intended surface, and follow the stated directions. Keep products in their original containers, away from food-handling areas and cleaning tools. Include chemical-handling and equipment safety protocols in the checklist, along with the protective gear required for each assigned task.
Separate ordinary construction debris from hazardous waste during collection. Keep sharp items contained so they don’t create another hazard for workers. Dispose of hazardous waste according to local regulations. Train the people handling debris, and give each container or waste area a clear purpose to prevent mixed loads.
Before work begins, assign tools and tasks to specific team members. For example, one person can collect debris while another prepares cloths and floor equipment. Record completed areas on the checklist, including tools that need cleaning or replacement. This keeps the kit ready for the next space and makes the final walkthrough easier to document.
For a facility project that includes new or changed floor markings, discuss the project’s floor-marking needs as part of coordinating the cleanup and handover.
StripeGuys Warhouse Line Striping: Warehouse Floor Striping
StripeGuys provides warehouse floor striping for facilities preparing to resume operations after construction or renovation. Once cleanup is complete, clear floor markings help teams identify designated areas and traffic routes. If existing markings need removal before a new layout is applied, StripeGuys can remove them as part of the project. Epoxy line striping is another option for warehouse floor marking.
Include floor markings in the final walkthrough alongside cleaned surfaces and completed repairs. This helps coordinate marking work with the facility’s readiness plan rather than treating it as a separate task. For warehouse floor striping after a project, contact StripeGuys to discuss the work.
Make the Handover Work for Your Facility
Use the final walkthrough to set the next operational priority, not just close out construction tasks. Record what needs attention, identify who owns each follow-up, and keep the facility’s floor plan and traffic requirements in view. This turns post-project cleanup and inspection into a practical handoff, with clear responsibilities for the space’s next stage.
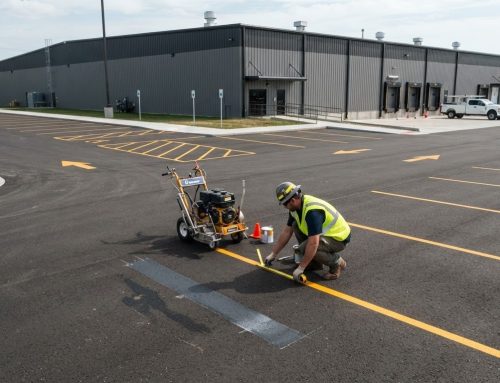
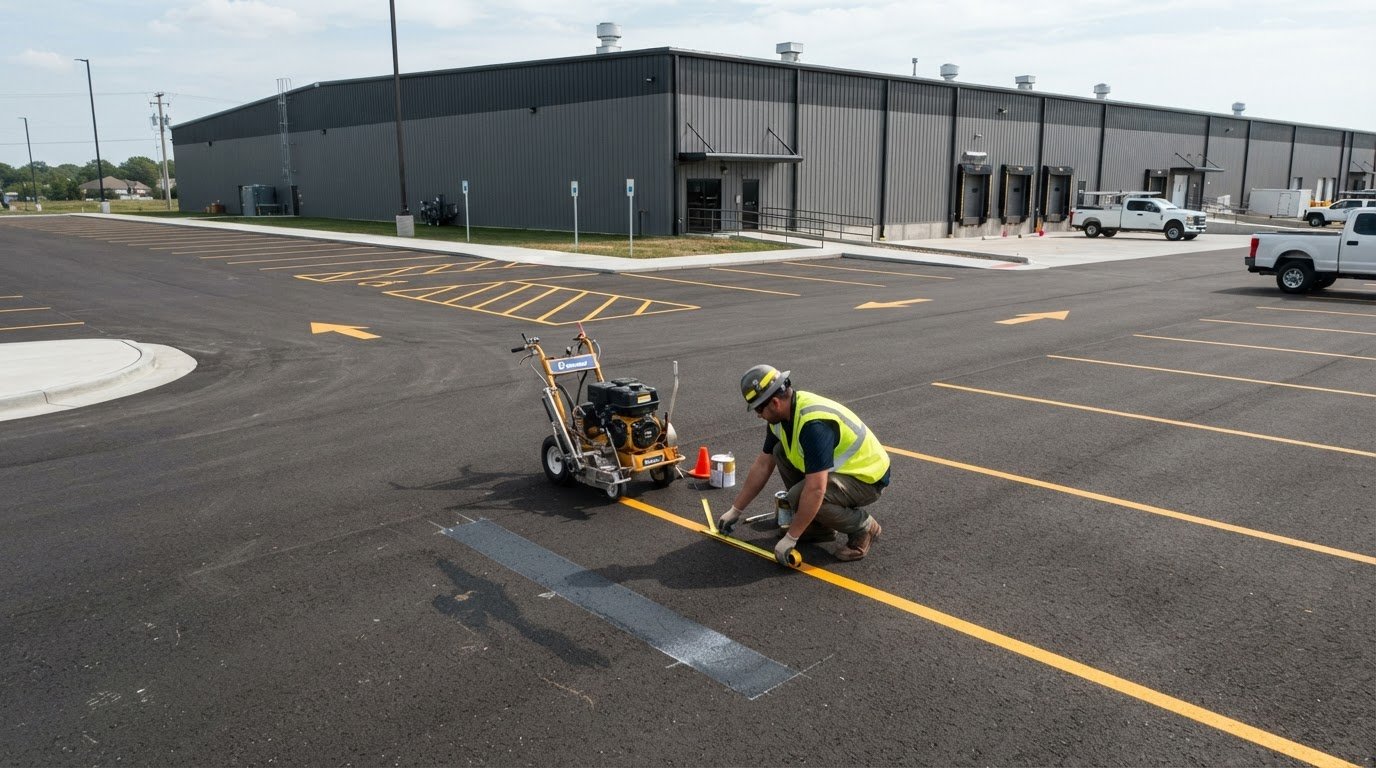
For warehouses and commercial sites, floor markings can be part of the handoff. StripeGuys provides warehouse floor striping and epoxy line striping, as well as parking lot line striping. These services address marking needs as facilities prepare to resume work or organize traffic areas. Share the project requirements and areas involved to start a focused discussion.
Contact StripeGuys Warhouse Line Striping to discuss floor marking for your facility. A clear next step helps keep the transition organized and supports a confident return to operations.
Frequently Asked Questions
What does post-project cleanup include?
Post-project cleanup and inspection involves removing construction residue, preparing affected areas for use, and recording any remaining issues. Check connected spaces crews used, including access routes, storage areas, and staging zones, not just the renovated room. For example, document leftover materials in a corridor or cleaning supplies awaiting removal. A complete post-project cleanup and inspection also confirms these items are cleared before operations resume.