Consistent markings turn aisles, pedestrian routes, and keep-clear zones into a system workers can read quickly. Developing a facility-wide marking standard starts with defining those routes and zones, then assigning clear, consistent colors and line specifications. According to the Occupational Safety and Health Administration, permanent aisles and passageways must be appropriately marked under 1910.176(a).
Floor markings show people and vehicles where to move, where materials belong, and which areas must remain clear. But a marking plan works only when employees interpret it consistently throughout the facility. OSHA does not establish a universal color chart for every boundary, staging area, or storage location, so each facility needs a documented standard suited to its operations.
This guide explains how to assess traffic and risk, distinguish OSHA requirements from facility-specific decisions, and set practical marking specifications for routes, zones, and hazards. You’ll also learn how to document exceptions, communicate the standard to employees, and keep markings aligned with changing workflows. The result is a repeatable plan for clearer movement and more orderly work areas.
Key Takeaways
- Map pedestrian and vehicle traffic, work areas, and keep-clear zones before deciding where markings should go.
- Document what each color and line style means, then train employees to apply the standard consistently.
- Clearly mark permanent aisles and passageways, using layouts that make routes easy to recognize and keep unobstructed.
- Specify line colors, widths, and solid or dashed patterns for each zone so markings remain consistent across the facility.
- Inspect markings for wear and update the plan when workflows or facility layouts change.
How does proper facility marking help create a more safe and visual workplace?
Manufacturing sites can use markings to distinguish machine work zones, material locations, and pedestrian routes. Warehouses often need clear storage boundaries and forklift paths. Healthcare facilities can use visual cues to separate circulation routes and identify work areas, with the marking scheme tailored to their operations.
Create one written standard that gives each color, line style, shape, and symbol a consistent meaning. Keep it easy to understand across departments, and train employees to recognize documented exceptions.
-
Develop Facility-Wide Color, Shape, and Symbol Conventions
Choose a limited set of colors, shapes, and symbols, then assign each a single meaning in a facility legend. For example, use a consistent symbol for first-aid locations and a distinct line pattern for pedestrian paths. Make sure signs, floor markings, and training materials use the same conventions. Reusing a color for unrelated hazards or areas can slow recognition during work.
-
Assign Colors to Areas, Materials, and Workspaces
Map work areas before assigning colors to storage, staging, equipment, and material zones. A warehouse might distinguish raw materials from finished goods, while a manufacturing floor separates operating areas from keep-clear spaces. Add labels or symbols wherever workers need more detail, and document local exceptions. This helps employees follow the scheme when materials move between departments or workflows change.
-
Set Facility-Wide Floor Marking Schemes
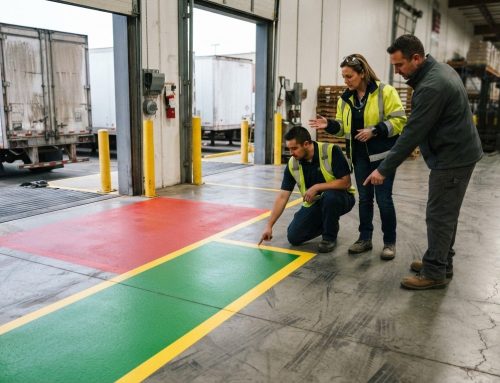
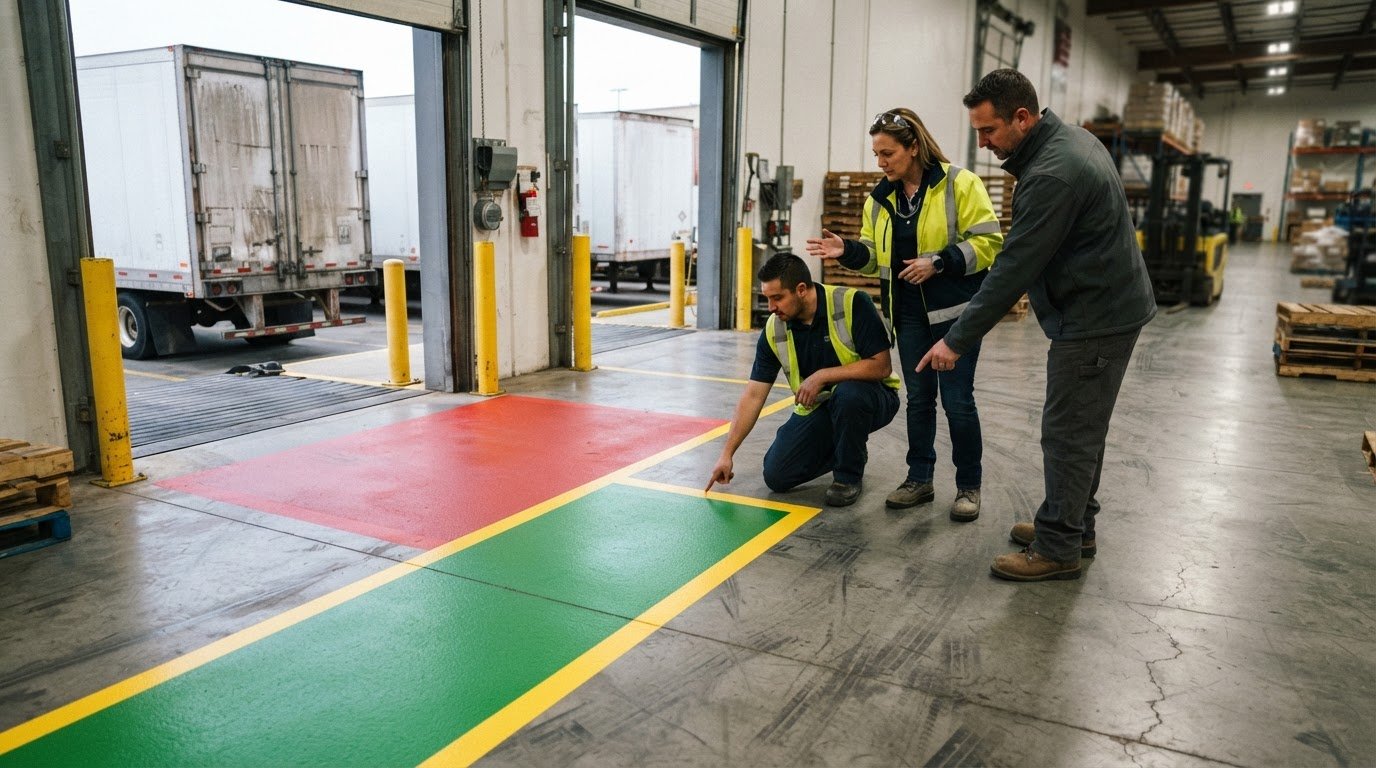
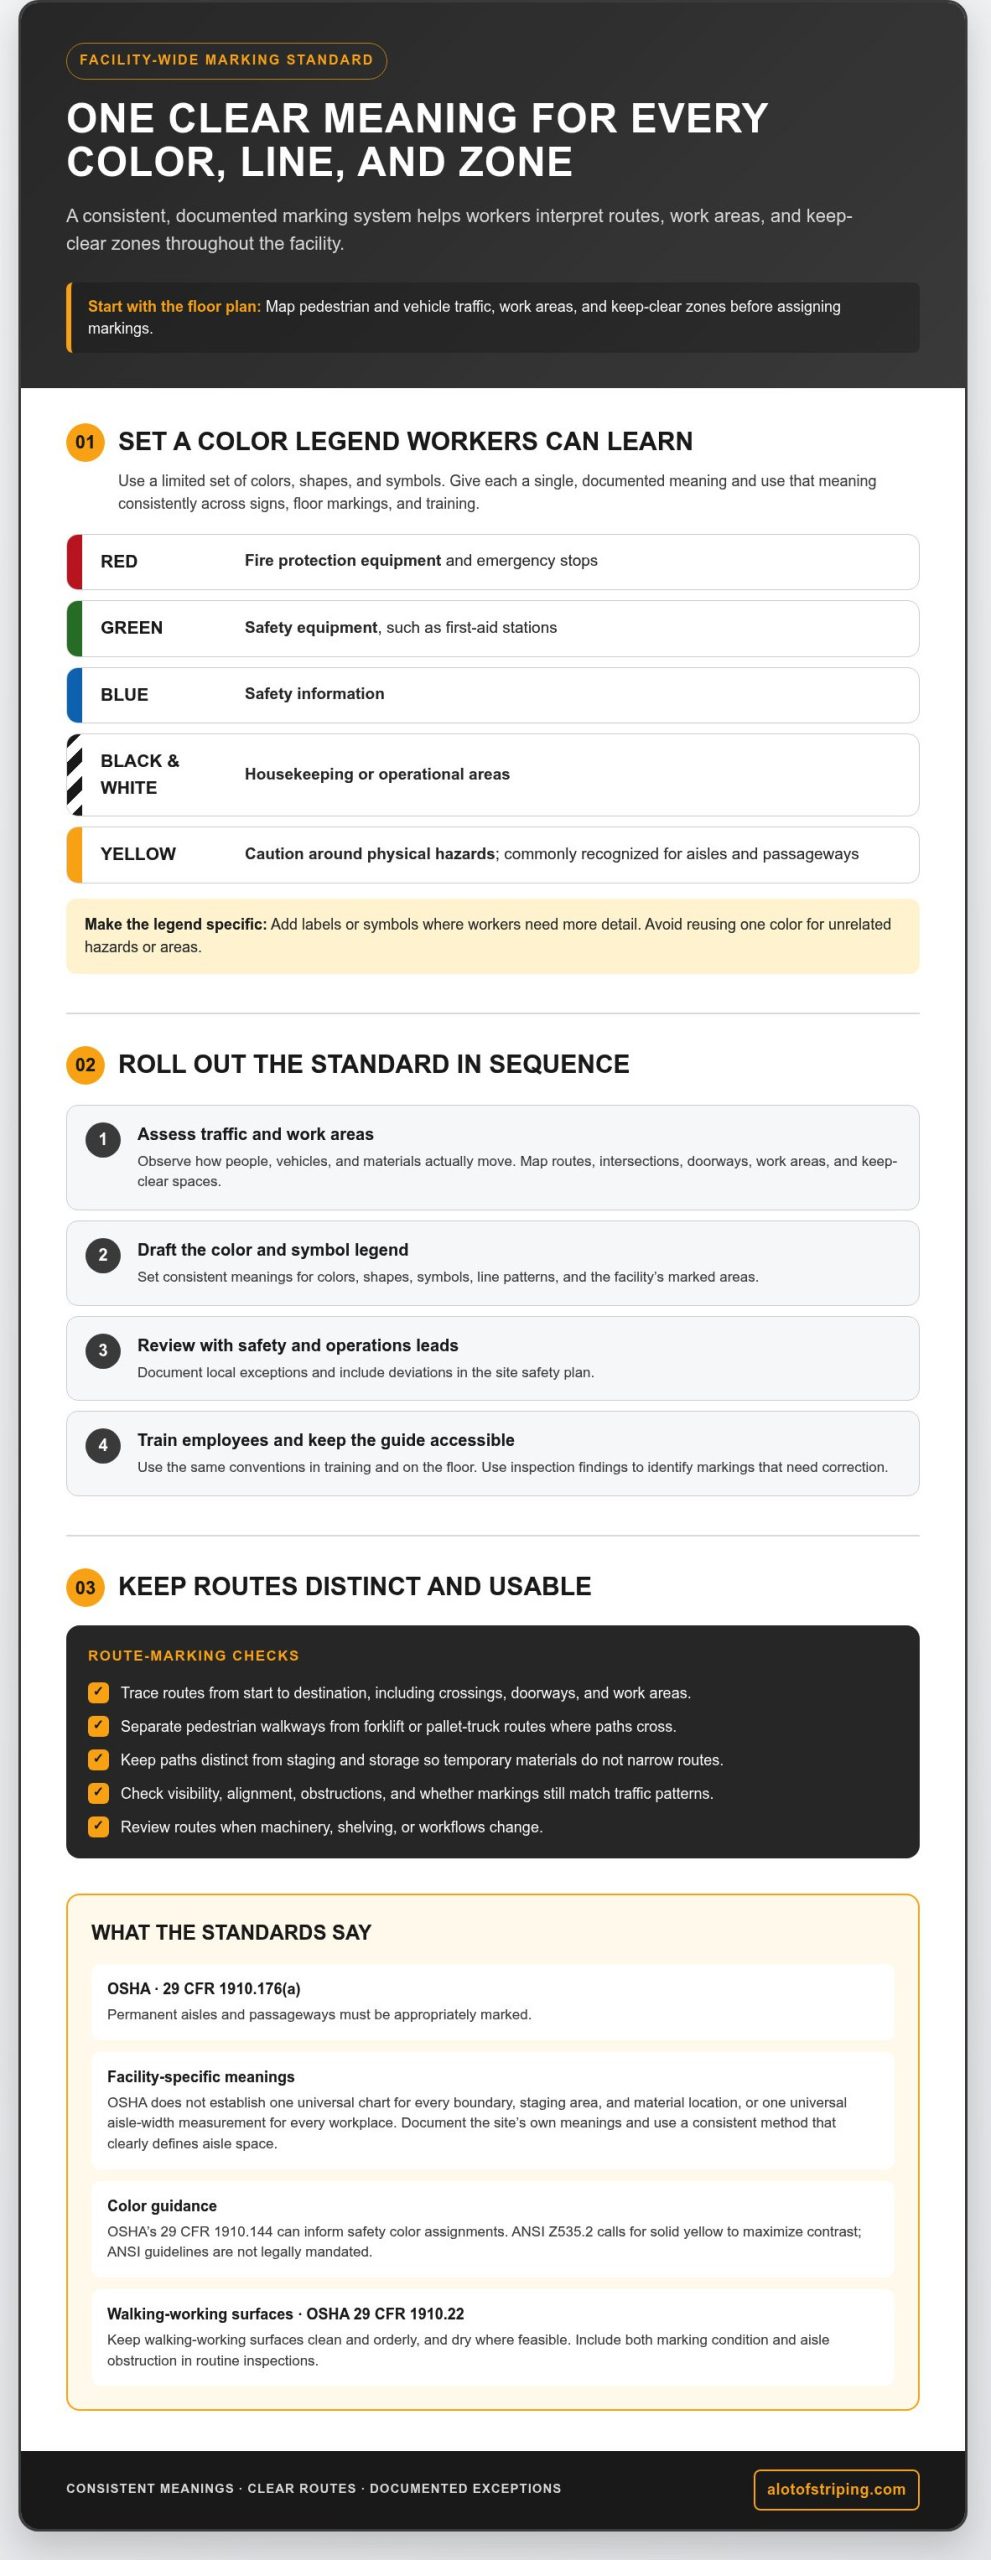
Set color and pattern rules for every marked area, then apply them consistently across buildings and shifts. Common examples include red for fire protection equipment and emergency stops, green for safety equipment such as first-aid stations, blue for safety information, and black-and-white markings for housekeeping or operational areas. Yellow can signal caution around physical hazards. In parking structures, distinguish vehicle lanes and pedestrian paths; parking garage striping and floor marking can support that visual separation.
-
Apply OSHA-Related Color Recommendations
Use the Occupational Safety and Health Administration’s safety color-code standard, 29 CFR 1910.144, to inform color assignments for safety identification. OSHA does not mandate one universal facility-wide chart for boundaries, staging, and material locations, so document the facility’s own meanings. ANSI Z535.2 calls for solid yellow to maximize contrast, and ANSI guidelines are not legally mandated.
Develop, approve, and roll out the standard in sequence: assess traffic and work areas, draft the color and symbol legend, review it with safety and operations leads, then train employees and include deviations in the site safety plan. Keep the guide accessible, and use inspection findings to identify markings that need correction.
OSHA regulations for permanent aisles and traffic ways
Map permanent aisles, pedestrian routes, and vehicle traffic before choosing how to mark them. The Occupational Safety and Health Administration requires permanent aisles and passageways to be appropriately marked under 29 CFR 1910.176.
-
Define Aisles and Pedestrian Walkways
Trace every route from its starting point to its destination, including intersections, doorways, and work areas. Where paths cross, mark pedestrian walkways separately from forklift or pallet-truck routes. Observe how workers, equipment, and materials actually move during normal operations, rather than relying only on the floor plan. A route that ends at a blocked storage area is not a clear path.
Set boundaries workers can identify as they approach and at crossings. Keep paths distinct from staging and storage areas so temporary pallets do not narrow usable routes. Include production-area entrances and access to regularly used equipment. Review routes whenever machinery, shelving, or workflow changes alter where people and vehicles travel.
-
Mark Hazards, Aisles, and Walkways
Choose markings that make aisle boundaries and hazard zones easy to distinguish. Yellow is commonly recognized for aisles and passageways, and it also signals caution around physical hazards such as tripping, falling, or striking risks. Use consistent markings at intersections and restricted areas, and make crossing points visible where pedestrian and vehicle traffic meet.
Keep markings aligned with actual conditions. A line directing workers behind a forklift route, for example, should not disappear at a blind corner or loading area. Marked boundaries can also show where materials must not obstruct an aisle. During inspections, check visibility, alignment, and obstructions, then correct sections that no longer match traffic patterns.
-
Apply OSHA Aisle-Marking Requirements
Document how the facility defines a properly marked permanent aisle. OSHA requires aisle markings but does not set one universal aisle-width measurement for every workplace. Different marking styles are acceptable when they clearly define aisle space. Choose a consistent method, record it in the site standard, and apply it to comparable routes.
Check the full route, not just its painted edges. OSHA’s 29 CFR 1910.22 addresses walking-working surfaces, including keeping them clean and orderly and dry where feasible. A clear boundary cannot compensate for an obstructed or poorly maintained walking surface. Include both marking condition and aisle obstruction in routine safety inspections.
- Use an alternative when floor lines are impractical. On dirt floors, alternative markers can help define aisle space when workers know how to recognize them. Specify who places the markers, where they belong, and how workers identify the route. Explain what temporary markers mean and maintain them as conditions change.
Record the chosen method for each area, then train workers on crossings, hazards, and temporary route changes. If existing lines need removal before a new layout, discuss the marking work as part of the implementation plan.
Why Are Floor Markings Important?
Floor markings make workplace routes, storage locations, and emergency access visible at a glance. Inconsistent or damaged lines can confuse workers, contribute to collisions or trips, and leave emergency equipment or exits obstructed. Clear, maintained markings help support orderly walking-working surfaces under OSHA standard 29 CFR 1910.22.
-
Use Floor Markings to Support Safety and Organization
Use visible markings to define pedestrian paths, forklift routes, storage boundaries, and keep-clear areas. For example, mark the space in front of fire equipment so pallets do not block access. Use yellow to highlight caution areas, and make crossing points visually distinct from vehicle lanes. Clear markings help workers interpret the workplace without relying on verbal directions each shift.
-
Integrate Markings into Lean 5S Visual Management
Use floor marking as a visual control within Lean 5S, especially for organizing tools and identifying where materials belong. Mark the outline of a waste bin or equipment parking location so a missing item or misplaced object stands out. Keep the floor tape, signs, and work instructions aligned. A marking system only supports the process when employees can quickly connect each visual cue to an action.
-
Organize Warehouses with 5S Floor Markings
Divide warehouse space into clearly designated locations for raw materials, finished goods, and hazardous substances. Add boundaries around staging areas and identify routes that must stay open for forklift traffic. Lines between 2 and 6 inches wide can suit different facility conditions; choose a width workers can see against the floor and around stored loads. Comprehensive floor marking systems have been associated with up to 35% fewer navigation-related incidents.
-
Address Risks from Inconsistent or Damaged Markings
Inspect markings for fading, peeling, obstruction, and mismatch with current traffic routes. During monthly safety audits, note where damaged lines could obscure an aisle edge, emergency access point, or storage boundary. Replace a marking when 25% of its line shows wear or becomes illegible. Workers who encounter conflicting colors or broken boundaries may follow the wrong route or leave materials in a required clear zone.
Use inspection findings to correct both the floor and the written standard. OSHA’s 29 CFR 1910.22 addresses clean, orderly walking-working surfaces and floors kept dry where feasible. Reassess markings after layout changes, then update employee guidance so the visual system matches the actual workplace.
Standardized marking plans and specifications
A usable marking plan turns color conventions into instructions crews can apply consistently. When developing a facility-wide marking standard, specify each route, line, symbol, and inspection point so employees follow the same visual rules across departments.
- Map permanent routes and zones. Start with a facility drawing that shows primary aisles, pedestrian routes, crossings, staging areas, and restricted spaces. Compare it with actual traffic patterns, including forklift turns and doorways. Mark each route’s start and end points, then identify intersections where pedestrians and vehicles need clear separation.
- Define line styles and widths. Give every line type a measurable specification instead of relying on descriptions such as “wide” or “visible.” For example, a sample plan uses three-inch solid yellow lines for primary traffic aisles and two-inch dashed yellow lines for secondary pathways. Apply consistent measurements wherever the same function occurs.
- Assign colors by function. Record the intended meaning beside each color and pattern. A sample plan uses four-inch red lines for restricted areas; distinguish that rule from any red markings assigned to fire equipment or emergency stops. The written legend should resolve overlaps, explain exceptions, and prevent departments from assigning conflicting meanings to the same color.
- Specify symbols and labels. Show where arrows, text, numbers, and floor symbols belong, including their orientation and relationship to each zone. ISO 7010 concerns safety signs, so coordinate sign meanings with floor-level cues rather than creating competing instructions. Use labels where color alone cannot clearly distinguish materials, equipment, or a work area.
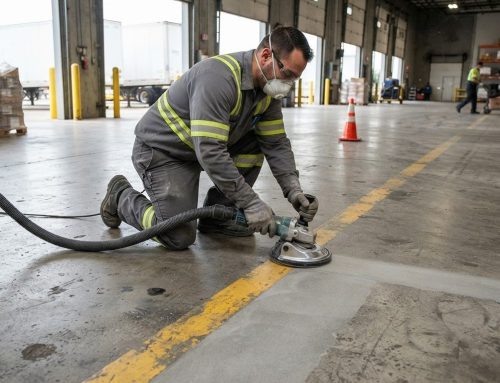
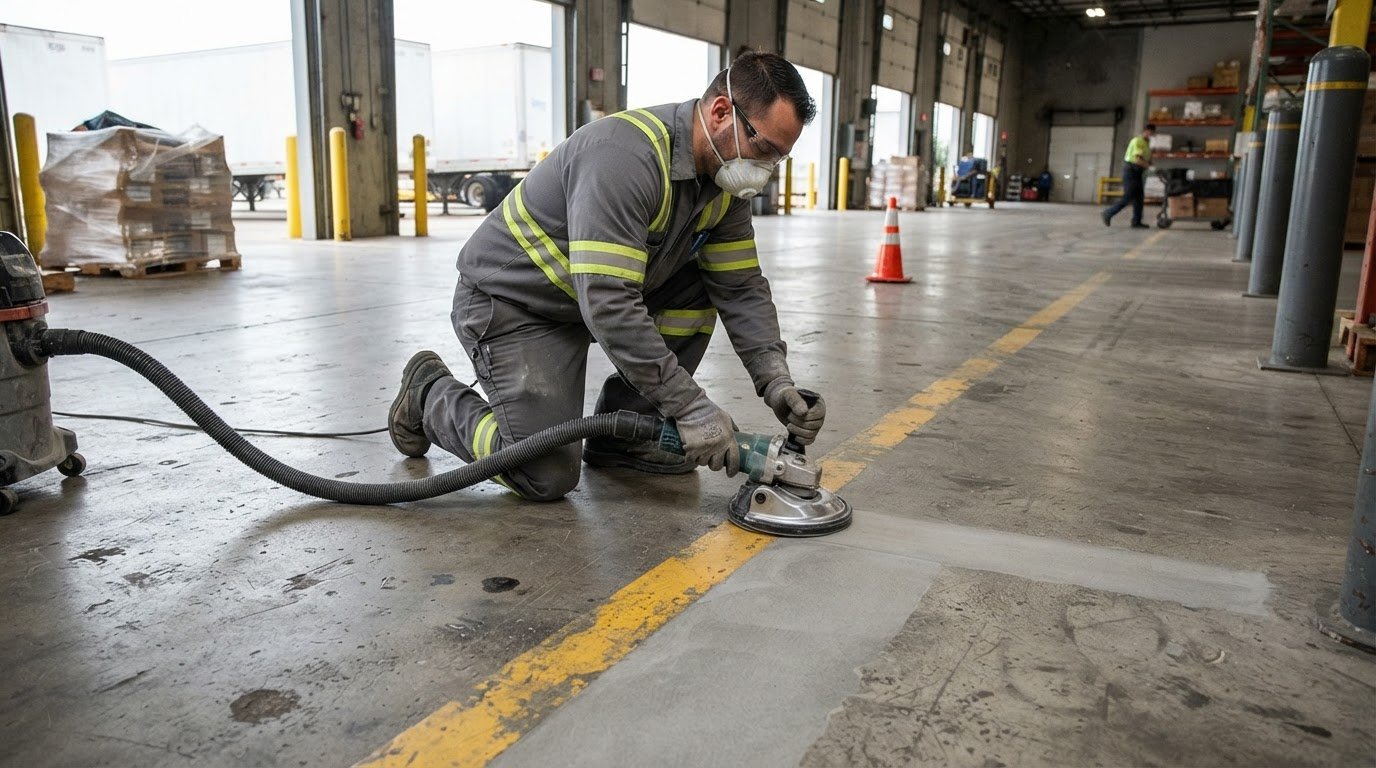
- Record surface and material conditions. Before choosing a marking method, note the floor condition and expected traffic at each location. Match markings to current and expected surface conditions. Include surface preparation, application method, and the conditions required before reopening each area, so installation follows the plan rather than individual interpretation.
- Set drawing and installation controls. Give the plan a revision date, facility area, legend, and change record. Annotate measurements from fixed reference points, such as walls or columns, so markings can be restored after equipment moves. As you continue developing a facility-wide marking standard, compare completed work with the drawing and record approved deviations before employees use each route.
- Approve, train, and inspect. Ask safety and operations leaders to review the plan for traffic conflicts, caution zones, and emergency access. Train employees on the legend and exceptions, then make the current version accessible in relevant work areas. Inspect markings against the specifications, and revise the drawing when permanent routes or processes change.
Need a consistent plan translated into floor markings? Discuss your facility marking project.
StripeGuys Warhouse Line Striping: Warehouse Floor Striping
StripeGuys Warhouse Line Striping can put a documented warehouse marking plan into practice with warehouse floor striping and epoxy line striping. Once your routes, colors, and line specifications are set, consistent application translates the plan into visible aisle and zone boundaries.
Turn to StripeGuys Warhouse Line Striping when a new layout needs clear floor markings, existing lines conflict with updated routes, or worn markings need replacement. Warehouse line removal clears outdated markings before a revised layout is applied. Defining the standard first gives the installation a clear purpose and helps align the floor with your operating plan.
Contact StripeGuys Warhouse Line Striping to discuss your warehouse floor marking project.
Put Your Marking Plan Into Practice
A written standard is useful when it guides real decisions on the floor. As you continue developing a facility-wide marking standard, choose an area where unclear routes or changing workflows create friction. Apply the specifications there, gather employee feedback, and identify adjustments before extending the plan across the operation.
Consistent execution matters as much as the drawing. StripeGuys provides warehouse floor striping and epoxy line striping for facility marking projects, along with parking lot line striping for exterior traffic areas. These services help translate your documented layout into clear markings employees can use in their daily work.
Set the standard, align the markings with how your facility operates, and keep the plan current as conditions change. Contact StripeGuys Warhouse Line Striping to discuss your marking project and take the next step toward clearer movement throughout your facility.
Frequently Asked Questions
How does facility marking improve safety awareness and navigation?
Facility markings give workers visual cues for routes, boundaries, and locations without requiring verbal instructions at every point. For example, directional arrows can guide visitors from an entrance to a designated pedestrian path, while floor outlines show where carts or tools belong. Repeating the same symbols in connected work areas helps employees recognize familiar instructions and spot misplaced materials during routine tasks.
So, what does a comprehensive facility marking strategy include?
A comprehensive strategy combines a current floor plan, a consistent legend, installation specifications, employee guidance, and a process for managing changes. Include routes, crossings, equipment locations, material zones, restricted spaces, and emergency access. Assign responsibility for approving layout changes and updating the legend. If a new production cell shifts a pedestrian route, for example, update both the floor plan and the markings before directing employees onto it.
What are the best practices for installing and maintaining facility marking products?
Before installation, remove dirt, grease, and debris, then measure and lay out lines accurately with a chalk line or measuring tape. For marking tape, use a roller to press out air bubbles and support adhesion. Follow the product’s application and reopening instructions. Inspect markings regularly for peeling, fading, damage, or misalignment, and replace compromised sections before they become hard to interpret.
What is a facility-wide marking standard?
A facility-wide marking standard is a shared set of rules for visual markings throughout a workplace. It defines what colors, patterns, symbols, and labels mean and where employees should see them. Unlike an informal collection of lines added over time, a standard gives departments a common reference. This makes markings easier to understand as employees move between work areas or shifts.
What information should a facility marking standard cover?
Include a color and symbol legend, line patterns, area-specific rules, and a map showing where each marking applies. Add instructions for pedestrian routes, vehicle paths, storage, restricted areas, and emergency access. Record how exceptions are approved, who maintains the document, and how revisions are communicated. Include examples of correct and incorrect setups, such as a marked staging zone compared with materials left outside its boundary.
How to assess existing facility markings and identify gaps?
Walk the facility with employees from different work areas and compare visible markings with actual tasks and traffic. Note missing routes, conflicting colors, worn lines, unclear intersections, and markings hidden by equipment or stored goods. Compare findings with the current floor plan and safety procedures. Prioritize gaps that affect movement or access, assign corrective actions, and record changes so the assessment becomes a practical update plan.