For high-traffic garages and warehouses, epoxy line striping for parking garages is designed to last more than 3 years, including where heavy vehicles operate. The right choice still depends on the surface, exposure to moisture and temperature changes, and how the markings will be maintained. Epoxy uses a pigmented resin and hardener that react after mixing to bond the stripe to the pavement.
When planning epoxy line striping for parking garages, weigh durability, installation conditions, and upkeep, not just the finished appearance. Clear markings define parking stalls, traffic lanes, and pedestrian routes, while a consistent layout helps people navigate the space.
This guide covers how epoxy striping is installed, what affects its performance, and how cleaning and inspections help maintain clear markings. It also explains color planning and factors to consider when comparing epoxy with other marking options for parking garages and warehouses.
Key Takeaways
- Compare striping materials by how they handle traffic, surface conditions, and the maintenance your facility can sustain.
- Prepare the surface by removing dirt, debris, and oil, then ensure it is dry before application; roughening can support adhesion.
- Inspect markings for early fading or damage and keep the floor clean to help limit premature wear.
- Choose colors and layouts that make parking spaces, vehicle routes, and pedestrian areas easy to distinguish.
- Use reflective glass beads to improve visibility in low-light areas, and consider how the marking plan fits the way vehicles and people move through the facility.
Choosing striping by installation, maintenance, and durability
Choose a striping material by matching its bonding method and wear profile to the surface and traffic. Epoxy line striping for parking garages is designed to last more than three years, including in high-traffic areas with heavy vehicles.
High-Traffic Epoxy Durability
Epoxy paint combines pigmented resin with a hardener. Once mixed, the components react and bond the stripe to the pavement, helping it resist abrasion, impacts, and chemical exposure. This makes epoxy a practical option where vehicles repeatedly cross marked areas. Assess the existing surface and exposure to moisture and temperature changes, since these conditions affect epoxy application and performance.
Pigment and Color Durability
Color is carried in the pigmented resin, so the selected shade becomes part of the applied marking rather than a separate surface label. Choose colors to distinguish functions such as vehicle lanes and pedestrian routes, then inspect them for fading or damage during routine facility checks. The available facts do not establish particular pigment chemistries or color-retention periods, so avoid assuming all colors perform identically across every surface and exposure.
Comparing Striping Materials
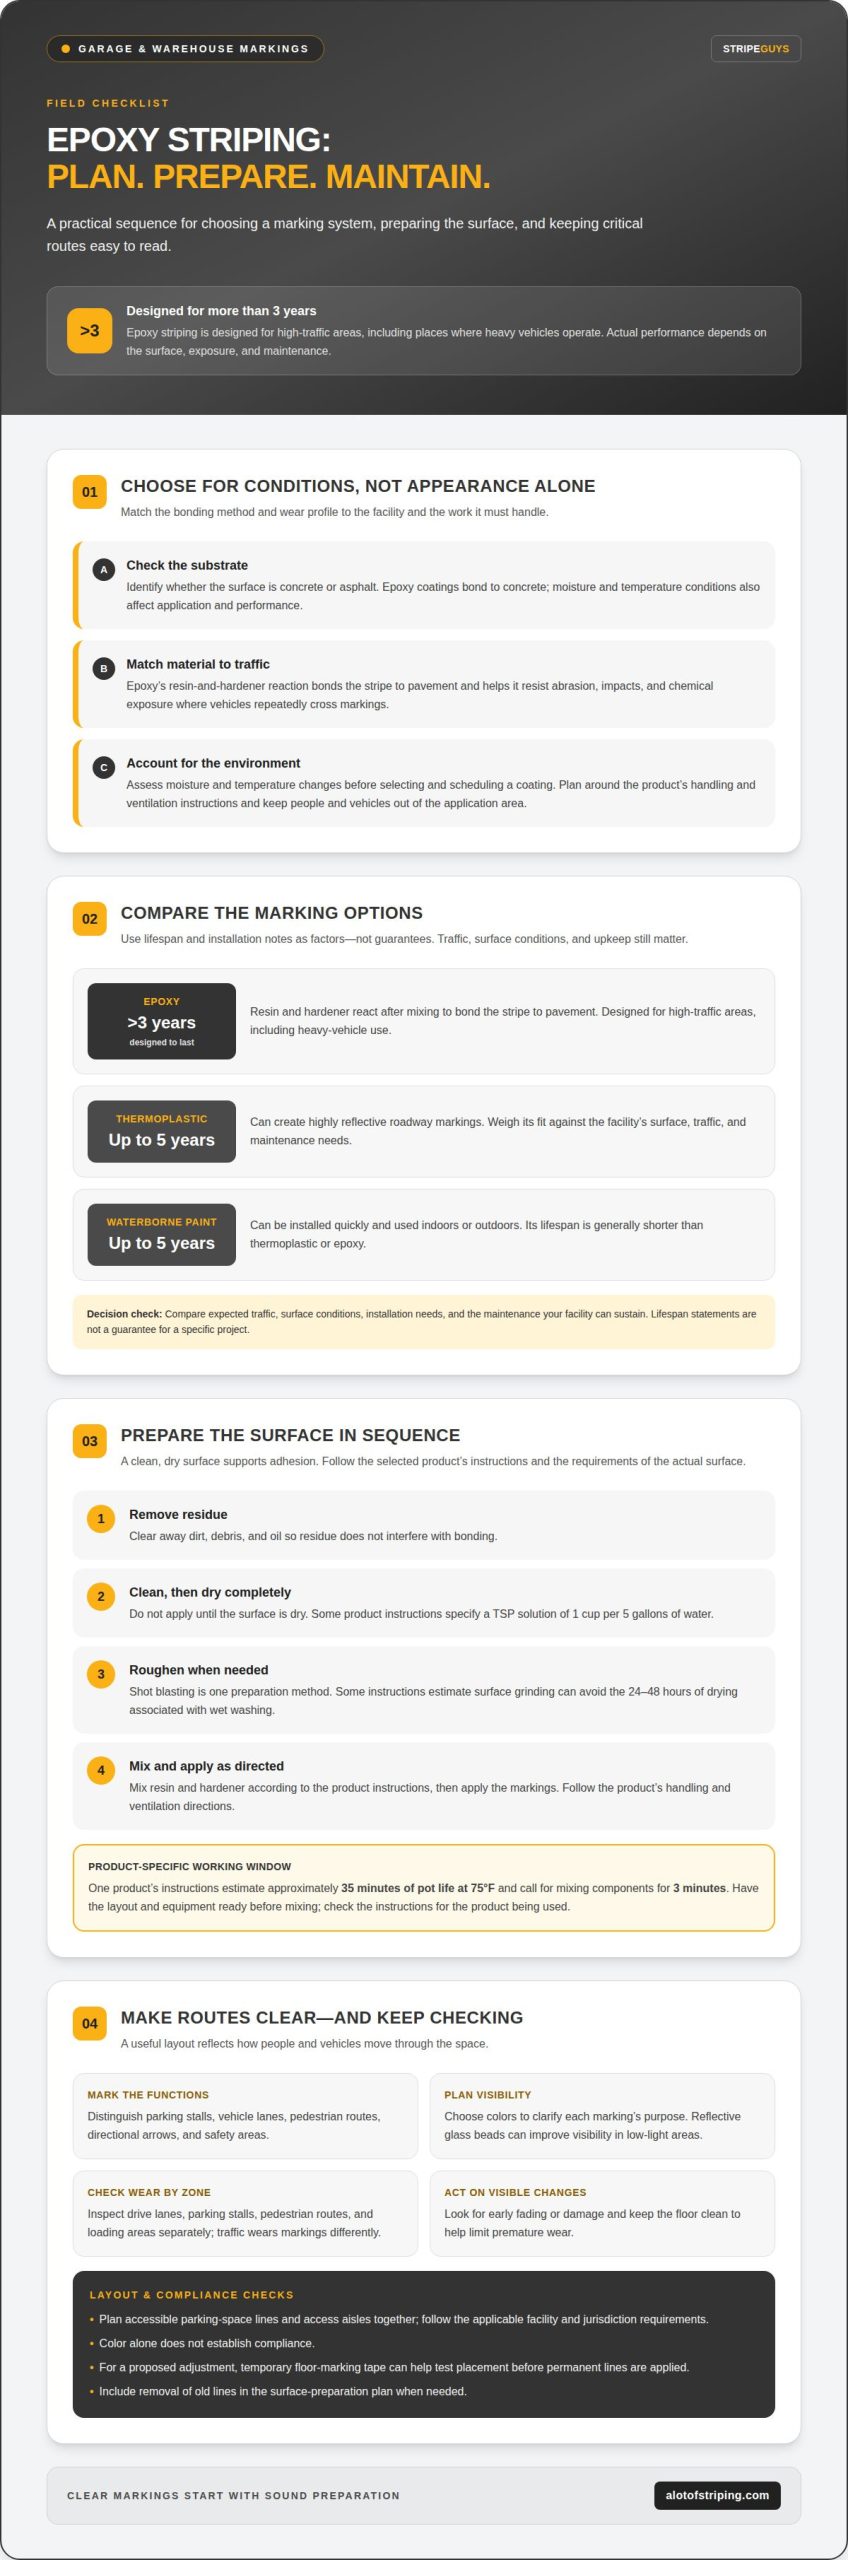
Epoxy bonds to pavement through the reaction between resin and hardener. Waterborne traffic paint can be installed quickly, but generally has a shorter lifespan than epoxy or thermoplastic. Thermoplastic striping can last up to five years and can create highly reflective roadway markings. For a garage or industrial floor, weigh expected traffic, surface conditions, and maintenance needs rather than choosing on installation speed alone.
Epoxy coatings bond to concrete and form a seamless, chemical-resistant surface. Because moisture and temperature affect application, surface conditions matter during installation. A sound decision accounts for both durability and the environment in which the coating must cure and perform, a factor often detailed in technical coating guides from industry specialists like NovoTech. Identify whether the substrate is concrete or asphalt before comparing materials.
Permit and contractor requirements vary across the United States, depending on the jurisdiction and project scope. Identify the location and work involved before setting an installation plan, and do not assume a requirement that applies to one facility applies elsewhere.
For warehouse projects, review how epoxy warehouse striping fits the surface and traffic pattern. Compare material choices against the facility’s operating conditions, then plan inspections around visible wear. That approach connects installation decisions to the marking’s service life without treating any single lifespan figure as a guarantee.
Is Epoxy Striping Easy to Maintain?
Maintenance starts before application. A clean, dry surface supports adhesion, while routine inspections help catch fading and damage early. In a garage, check drive lanes, parking stalls, pedestrian routes, and loading areas separately, since traffic wears each marking differently.
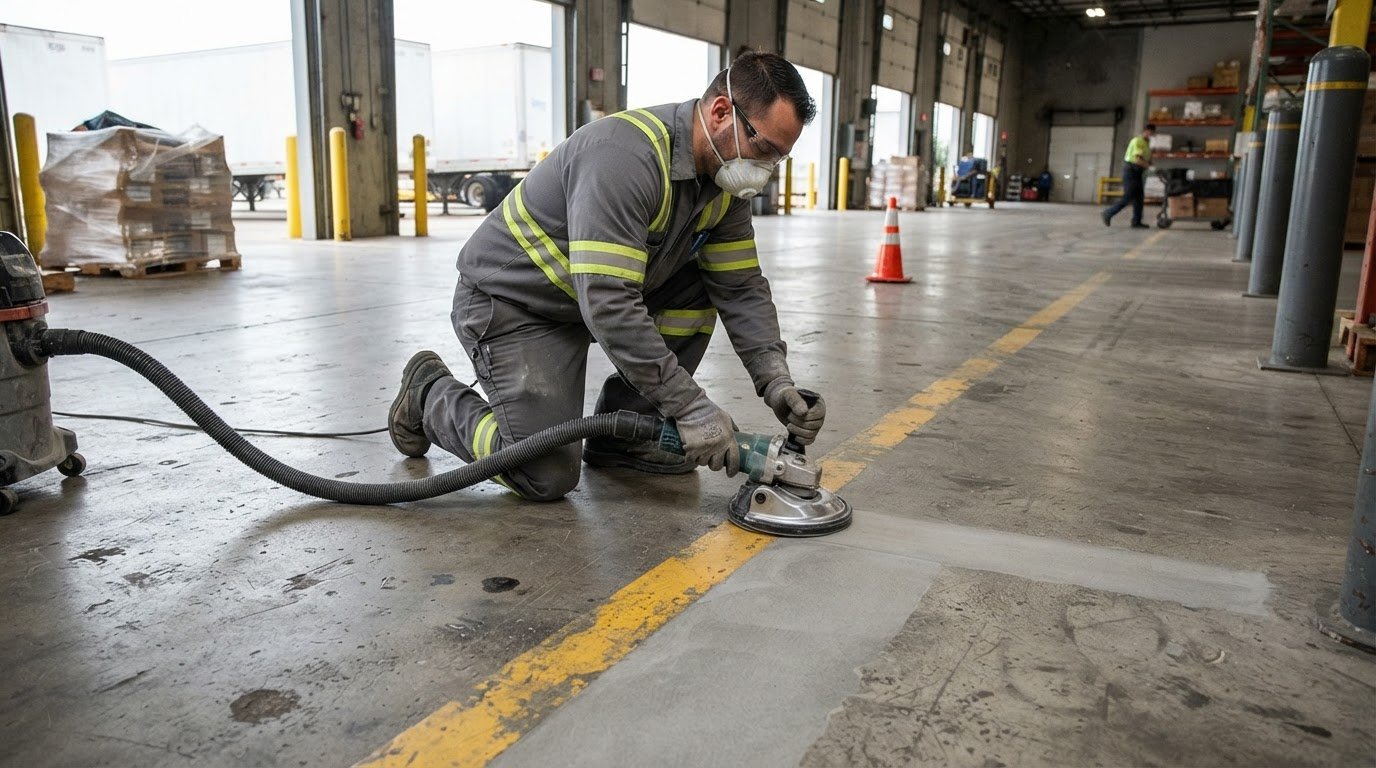
Use a consistent preparation sequence before applying epoxy:
- Remove dirt, debris, and oil so residue doesn’t interfere with bonding.
- Clean the floor, then allow it to dry completely before application.
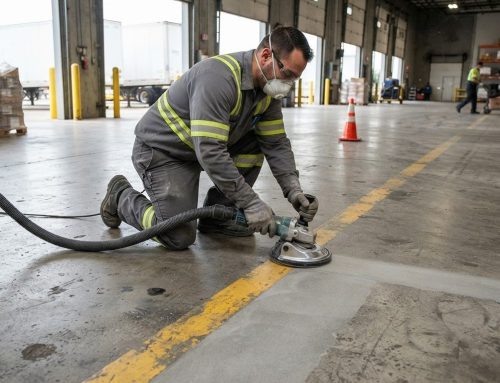
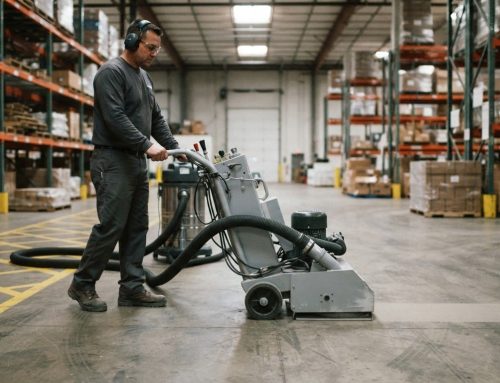
- Roughen the pavement when needed; shot blasting is one preparation method.
- Mix the resin and hardener according to the product instructions, then apply the markings.
Some product instructions give a TSP cleaning solution ratio of 1 cup per 5 gallons of water. They estimate that surface grinding can avoid the 24-48 hours of drying associated with wet washing. Use the instructions for the selected product and surface.
Working time affects how crews plan an application. One product’s instructions estimate a pot life of approximately 35 minutes at 75°F and call for mixing the components for 3 minutes. That limited window makes organized preparation important: have the layout and equipment ready before mixing, rather than stopping midway through a batch.
Accessible parking layouts must follow the applicable accessibility requirements for the facility and jurisdiction. Plan parking-space lines, access aisles, and related markings together. Color alone does not establish compliance.
Epoxy application involves mixing resin and hardener, so follow the product’s handling and ventilation instructions. Plan work-area controls around the product directions and garage conditions, and keep vehicles and pedestrians out of the application area during work.
Waterborne striping is suitable for interior and exterior use, including roads, parking lots, pathways, and bicycle lanes. It can be installed quickly and may last up to 5 years, though its lifespan is generally shorter than thermoplastic or epoxy. Choose it where quick installation matters, then weigh expected traffic and maintenance needs.
Parking garages and warehouses use markings for more than parking stalls. Directional arrows, pedestrian walkways, and safety markings organize movement around vehicles and equipment. Inspect these areas regularly; identifying fading or damage early helps facilities plan maintenance before markings become difficult to follow.
For a spot marking or layout adjustment, test the proposed design with temporary floor-marking tape, then adjust its position before applying permanent lines. This can help assess a marking near a narrow vehicle route or warehouse work zone. If old lines need to be removed before a new layout, include line removal in the surface-preparation plan.
For a project-specific discussion of marking needs, contact the team about your facility.
Color options and project galleries
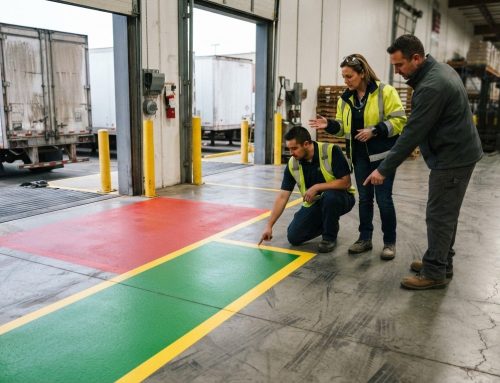
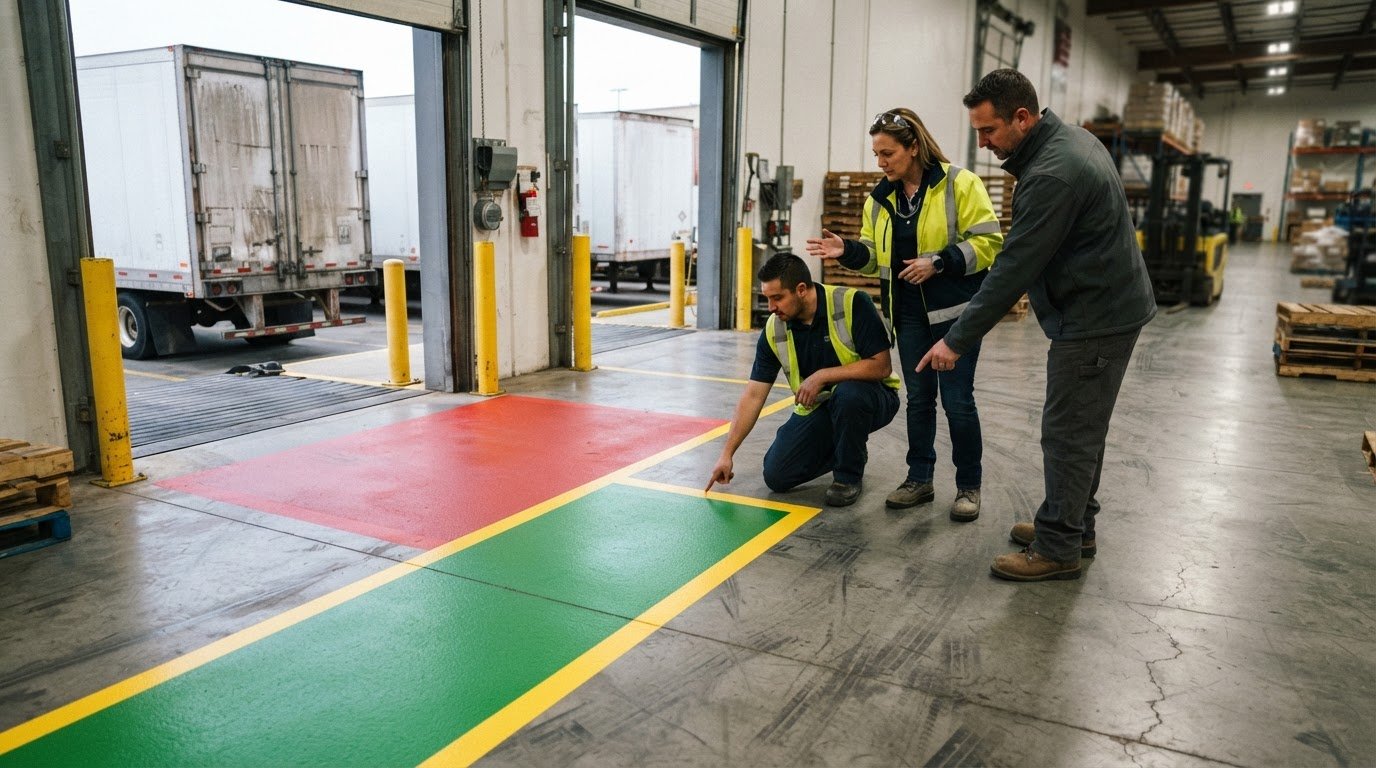
Color choices should make each marking’s purpose clear across the facility. Some epoxy striping products are offered in six safety colors, giving planners options for separating traffic lanes, parking areas, and pedestrian routes. The useful choice depends on the layout, existing floor color, and how people move through the space. Start with function, then select colors that remain easy to distinguish against the concrete or existing coating.
Build a simple color plan before marking the floor. Assign a consistent color to each category, such as vehicle movement, parking boundaries, or pedestrian paths. Keep the plan consistent across connected areas, including a garage entrance and adjoining parking levels. Drivers should not have to interpret a different color system at every turn.
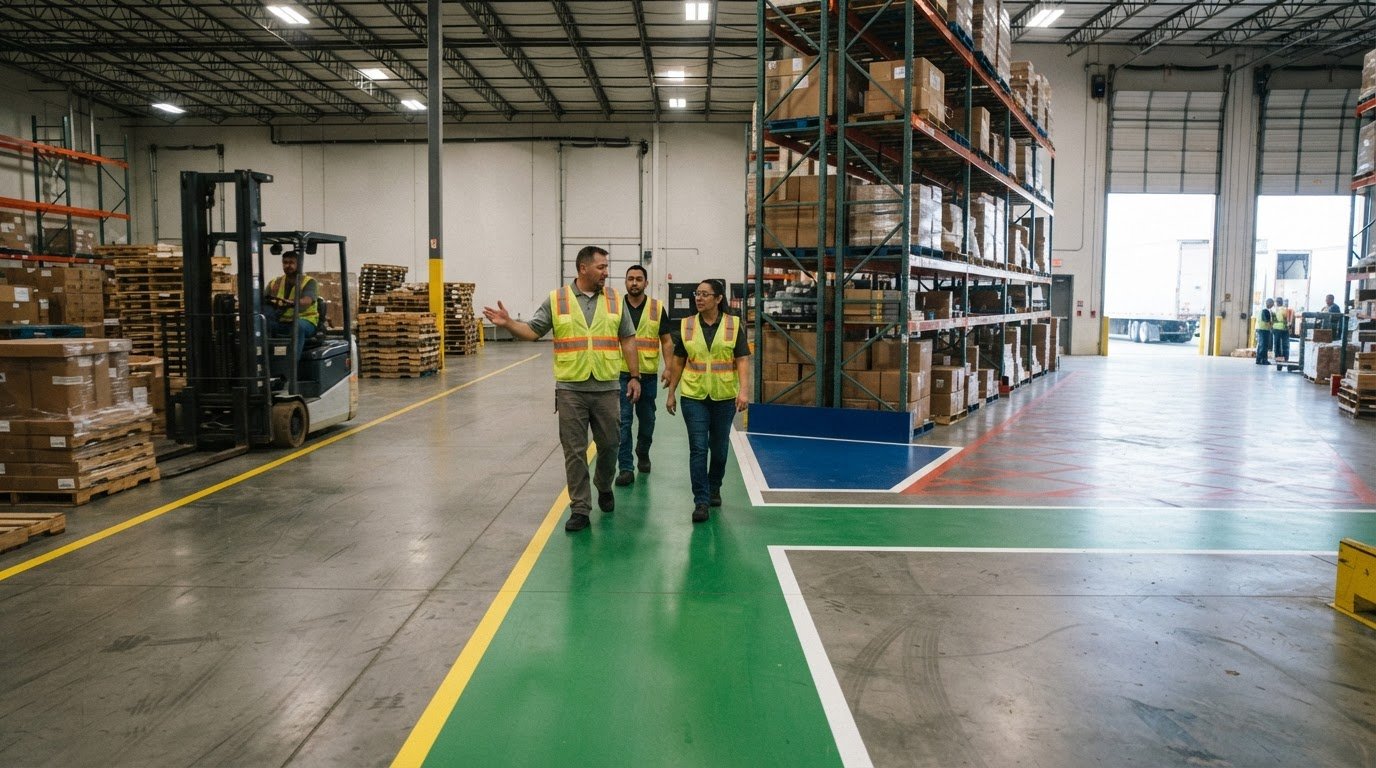
Color alone should not carry the full message. Pair it with clear line placement, arrows, or text where the layout needs more direction. For example, a warehouse route can use a continuous boundary, while a separate marked crossing shows where pedestrians meet vehicle traffic. Numbered stalls can also make parking arrangements easier to read. The color plan should support these markings, not compete with them.
Project galleries can help you assess layout and visual contrast, but compare examples carefully. Look for a setting similar to yours, such as a concrete parking level, warehouse aisle, or truck staging area. Check whether lines remain distinct beside columns, joints, and existing floor finishes. A photograph shows the finished appearance, while its context helps you judge whether the design suits your facility.
Review gallery images for practical details, not just color. Notice how markings guide vehicles around turns, separate walkways, or identify parking bays. Compare open areas with crowded ones. If images show different viewing angles, consider how the same layout reads from a driver’s approach and from a pedestrian route.
For a useful color review, follow these steps:
- List each marking function, such as stalls, aisles, walkways, or numbered zones.
- Choose a distinct color role for each function, using the available safety colors.
- Compare the proposed colors against the actual concrete and surrounding finishes.
- Review the layout from vehicle and pedestrian approaches before installation.
Marking visibility over time depends on traffic, cleaning, and surface wear. Plan inspections around the facility’s active routes, and record fading or damage by location. This makes maintenance decisions more specific than treating every marked area as equally exposed.
For example, a garage may need stall lines, directional arrows, and pedestrian boundaries to remain visually distinct. A warehouse may prioritize aisle edges and numbered zones. Gallery examples can help you compare layouts, while a site-specific color plan ties the final markings to actual movement and floor conditions.
Epoxy striping for parking garages and warehouses
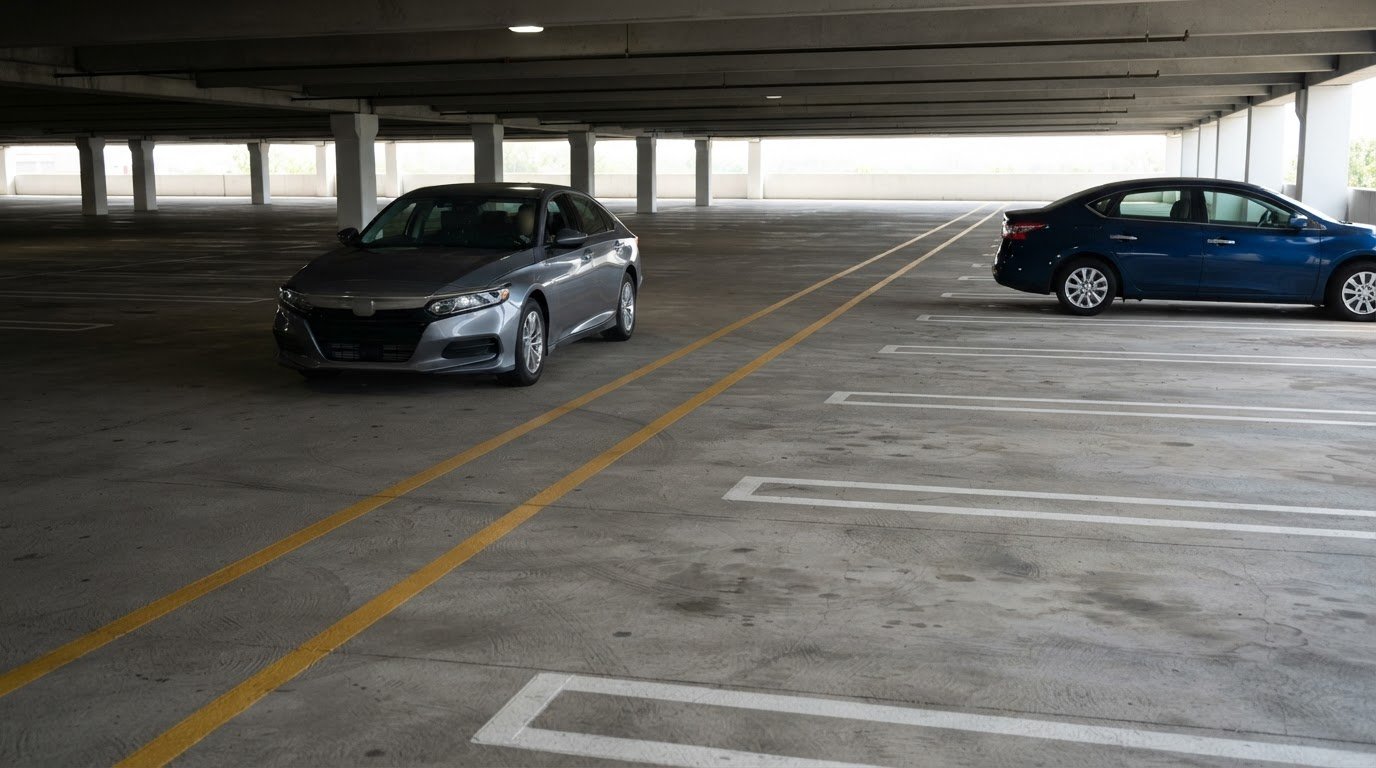
Epoxy line striping for parking garages uses a two-component coating to mark vehicle lanes, parking stalls, and pedestrian walkways. Pigmented resin and hardener react after mixing, bonding the marking to the pavement. In warehouses, the same approach can define forklift routes, pallet-truck aisles, and pedestrian crossings.
These facilities put different demands on floor markings. Parking garages expose coatings to vehicle traffic, water, de-icing salt, and petrochemicals. Warehouse aisles experience repeated turns and crossings from forklifts and pallet trucks. Commercial garage flooring systems are described as resistant to these substances and conditions, but the layout still needs to direct movement clearly.
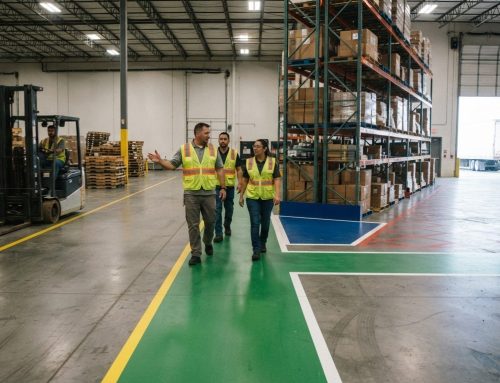
For a garage, map the route from entrances to parking stalls and exits. Use line boundaries to separate vehicle lanes from pedestrian walkways, and place directional markings where drivers need to choose a route. In a warehouse, map equipment routes and walking paths separately. At intersections, clear boundaries and arrows make the intended movement easier to follow.
Visibility matters in dim garage levels and busy warehouse zones. Reflective glass beads can be added to epoxy striping to improve visibility in low-light conditions. This can help where headlights, overhead lighting, and shadows affect how drivers see lines. Reflective markings support visibility, but do not replace a layout that clearly separates vehicle and pedestrian movement.
Surface conditions also shape the choice of marking system. Some commercial garage flooring systems are designed to provide slip resistance in wet or dry conditions and resist freeze-thaw conditions and heat. Aggregates or grit can increase slip resistance in areas exposed to moisture. Match the surface treatment to the conditions, such as a damp garage entrance or a warehouse zone where spills may occur.
Plan finish and repair needs alongside the line layout. Commercial garage flooring finishes are available in gloss or satin, and flooring systems can be used in new construction or on existing surfaces needing repair. Check how the selected finish and line colors contrast with concrete, columns, and adjacent pedestrian areas.
A practical project sequence is straightforward:
- Map lanes, stalls, crossings, and equipment routes for each facility area.
- Identify low-light, wet, or icy locations that may need added visibility or slip resistance.
- Choose line placement and surface finish to suit new construction or repair work.
- Review the full route from a driver’s and pedestrian’s viewpoint before marking.
For a garage or warehouse layout that needs clear routes and durable floor markings, discuss your striping project.
StripeGuys Warhouse Line Striping: Warehouse Floor Striping
StripeGuys Warhouse Line Striping helps facilities turn floor plans into clear markings through warehouse floor striping and epoxy line painting. Use these services when forklift routes, pedestrian aisles, or work zones need defined boundaries, or when existing lines no longer support daily operations.
For parking facilities, parking lot line striping can define stalls and traffic paths. In warehouses, planned markings help separate equipment routes from pedestrian areas. If outdated or damaged lines need to be cleared before a new layout, StripeGuys provides warehouse line removal to prepare the floor for updated markings.
Share the facility’s surface, traffic patterns, and marking needs with StripeGuys Warhouse Line Striping to discuss the right next step.
Make the Next Marking Plan Fit Your Operation
Before planning a floor-marking project, walk the site during normal operations. Note where vehicle routes cross pedestrian paths, where traffic patterns change, and which markings need to be visible from a driver’s approach. This gives the layout a clear operational purpose rather than treating every line as an isolated task.
For epoxy line striping for parking garages, consider how the marking plan supports daily movement across the facility. Account for changing storage zones, delivery flows, and access paths. Professional vehicle holding and laydown operations—such as Allwest Storage & Parking—demonstrate the importance of well-defined lanes and bays when managing cars, trucks, and trailers. A practical plan aligns markings with how teams and vehicles use the space, helping managers set priorities before work begins.
If the project spans connected areas, map the transitions between them. Consistent routes and clear boundaries help people understand where one zone ends and another begins. Prioritize locations where unclear markings disrupt movement, then plan how the remaining areas connect to those routes.
StripeGuys Warhouse Line Striping can discuss your facility’s marking needs and the next step. Bring your layout goals and areas causing confusion into the conversation. Contact StripeGuys Warhouse Line Striping to start planning a clearer, more functional floor-marking project.
Frequently Asked Questions
How to Choose the Right Line Striping for Your Project?
Choose striping to suit the surface, traffic, and purpose of each marking. A garage with frequent vehicle turns needs lines suited to repeated tire contact; a warehouse may need clear routes around forklifts and pedestrian crossings. Consider moisture, chemical exposure, and cleaning practices too. Map the busiest routes first, then match the material and layout to each area’s conditions.
How long does epoxy line striping last in a parking garage?
Properly applied epoxy striping can last three to five years on average. In a garage, actual wear can vary between a lightly used parking stall and a lane where vehicles repeatedly turn or brake. Watch those high-stress locations during routine inspections. Fading, chipped edges, or damaged sections can signal that the marking needs attention before drivers and pedestrians have difficulty following the layout.
What surface preparation is required before applying epoxy garage striping?
Prepare a sound, clean, dry surface before application. Remove oil, dirt, debris, and loose marking material that could interfere with adhesion. On concrete, identify damaged or unstable areas that could affect the new line’s bond. Surface preparation, including shot blasting or diamond grinding when needed, helps prepare the floor for epoxy application. Pay particular attention to seams, corners, and places where residue collects.
What are the steps for applying epoxy line striping in a parking garage?
First, plan and mark the layout so stalls, traffic lanes, and pedestrian routes align. Prepare and dry the pavement, then mix the resin and hardener according to the product instructions. Apply epoxy to the planned lines, keeping the work area clear of vehicles and pedestrians. Organize the layout and materials beforehand, since mixed epoxy has a limited working time.
How long does epoxy striping take to cure before vehicle traffic can resume?
Allow traffic back only when the selected epoxy product’s instructions permit it. Return-to-traffic timing depends on the formulation and curing conditions, including temperature, moisture, and the pavement itself. Keep vehicles and pedestrians off the newly marked area during curing. For example, plan work around a garage level or aisle that can remain closed until the coating has cured as directed.
What temperature and humidity conditions are required for epoxy line striping?
Application conditions depend on the epoxy product, so follow its temperature and moisture limits. Typical competitor instructions list a minimum application temperature of 45°F or higher. Epoxy coatings are sensitive to moisture and temperature fluctuations, making damp surfaces or changing conditions relevant to adhesion and curing. Assess the floor and work area before application, and use the product’s stated limits to plan the installation window.