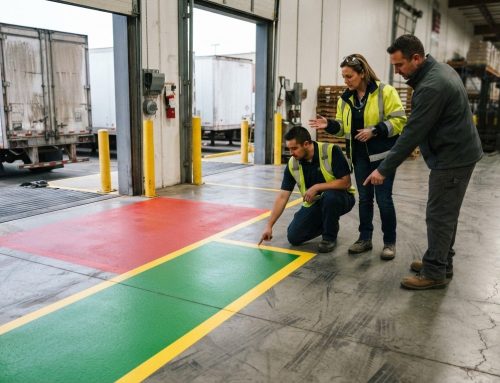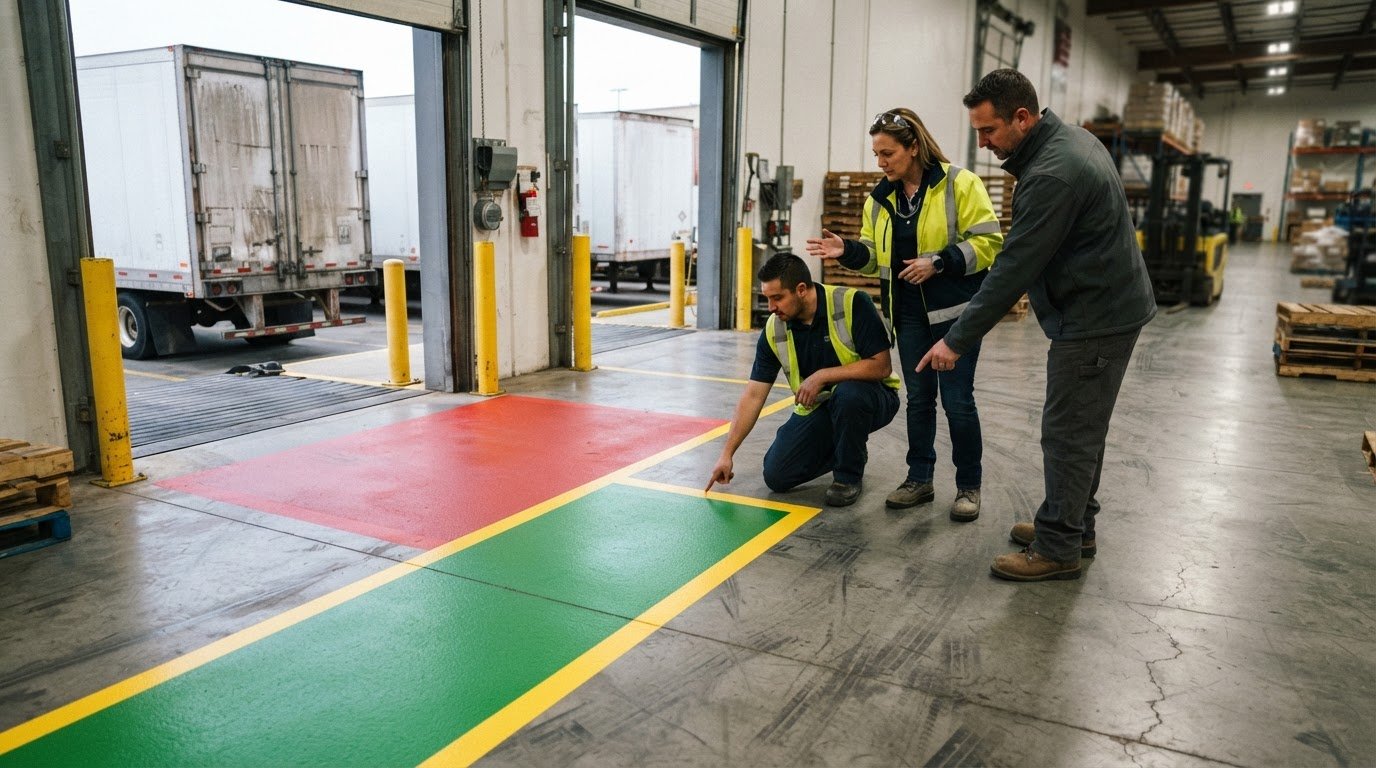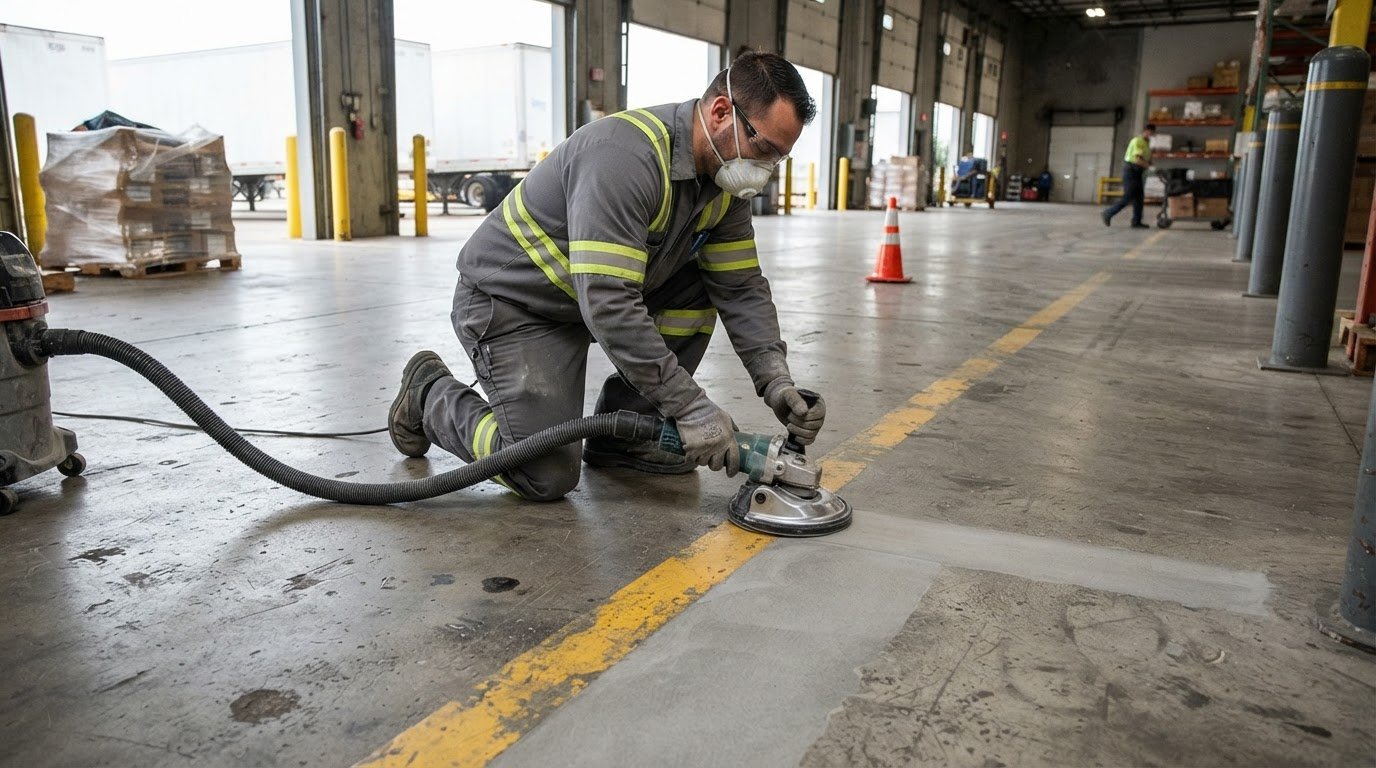
Cross-hatching for no-go zones uses intersecting lines to mark floor space that should stay clear or remain outside routine traffic. Unlike hatching, which uses parallel lines that do not cross, cross-hatching layers lines in different directions to make an area stand out. The pattern makes a boundary easier to see, but the reason for keeping the space clear depends on the facility’s layout and operations.
A striped area can look like simple floor decoration, but its pattern may communicate an important operational limit. Knowing the difference between hatching and cross-hatching helps you interpret floor markings without assuming every striped zone serves the same purpose.
This article explains the difference between the patterns, how cross-hatching marks no-go zones, and where these markings may appear in a working facility. It also shows how clear, consistent floor markings help distinguish restricted space from ordinary travel or work areas.
Key Takeaways
- Tell hatching from cross-hatching by whether the lines stay separate or intersect, and notice how line spacing affects the visual weight.
- Read a striped floor area as a marked boundary, then use its location and surrounding operations to understand its function.
- Compare common facility examples to see how cross-hatched areas can distinguish space from ordinary routes and work zones.
- Clear, consistent floor markings help make restricted areas easier to recognize and interpret.
- When warehouse markings need to be installed or refreshed, floor striping and epoxy line painting can help define operational spaces.
Definitions of hatching and cross-hatching
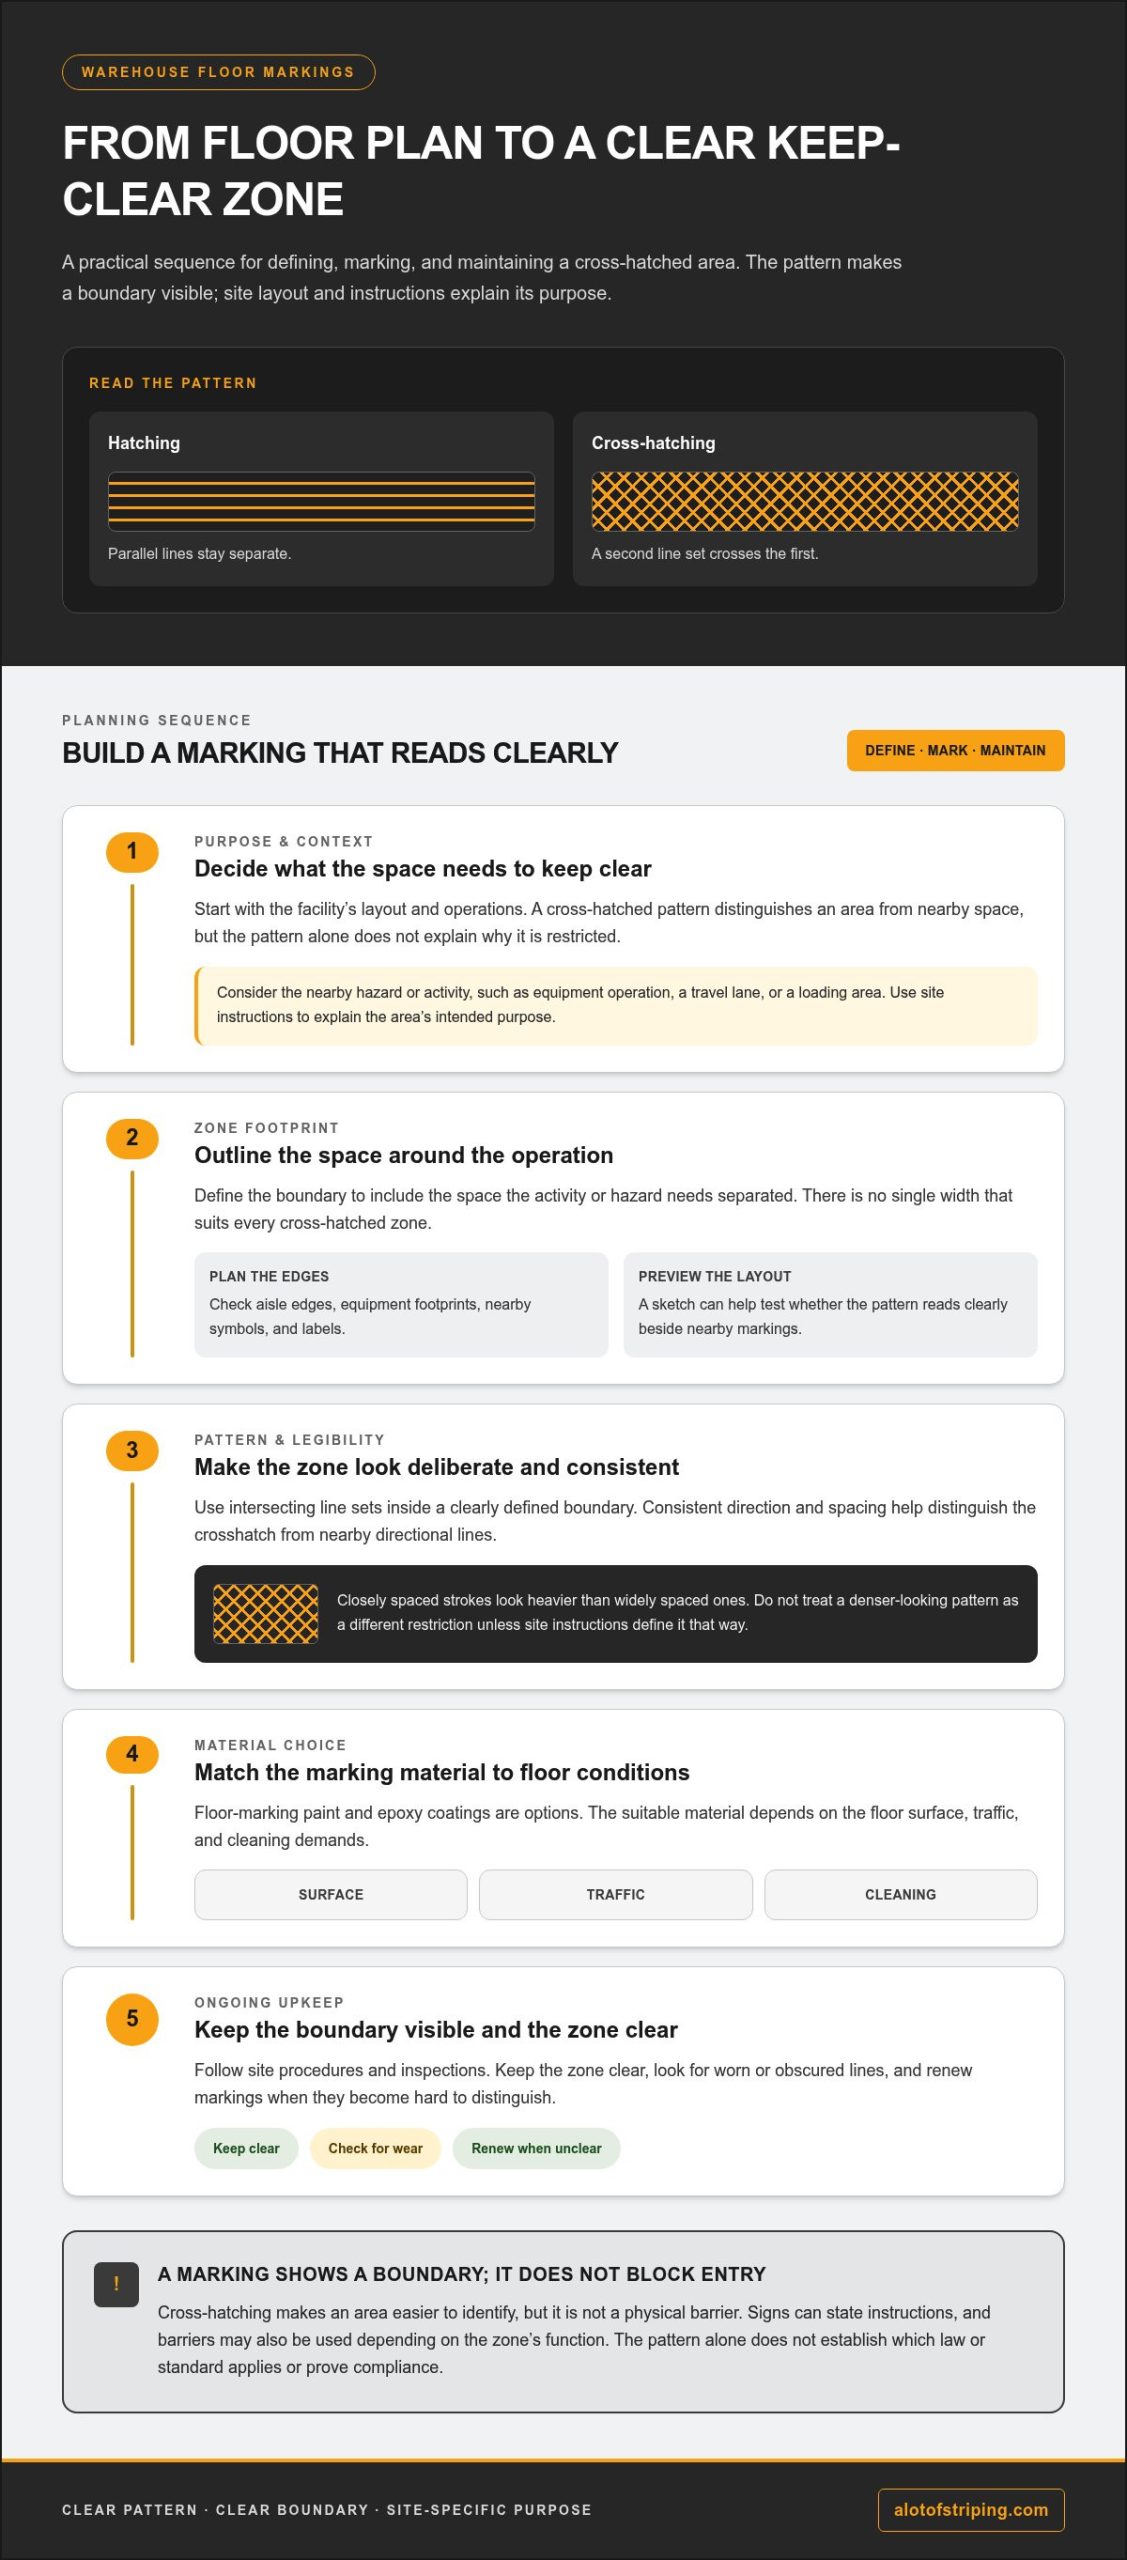
In a drawing, hatching uses separate, parallel lines to show tone, or how light or dark an area appears. Wider gaps create a lighter value, while tighter spacing creates a darker one. For example, an artist can shade one side of a shape more heavily to show shadow.
Cross-hatching adds another set of lines across the first. The intersections build darker values, while sparse crossings appear lighter. An artist might cross vertical lines with diagonal strokes, then add another direction where deeper shading is needed.
On a facility floor, cross-hatching is a pattern of intersecting lines that distinguishes a marked area from the surrounding space. A hatched rectangle beside a loading dock, for example, can identify a zone reserved for a particular operational purpose. The pattern alone does not explain that purpose, so placement and site instructions matter.
Unlike a barrier, floor markings show a visible boundary but do not physically block entry. A warning sign can state an instruction, while cross-hatching makes the area easier to identify. Depending on its function, a loading-dock zone may use markings, signs, or barriers, and facilities requiring active access control may also work with physical security providers like Northwest Security Services to help protect restricted zones.
For a US facility, the crosshatch pattern alone does not show which law or standard applies. Requirements depend on the site’s activity, hazards, and relevant workplace or facility rules. Treat markings as one part of the safety system, not as proof of compliance by themselves.
No single width suits every cross-hatched zone. Define the marked area around the hazard or activity it separates. For example, a zone beside equipment needs to include the space that operation must keep clear.
Yes, marking plans can vary by state and industry. A warehouse, production floor, and parking facility face different operating conditions, so their cross-hatched areas may serve different purposes and follow different site rules.
Floor-marking paint and epoxy coatings are options for cross-hatched areas. The suitable material depends on the floor surface, traffic, and cleaning demands. A warehouse lane with repeated equipment movement has different conditions from a low-traffic indoor space.
Maintain markings through site procedures and inspections: keep the zone clear, look for worn or obscured lines, and renew them when they become hard to distinguish. If a cross-hatched area is blocked or ignored, people or equipment may enter space intended to stay clear, creating conflicts around features such as forklift routes or loading docks.
In drawing, hatching uses non-crossing lines to indicate value on or around an object. Cross-hatching uses lines that cross over each other to create light and dark areas, and adds value by allowing lines to cross over one another, with more crossings producing darker values.
One approach adds successive sets of vertical, horizontal, and diagonal lines, with each new set changing direction and crossing the previous one. A basic exercise begins by shading a circle with sparsely spaced parallel lines, then crossing them with perpendicular parallel lines. This progression shows how intersecting line sets build value.
Cross-hatching
Cross-hatching uses repeated intersecting lines within a defined area. On a warehouse floor, a second set of lines crosses the first to create a distinct visual field inside the marked boundary. This pattern separates the area from nearby aisles, work zones, or open floor space. The facility’s layout and instructions determine its purpose, not the pattern alone.
Line direction affects how the pattern reads. A drawing may combine vertical, horizontal, and diagonal strokes, with each new set crossing the previous one. On a floor, the same principle creates visible intersections rather than a single row of parallel lines. A consistent angle and spacing across one marked zone make the pattern easier to distinguish from nearby directional lines.
Density also changes the visual effect. Closely spaced strokes look heavier than widely spaced ones, just as an artist builds darker tones by adding crossed lines. In facility markings, however, a heavier-looking crosshatch should not be treated as a different level of restriction unless site instructions define it that way. For example, keep the pattern consistent across a marked keep-clear area.
A pencil sketch can help planners visualize the layout before marking a real floor. Draw the zone’s outline first, then add parallel strokes and cross them with a second direction. This can show whether the lines remain legible beside a travel lane, equipment footprint, or boundary stripe, and where the hatch pattern should stop cleanly.
On the finished floor, the crosshatch should read as one deliberate zone, not scattered strokes. A clearly bounded rectangle beside a loading area is easier to interpret than disconnected lines that blend into other floor markings. Consider the surrounding layout, including aisle edges, nearby symbols, and labels that explain the space’s intended use.
Consistency matters when a facility uses the same marking in multiple locations. If one cross-hatched area has diagonal lines and another uses a dense grid, workers may not immediately recognize them as the same type of zone. A shared pattern supports recognition, while separate wording or signs can explain why each area must stay clear.
That is the practical role of cross-hatching for no-go zones: it makes a designated floor area visually distinct, while site instructions give the marking context. If a floor layout needs clearer, more consistent markings, discuss your floor-marking project.
Cross-hatching examples
Cross-hatched zones give floor areas a clear visual boundary. Their meaning becomes clearer when you consider the pattern alongside nearby equipment, routes, and site instructions.
Common Uses for Cross-Hatched Zones
A cross-hatched zone is a marked floor area set apart from ordinary movement or work space. For example, a facility may use one beside a loading dock to distinguish a keep-clear area from the vehicle approach lane.
Other examples include space around equipment or near a doorway where stored goods could obstruct access. The facility’s layout and operating plan determine the specific purpose. Clear instructions for each marked area help workers distinguish a restricted footprint from an ordinary aisle or staging space.
Meanings of Colors and Patterns
Color and stripe patterns communicate meaning only when a facility uses them consistently and explains their purpose. A site might assign one color to a particular type of marked zone, but color alone has no universal meaning across all workplaces.
Likewise, diagonal stripes, a grid, or a denser pattern can look different without indicating different restrictions. A darker-looking crosshatch may simply have closer line spacing. If two areas serve different purposes, labels or signs can explain the distinction instead of relying on stripe density alone.
Before interpreting a colored zone, compare it with the facility’s posted instructions and nearby labels. For instance, do not assign a meaning to a blue-marked area near a doorway based on color alone. The site’s marking plan determines what its colors and patterns communicate.
Designing and Marking a Zone
Begin the design by identifying the activity or obstruction the marked area needs to address. Sketch the floor layout, outline the intended zone, and compare it with nearby aisles, equipment, doors, and vehicle paths. This can reveal potential conflicts before the pattern is applied.
Next, define the boundary and choose a consistent stripe direction and spacing. A crosshatch beside a loading area, for example, should remain visually distinct from the lane leading into it. Keep the pattern within its boundary and surrounding markings legible so separate floor instructions do not merge into one confusing field.
Finally, check the proposed design from the approaches workers and operators actually use. A zone visible from one direction may be obscured by stored goods or equipment from another. Use signs or written site instructions when the pattern alone does not explain the restriction. If an existing crosshatch is hard to distinguish, remove the worn marking before applying a revised layout to keep the new boundary clear.
Where are cross-hatched no-go zones commonly used?
Facilities use cross-hatched markings where a visible floor boundary helps keep space available for a specific purpose. The right location depends on nearby work, such as vehicle movement, equipment access, or pedestrian circulation.
In warehouses, a marked area near an electrical cabinet or control panel can help keep stored pallets clear of the access space. The hatch pattern identifies the floor footprint, while a nearby sign or site instruction explains what must stay clear. Set the boundary according to the equipment and surrounding workflow.
At manufacturing sites, markings may distinguish space around a machine cell from the route used to move materials. For example, a cross-hatched area beside a production line can separate an access point from a nearby pedestrian aisle. This separation is useful only if the marking stays visible and the surrounding layout does not obscure it.
Loading and shipping areas have different movement demands. A facility might mark space near a dock door or dock leveler to identify an area reserved for access or another operational need. The pattern helps drivers and employees recognize the boundary, while signs or procedures explain how the space is used.
In parking facilities, cross-hatching may identify a section that should stay open beside a pedestrian route or building entrance. A marked area next to a parking stall, for instance, can distinguish clear space from areas intended for vehicles. The facility’s layout and instructions determine the meaning, not the stripes alone.
Other examples include doorways, designated equipment access points, and areas where stored materials could obstruct movement. A cross-hatched section near a warehouse exit makes the intended clear floor space easier to see. Pairing the pattern with a legible sign helps explain why the location differs from ordinary storage or travel space.
Assess whether a marked zone is working as intended by observing the surrounding activity. If a pallet blocks the crosshatching near a control panel, the boundary may no longer be visible. If vehicles routinely cross a dock-area marking, review the location and site instructions so the zone reflects actual movement patterns.
For a useful layout, map the relevant doors, aisles, equipment, and vehicle paths before marking the floor. Then define each zone’s purpose and communicate it consistently to the people using that area. If your facility needs clearer floor markings around operational spaces, discuss your floor-marking needs.
Floor marking shares a visual term with an art technique, but the purposes differ. Hatching and cross-hatching are used in traditional printmaking techniques such as etching and engraving. In drawing, hatching creates shading rather than reserving space for access. Artists add more marks in areas of core shadow and cast shadow, and fewer in lighter areas. Hatching and cross-hatching can be made with pen and ink, graphite, colored pencils, and pastels.
When combining alternative shading techniques in one artwork, the artist recommends using no more than 2-3 techniques and deciding in advance where each technique will be used. That planning principle concerns the artwork, while facility zones still depend on the surrounding activity and the instructions that explain their purpose.
StripeGuys Warhouse Line Striping: Warehouse Floor Striping
StripeGuys provides warehouse floor striping to help facilities define aisles, work areas, and marked boundaries. Clear floor layouts make it easier to distinguish operational zones and organize traffic routes.
For facilities planning cross-hatched zones, warehouse floor striping can integrate those markings with surrounding lines and floor layouts. Epoxy line painting is another option for creating defined markings, while warehouse line removal can clear worn or outdated lines before a revised layout is applied. The right approach depends on the existing markings and the changes needed across the workspace.
When markings need to be planned, refreshed, or removed as part of a warehouse layout update, contact StripeGuys Warhouse Line Striping to discuss the work.
Make Floor Markings Part of the Operating Plan
Use your next layout review to assess whether floor markings still match how people, vehicles, and materials move through the facility. Changes to storage locations, equipment, or traffic routes can leave old boundaries confusing or out of place. Record each marked zone’s purpose in the site’s operating instructions so the pattern has a clear meaning for the people using that space.
Cross-hatching for no-go zones works best as part of a legible floor plan, not as an isolated visual cue. Consider how each marking relates to adjacent routes, doors, and work areas, then identify worn or outdated lines that may need attention. This gives facility teams a practical basis for planning updates and keeping floor markings aligned with current operations.
For help with warehouse or facility floor marking work, contact StripeGuys Warhouse Line Striping to discuss your project. A clear, well-planned layout gives your team a stronger starting point for organized daily operations.
Frequently Asked Questions
What is Crosshatching?
Cross-hatching is a pattern of intersecting lines that creates a visually distinct area. In a facility, it can mark floor space for a specific operational purpose. For example, a marked patch near a control panel can show where pallets should not be placed. The pattern identifies the area, while site instructions or nearby signs explain the restriction employees should follow.
What laws or standards govern cross-hatched no-go zones in the United States?
Applicable requirements depend on the facility’s activity, hazards, and relevant workplace or facility rules. The crosshatch pattern alone does not identify a specific law or standard.