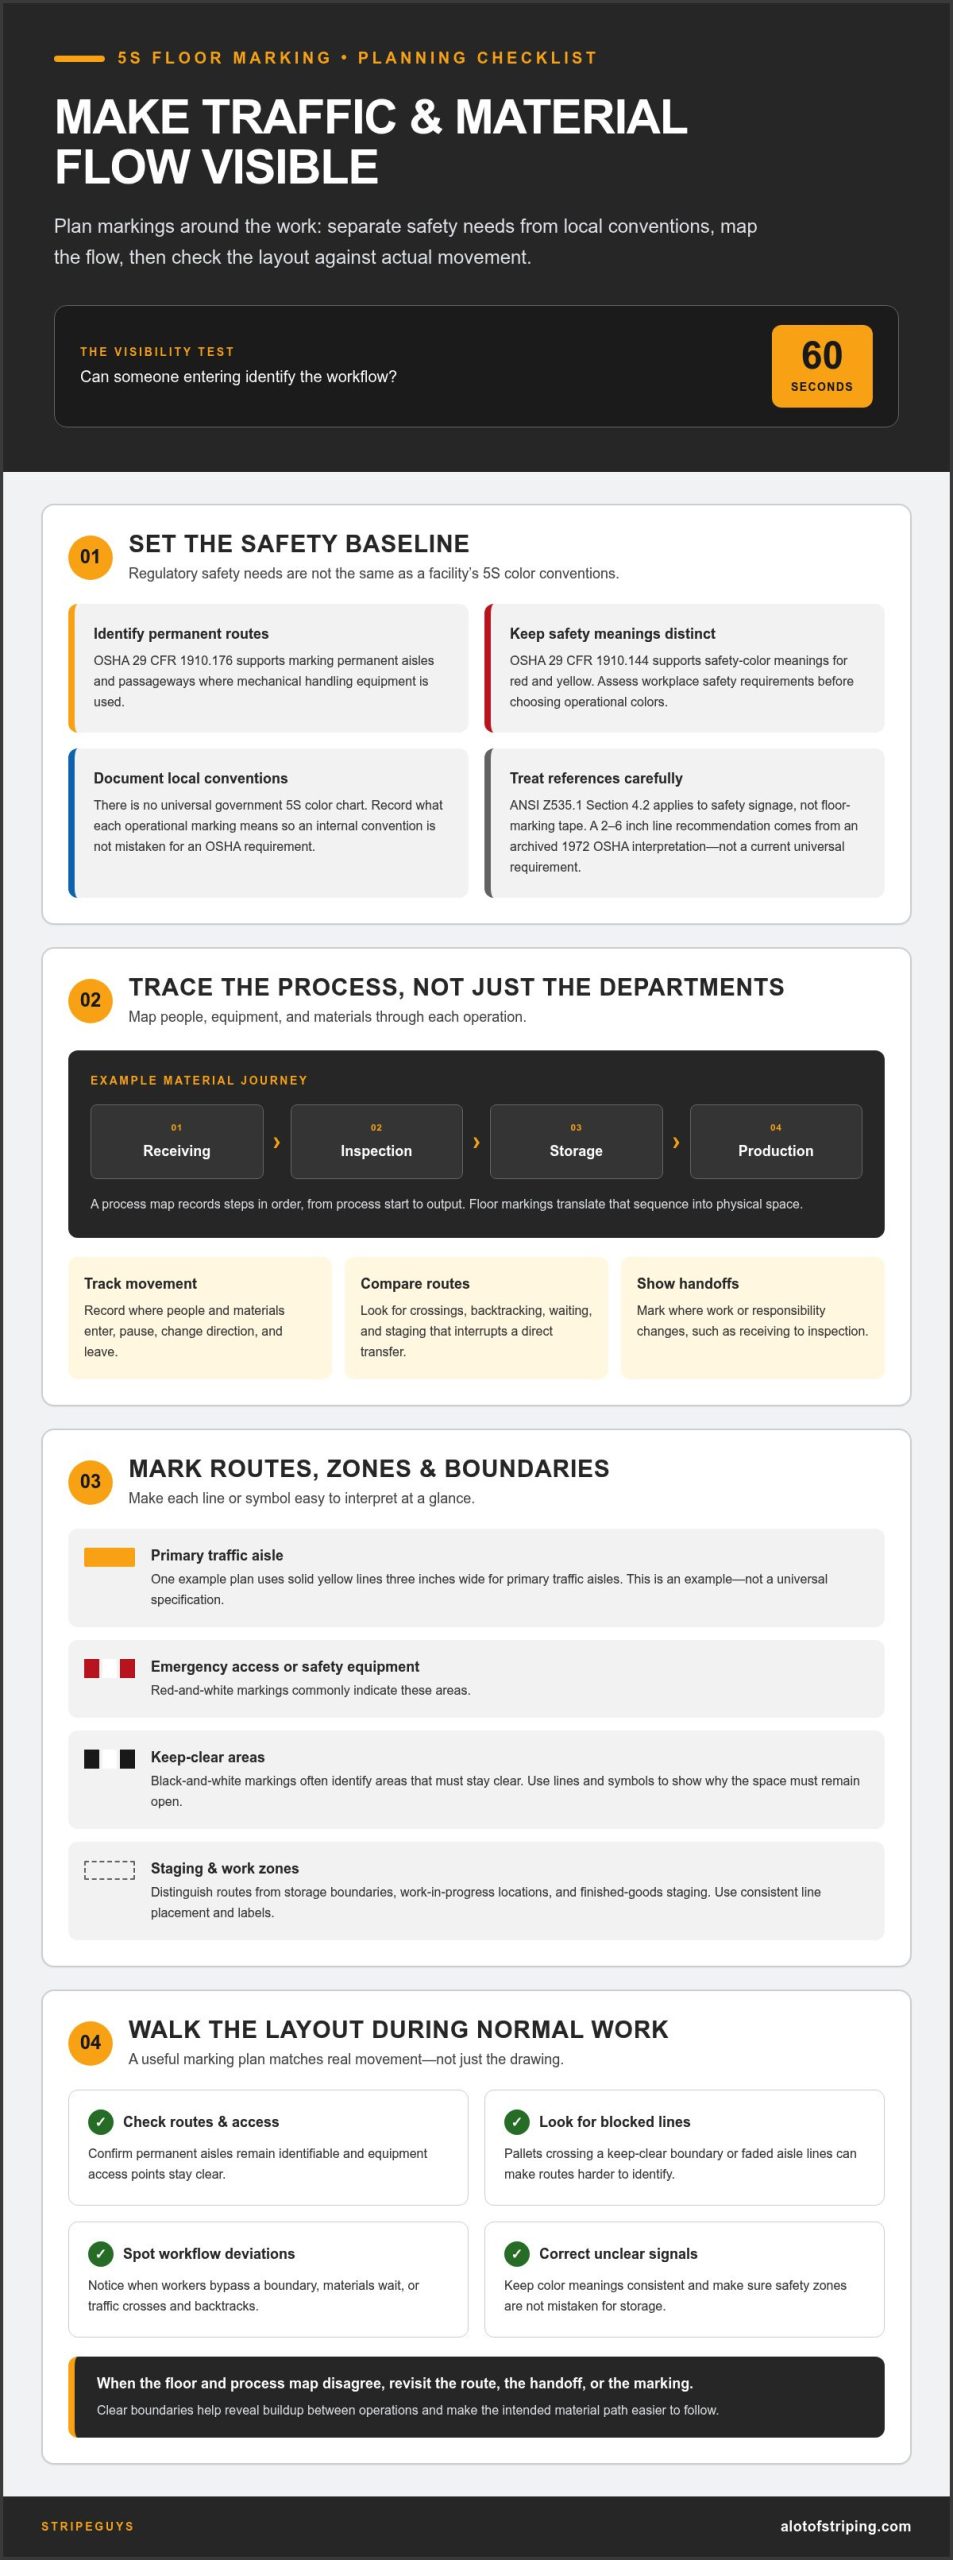
The colors that make a warehouse easier to read aren’t automatically legal requirements. There’s no universal 5S floor-marking color chart, so floor markings for Lean and Six Sigma use consistent workplace conventions to clarify storage, movement, and work areas. In the United States, OSHA 29 CFR 1910.176 supports marking permanent aisles and passageways where mechanical handling equipment is used, while OSHA 29 CFR 1910.144 supports safety-color meanings for red and yellow.
It makes sense to want one clear system: workers need to recognize routes, material locations, and hazards without relying on verbal instructions. The key is to separate regulatory safety needs from the color choices your facility adopts for 5S. This article explains what common 5S markings mean, how they differ from legal requirements, and how to plan markings that make traffic and material flow easier to follow.
Key Takeaways
- Separate legally relevant safety markings from the color conventions your facility adopts for 5S.
- Map how people and materials move so routes, staging points, and work areas are clear at a glance.
- Use consistent visual signals to distinguish work in progress, inspection holds, finished goods, and scrap.
- Keep the color system simple and reinforce meanings with labels so workers can interpret markings quickly.
- Review the marking plan against actual workflows to make bottlenecks and deviations easier to spot.
Difference between legal safety requirements and 5S conventions
OSHA 29 CFR 1910.176 supports marking permanent aisles and passageways where mechanical handling equipment is used. OSHA 29 CFR 1910.144 supports safety-color meanings for red and yellow, but 5S color choices for storage and workflow are conventions, not a universal government color chart.
Assess workplace safety requirements before choosing operational colors. Identify permanent routes used by forklifts or other mechanical handling equipment, then distinguish those routes from storage boundaries and work-in-progress locations. OSHA 29 CFR 1910.176 addresses aisle marking in the specified equipment context; it doesn’t establish a complete 5S color system for every warehouse zone.
ANSI Z535.1 Section 4.2 applies to safety signage, not floor-marking tape. Earlier ANSI Z535.1 color specifications for floor markings were removed in the 2002 edition. A frequently repeated recommendation for lines two to six inches wide comes from an archived 1972 OSHA interpretation, not a current universal legal requirement. Treat these details as references, not as a single specification that settles every floor-marking decision.
Use legal safety needs as the baseline, then document the visual meanings your facility assigns to operational markings. For example, a site might use yellow for aisles and walkways, while its 5S plan assigns other colors to material locations. Keep the distinction clear in written procedures and employee training, so an internal convention isn’t mistaken for an OSHA requirement.
Keep-clear zones and safety symbols
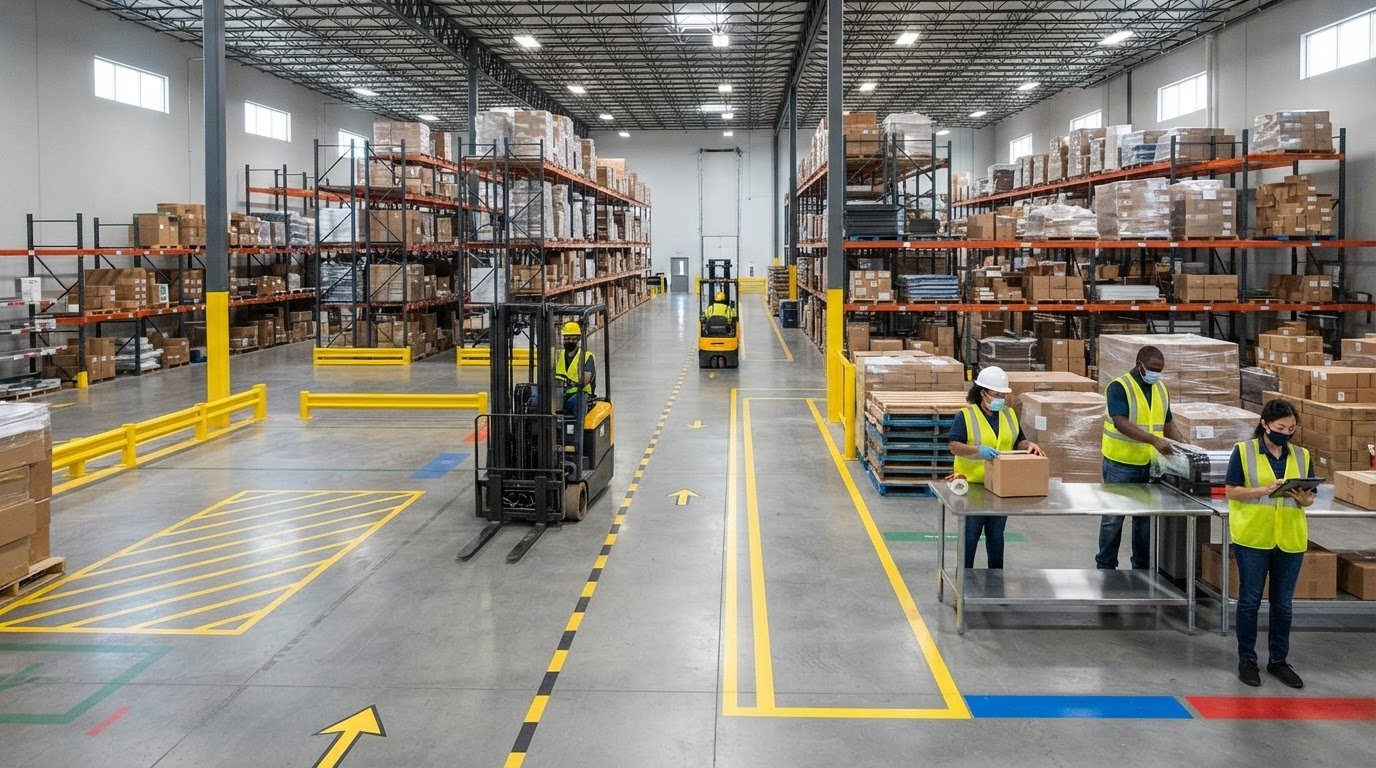
A keep-clear zone marks floor space that must remain open for safety or operations, while lines and symbols show why. Red-and-white markings commonly indicate emergency access or safety equipment, while black-and-white markings often identify areas that must stay clear. Aisle boundaries, equipment access points, and floor symbols help workers distinguish required clear routes from ordinary storage space.
Common marking mistakes and risks
Common mistakes include inconsistent color meanings, faded boundaries, and using one marking for zones with different purposes. A black-and-white access boundary can lose its meaning if pallets repeatedly cross it, while a faded aisle line can make a vehicle route harder to identify. Conflicting visual signals also weaken 5S: workers may treat a safety zone as storage, or miss an obstruction that blocks equipment access.
Review markings against actual movement patterns and the hazards in each area. Check that permanent aisles remain identifiable, that red and yellow safety-color meanings are used consistently, and that keep-clear markings match the facility’s documented plan. Correcting a confusing boundary or worn line helps restore a reliable reference for workers, pedestrians, and mechanical handling equipment.
Mapping traffic and material flow
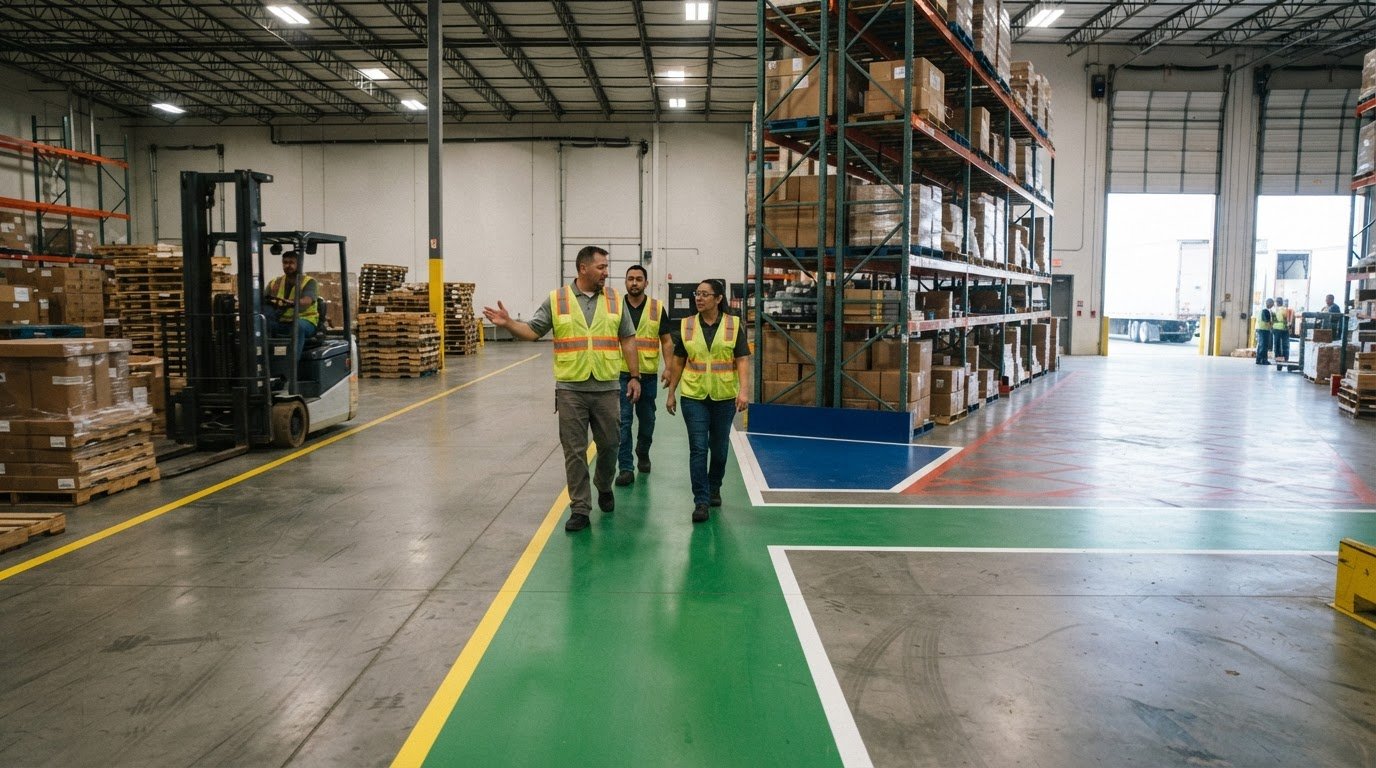
Plan floor markings around the work, not just the paint color. In manufacturing, trace how people, forklifts, raw materials, work in progress, and finished goods move through each process. Mapping those routes reveals traffic crossings, material wait points, and the boundaries that need clear, consistent meanings.
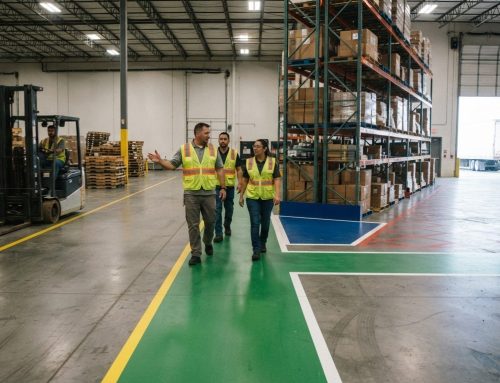
Lean manufacturing uses a practical visibility test: someone entering the workplace should be able to identify workflow within 60 seconds. A marked primary aisle, visible staging areas, and defined work zones help make that possible. The markings also improve predictability because operators can see where a load belongs and which route connects it to the next operation.
Process mapping and process focus
A Six Sigma process map records the steps in the order they happen, from the process start to its output. It can show a high-level overview or break major activities into sub-steps. For example, a map might follow a pallet from receiving through inspection and storage to production. Comparing the current route with a proposed process helps teams spot unnecessary movement, waiting, and complexity.
Build the floor plan around the mapped process instead of treating each department as a separate area. If a component moves from receiving to inspection and then production, show each handoff and the route between them. The process map shows the sequence; floor markings translate it into physical space. Together, they reveal where material flow departs from the intended path.
- Track movement: Record where people and materials enter, pause, change direction, and leave each process.
- Compare routes: Look for crossings, backtracking, and staging that interrupts a direct transfer.
- Make meaning visible: Use consistent line placement and labels so each aisle or boundary has a clear purpose.
Mapping process boundaries
Process boundaries show where work or responsibility changes, such as between receiving and inspection or production and finished-goods staging. Marking these transitions clarifies where material should wait and where the next process begins. Showing each boundary on the floor plan can expose a buildup between operations, even when individual work areas seem orderly.
Align the primary traffic route with the mapped handoffs. One example plan uses solid yellow lines three inches wide for primary traffic aisles. This is an example, not a universal specification. The key is making the route distinct from nearby staging and work areas. Keep secondary pathways recognizable, and make turns, crossings, and equipment access clear.
Compare the marked layout with actual movement during normal work. If pallets regularly block a route or workers bypass a boundary, the map or floor plan may no longer reflect the process. Revisiting the current-state map can show whether the problem is a misplaced marking, an unclear handoff, or a workflow that needs simplifying.
What are 5S floor marking standards?
5S floor marking standards are workplace conventions, not a universal government color chart. Floor markings for Lean and Six Sigma help define locations and material status when employees apply the same meanings consistently.
WIP and product status zones
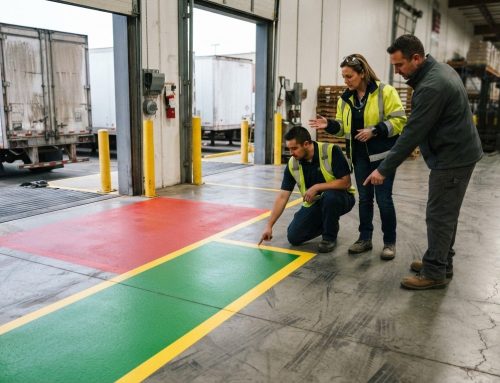
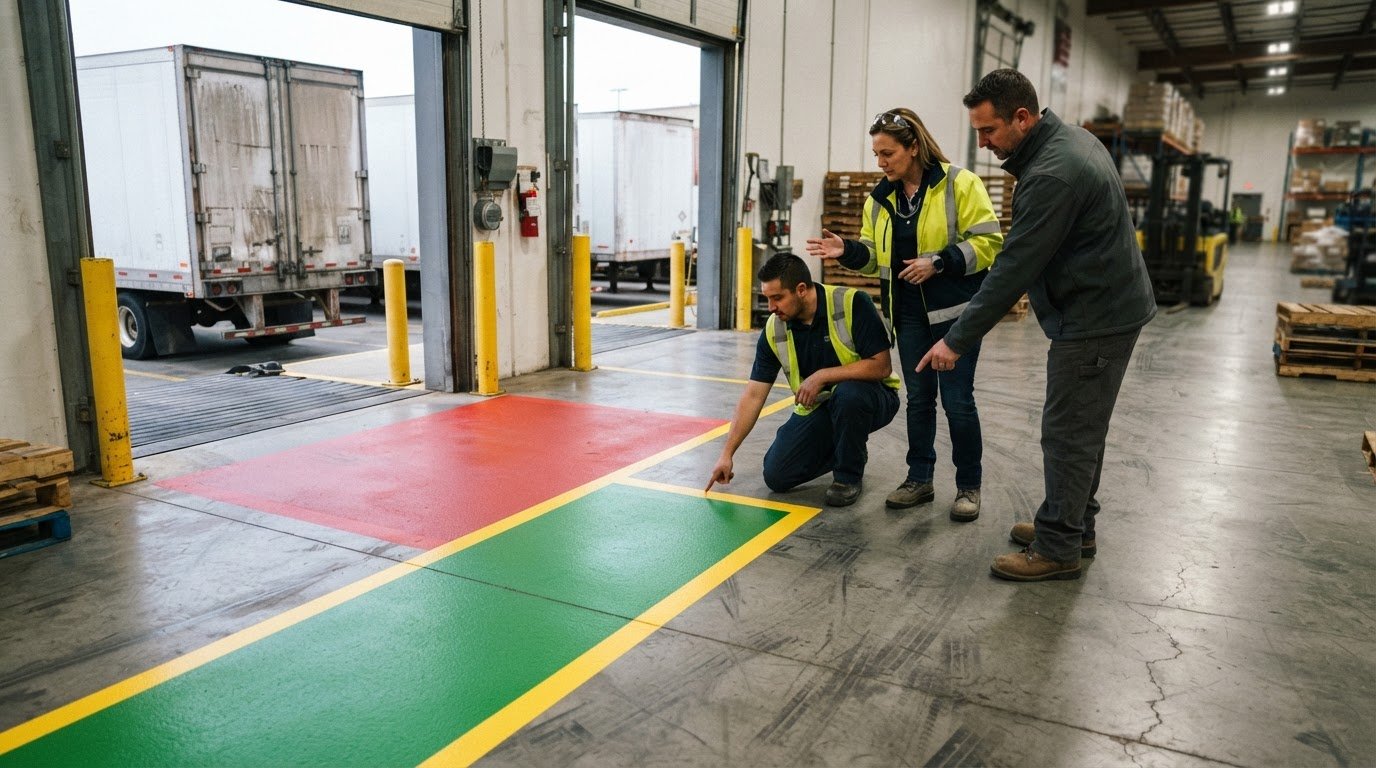
Product-status zones show whether material is in process, awaiting inspection, ready for shipment, or designated as scrap. A common scheme uses black for work in progress, orange for material on inspection hold, green for finished goods, and red for defects, scrap, or red-tag areas. These boundaries help employees separate statuses and direct items to the next process. Use consistent colors for raw material, work in progress, and finished goods unless an operational reason calls for a distinction.
Inspection, defects, and rework areas
Inspection and rework zones isolate products that need a decision from accepted output. For example, orange can mark an inspection hold, while red can identify defective items awaiting disposition. Add labels that clarify whether material needs inspection, rework, or removal; a color alone may not explain the next action. Inspect lines during workplace reviews and replace a marking when 25% of it shows wear or becomes illegible.
Line widths and aisle planning
Line width should make a boundary visible while keeping the intended route or zone clear. A frequently repeated recommendation for floor lines two to six inches wide comes from an archived 1972 OSHA interpretation, not a current universal legal requirement. A sample design uses four-inch red lines for restricted areas. Aisle width depends on actual traffic, equipment, turning space, and loads, so no single width fits every floor plan.
Industry color codes and standards
There are no government-mandated or widely accepted industry standards regulating floor-marking colors in the United States. Common 5S conventions use red for scrap and defects, orange for inspection holds, and green for finished goods. Document the facility’s color meanings, labels, and exceptions, then train employees to use them consistently. OSHA safety-color meanings remain distinct from a complete 5S color chart.
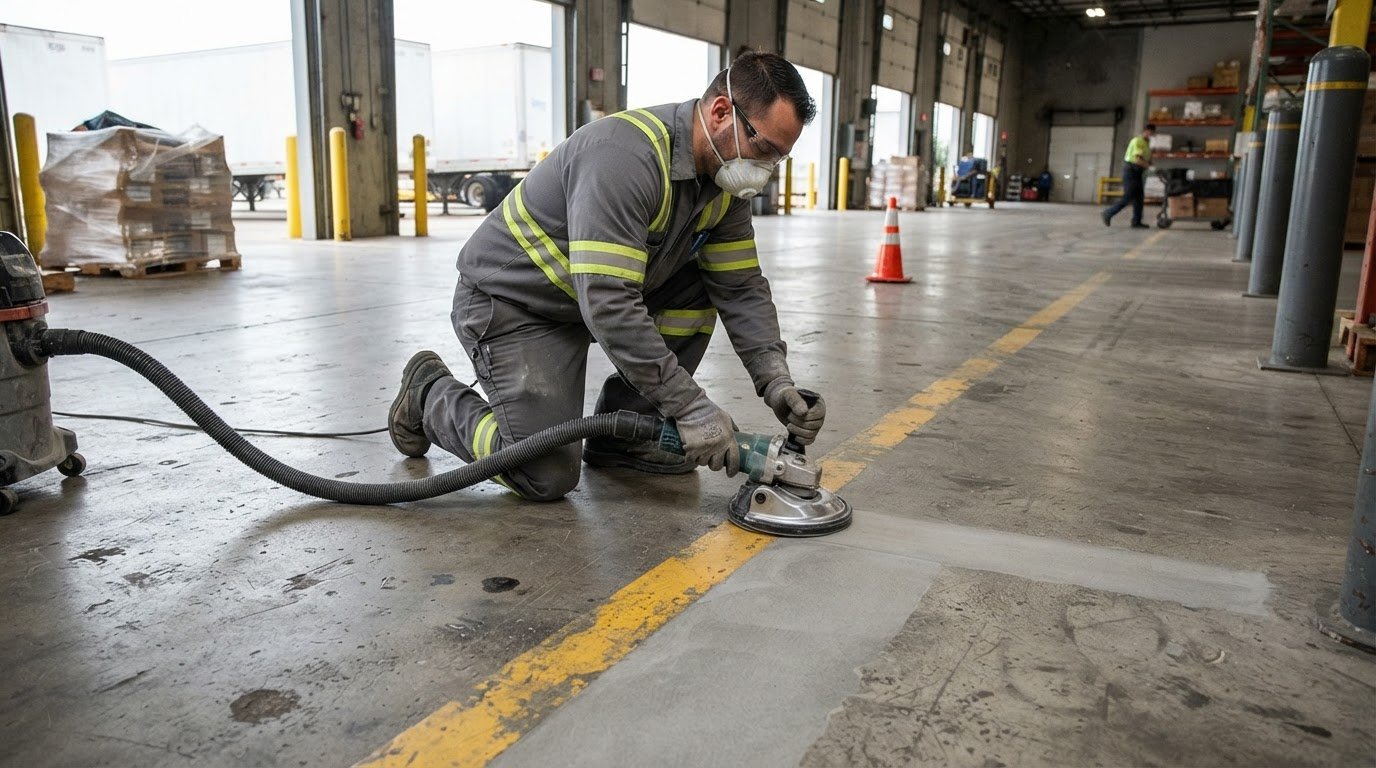
To implement a system, define each material status and work area, assign a simple color scheme, and mark the boundaries on the facility layout. Review the plan with employees who use the routes, then apply markings and labels consistently. Floor markings for Lean and Six Sigma should stay legible as workflows change. Inspect for wear, control access to areas during removal or replacement, and restore clear boundaries before normal traffic resumes.
Floor markings in Lean and Six Sigma
Lean and Six Sigma use floor markings to make work conditions visible where tasks happen. Lean focuses on eliminating waste, while Six Sigma aims to reduce process variation. Floor markings for Lean and Six Sigma make deviations easier to spot by showing when materials, tools, or carts are outside their assigned locations.
In a 5S system, markings connect workplace organization to standard work. Sort removes unneeded items; set in order gives essential items defined locations; shine supports cleaning and defect detection. Standardize reviews those practices, while sustain keeps the system current. A designated tool or cart location gives employees a clear reference for spotting changes between shifts.
An unmarked exception can become routine. A pallet left outside its assigned boundary, for example, shows that the actual arrangement differs from the intended one. Employees can see the discrepancy without relying solely on verbal instructions. Markings do not fix the underlying cause, but they help teams identify where to investigate workflow or storage practices.
- For Lean: Use boundaries to distinguish intended locations from unplanned storage and reveal clutter or unnecessary movement.
- For Six Sigma: Keep staging locations consistent so teams can identify variation in how materials are handled between process steps.
- For 5S standardize: Review the first three practices regularly and assess whether the workspace still follows the agreed layout.
- For sustain: Update markings when workflow changes, so employees aren’t directed toward obsolete locations.
Keep the color system simple and document what each color means. White can identify standard storage for tools and materials, while blue can identify raw-material staging. Labels reinforce these meanings and help employees interpret markings consistently. Used this way, floor markings for Lean and Six Sigma provide a practical reference for finding materials and noticing when work no longer follows the intended process.
For markings that support your facility layout, discuss your floor-marking needs.
StripeGuys Warhouse Line Striping: Warehouse Floor Striping
StripeGuys provides warehouse floor striping to translate a facility’s traffic and material-flow plan into visible boundaries. Clearly marked aisles, work areas, and staging zones help employees follow the intended layout during daily operations.
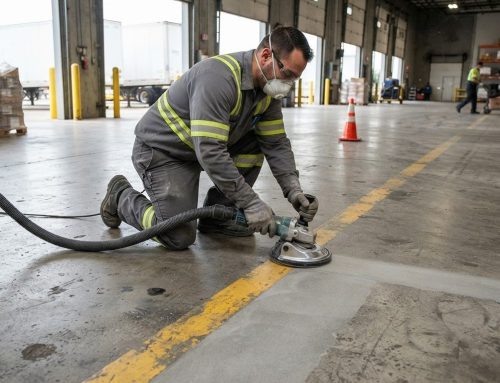
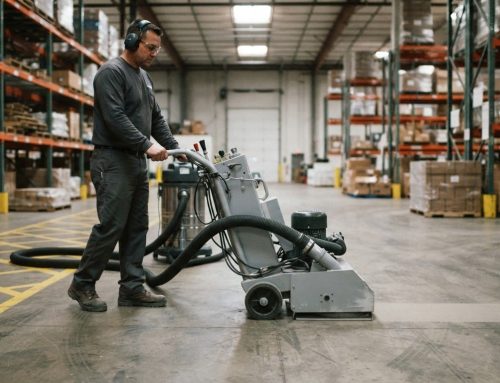
Epoxy line painting can establish routes and zones on an existing floor plan. If outdated or conflicting lines make the layout hard to read, warehouse line removal clears the floor for a revised marking plan. The work depends on whether the facility needs new boundaries, removal, or both as part of a relayout.
Contact StripeGuys Warhouse Line Striping to discuss warehouse floor striping for your facility.
Put Your Floor Plan Into Practice
Treat the floor layout as part of the operating process, not a one-time paint plan. As workflows change, review whether markings still guide employees along the intended routes and through the right work areas. A practical floor-marking plan for Lean and Six Sigma should remain legible, reflect current operations, and make workplace changes easier to notice.
StripeGuys supports facility layouts with Warehouse Floor Striping and Epoxy Line Painting. Parking Lot Striping can bring the same clear approach to exterior traffic areas. The right service depends on the surfaces and operating zones your project needs to address.
Contact StripeGuys Warhouse Line Striping to discuss your marking project. A clear plan is a practical foundation for a more organized facility.
Frequently Asked Questions
What should be marked on the floor?
Mark places where workers need a clear visual boundary or status cue, such as pedestrian routes, forklift aisles, machine work zones, material staging, inspection holds, and emergency-access areas. Include recurring drop-off and pickup points, such as where receiving transfers pallets to inspection. Prioritize locations where unclear placement could interrupt movement, mix product statuses, or make a hazard harder to see.
What are floor markings used for in Lean and Six Sigma workplaces?
Floor markings help employees follow a defined workplace arrangement and notice deviations. A marked home location for a mobile cart, for example, makes it clear when the cart has been left elsewhere. In Lean, this can reveal clutter or unnecessary movement. In Six Sigma, consistent locations can reduce variation in how teams stage or transfer materials between process steps.
What do common floor marking colors mean in 5S and visual management?
Common conventions include yellow for aisles and walkways, white for standard tool and material storage, and blue for raw-material staging. Red often identifies defects, scrap, or red-tag areas; orange can indicate material awaiting inspection, while green can identify finished goods. These are workplace conventions, not a universal 5S chart. Post a simple color legend at relevant work areas so employees can quickly interpret local meanings.
Which areas should be marked on a factory floor, including walkways, equipment, and storage?
Mark pedestrian walkways, vehicle aisles, equipment footprints, storage boundaries, staging points, and spaces that must stay clear. For example, show where a pallet may be staged without narrowing a walkway or blocking access to equipment. Include receiving, inspection, production, and finished-goods handoffs when they have distinct locations. The OSHA compliance resource for 29 CFR 1910.22(b) provides a reference for workplace walking-working surface requirements.
What floor marking materials work best for warehouses and manufacturing floors?
Choose a marking material based on floor condition, traffic, and whether the layout needs a temporary or permanent solution. Floor marking tape can suit temporary layouts; paint and epoxy line painting are options for facility floors. Consider the surface and how the area is used. A layout that changes often has different requirements from a fixed production aisle.
How do floor marking tape, paint, and epoxy compare in cost and durability?
No single cost or durability ranking applies to every facility. Tape is used for temporary marking, while epoxy line painting creates a more permanent marking system. Project cost depends on factors such as linear footage, material choice, and layout complexity. Surface condition and preparation also affect the work required. Compare options with expected layout changes and floor use in mind, rather than considering price alone.