A full-facility shutdown shouldn’t be the starting point for floor marking in a 24/7 operational facility. When production, receiving, and shipping run across shifts, closing every aisle can be impractical. Poorly timed work can also put forklifts and pedestrians on conflicting routes.
Instead, plan around operating windows. Identify priority routes, divide the work into manageable zones, and coordinate surface preparation, line removal, application, and reopening with the teams that use each area. Some sections may still need temporary access restrictions, so plan safe alternate routes and clear handoffs before work begins.
This guide explains how to build a marking plan around the facility’s schedule, sequence each phase, and create a durable, easy-to-read layout for daily movement. It also covers how floor preparation affects the finished markings and why application and curing requirements belong in the schedule before an area reopens. A clear plan can limit avoidable disruption while keeping safety and marking quality central.
Key Takeaways
- Plan floor marking in a 24/7 operational facility around shift patterns, traffic peaks, dock activity, and safe access needs.
- Match paint, epoxy line painting, or marking tape to the floor condition, traffic demands, and likelihood of layout changes.
- Break the project into zones, with clear communication and access controls at each stage, from preparation through reopening.
- Set a routine for spotting worn, obscured, damaged, or confusing markings before they interfere with movement.
- Assign responsibility for reporting defects and deciding when a marked zone needs repair or replacement.
How to plan floor marking in a 24/7 operational facility
In an active facility, access, production, and safety have to be planned together. A zone that looks easy to close on a floor plan may be essential to a forklift route, shipping handoff, or pedestrian path on another shift. Effective floor marking in a 24/7 operational facility starts with understanding how people and equipment actually move, then scheduling work around those patterns. Don’t assume a full shutdown is necessary, but don’t treat an area as available until its operational dependencies are clear.
What to assess before marking an active facility
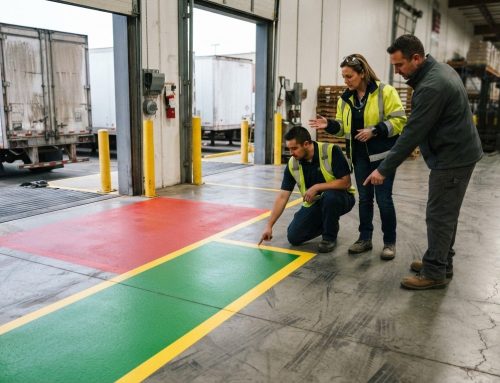
Walk the floor with operations representatives from the relevant shifts. Record existing lines, worn or obscured markings, hazards, intersections, and routes that change with production needs. Compare the plan with actual activity: note shift changes, traffic peaks, dock activity, pedestrian crossings, staging areas, and restricted work windows. Identify routes that cannot be interrupted and determine which alternate paths can be used if a zone must be restricted. Prioritize work by operational risk and impact, rather than by which lines are easiest to repaint first.
OSHA can serve as a compliance reference. Under 29 CFR 1910.176(a), permanent aisles and passageways must be appropriately marked where mechanical handling equipment is used. The regulation doesn’t prescribe colors, widths, or materials, so a preferred marking convention should not be treated as a universal OSHA specification. Review the requirements that apply to the facility and its work areas before finalizing the plan.
How to define project boundaries and priorities
Turn the site assessment into a zone map. For each area, record the work boundary, essential travel paths, nearby staging space, temporary restrictions, and the teams that rely on access. Prioritize critical routes and high-risk intersections, and identify clear alternatives before those areas are worked on. If vehicle circulation includes enclosed parking levels, include the facility’s parking garage floor marking needs in the route plan.
Assign a decision-maker for each zone and agree how changes will be communicated. Use channels facility teams already monitor, such as shift briefings, posted zone plans, or operational handoffs. Notices should identify the affected area, the alternate route, and who can approve a change if conditions shift. Before scheduling, confirm that operations, safety, maintenance, and the marking crew agree on the work boundaries and reopening criteria.
Planning takeaway: Start with real traffic patterns. Map how people and equipment move, then set the work zones.
Choose floor-marking materials and layouts for continuous operations
Choose materials by zone rather than expecting one option to suit the whole facility. For floor marking in a 24/7 operational facility, consider the traffic level, concrete condition, cleaning routine, likelihood of layout changes, and time available for preparation and application. A stable forklift aisle may need a different approach from a temporary staging area. The selected system must also fit the work window available for installation.
How to select a marking method for each zone
Paint can suit straightforward layouts, while epoxy line painting may be appropriate for durable warehouse lines in demanding areas. Marking tape can offer flexibility in areas where routes or storage positions change, but its performance depends on the floor and traffic conditions. No method is right for every zone. Oil, dust, old coatings, and uneven surfaces can undermine adhesion, so assess and prepare the substrate before applying new markings. For a stable, high-use layout, epoxy warehouse striping may be suitable.
How to make routes and zones easy to interpret
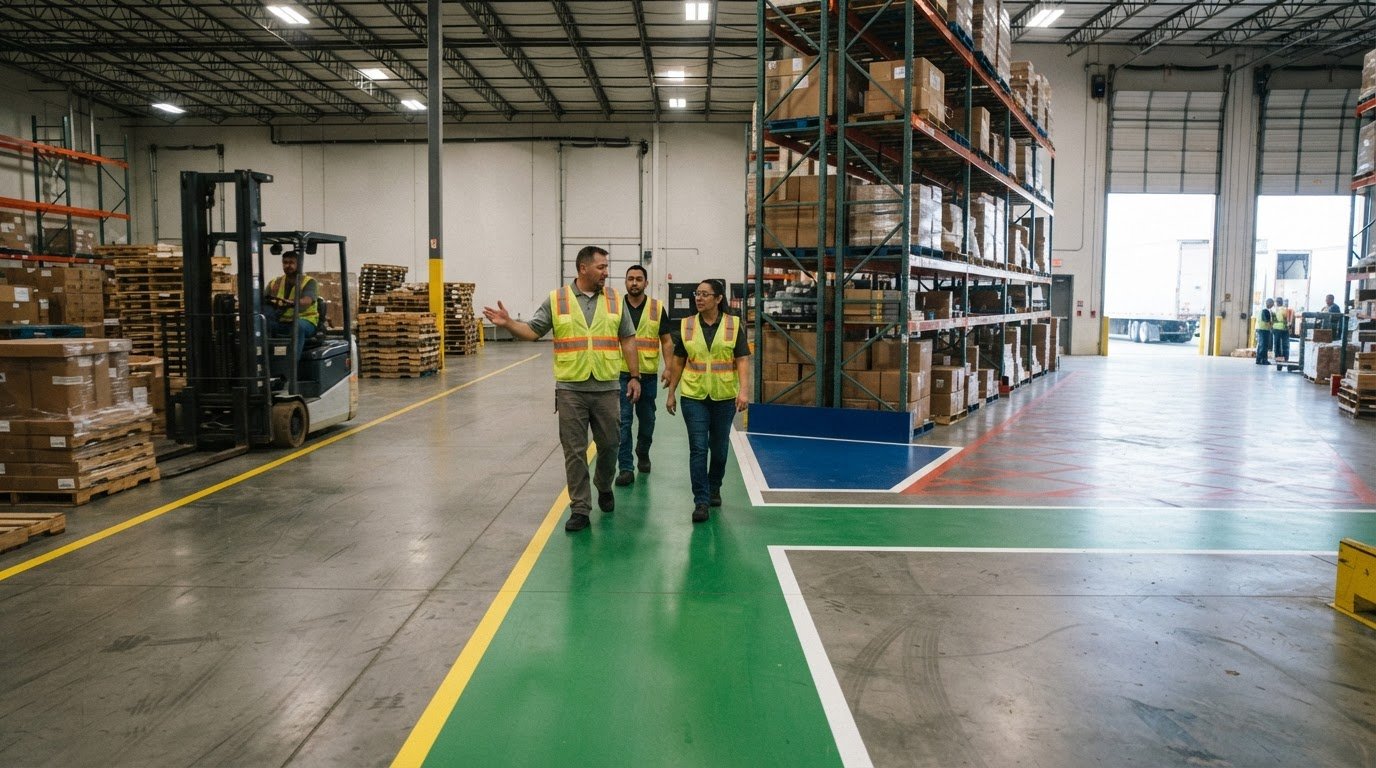
Choose a visual convention for vehicle aisles, pedestrian walkways, storage boundaries, and hazard areas, then apply it consistently throughout the facility. OSHA’s OSHA 1910.22 Walking-Working Surfaces Standard is a useful reference for walking-working surface requirements. A preferred color scheme should not be mistaken for a specific OSHA mandate. Make labels and boundaries visible from the approach where workers need to make a decision. Separate pedestrian and equipment routes clearly, and plan walkways and safety aisles around crossings and work areas, not just open floor space.
Before finalizing the layout, walk through the plan with the teams that use each zone. This review can reveal blocked sightlines, confusing intersections, or boundaries that conflict with staging. For a warehouse marking plan, discuss your facility’s floor-marking needs.

Install floor markings in phases while managing live facility traffic
Phased installation gives facility leaders control over where work happens and when access changes. It does not mean every operation can continue without interruption. For floor marking in a 24/7 operational facility, schedule each zone around actual traffic, coordinate restrictions with the people responsible for the area, and reopen only when the work and site conditions allow.
How to sequence zones around shifts and traffic
Group nearby work into zones that operations teams can review before scheduling. Before restricting a regular route, identify a usable alternate path and agree on temporary access controls with facility leaders. Share the affected zone, timing, alternate route, and any updates through established shift briefings or other channels teams monitor. Clear, current instructions help workers, drivers, and supervisors avoid relying on outdated routes as the project moves forward.
How preparation, application, and reopening fit together
Use a consistent sequence for each zone, adapting the work to the floor and marking system:
- Confirm zones. Review boundaries, route dependencies, alternate access, and the person responsible for each area.
- Communicate restrictions. Notify affected teams and put approved access controls in place before work begins.
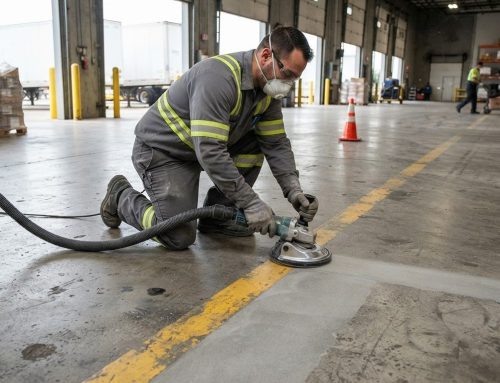
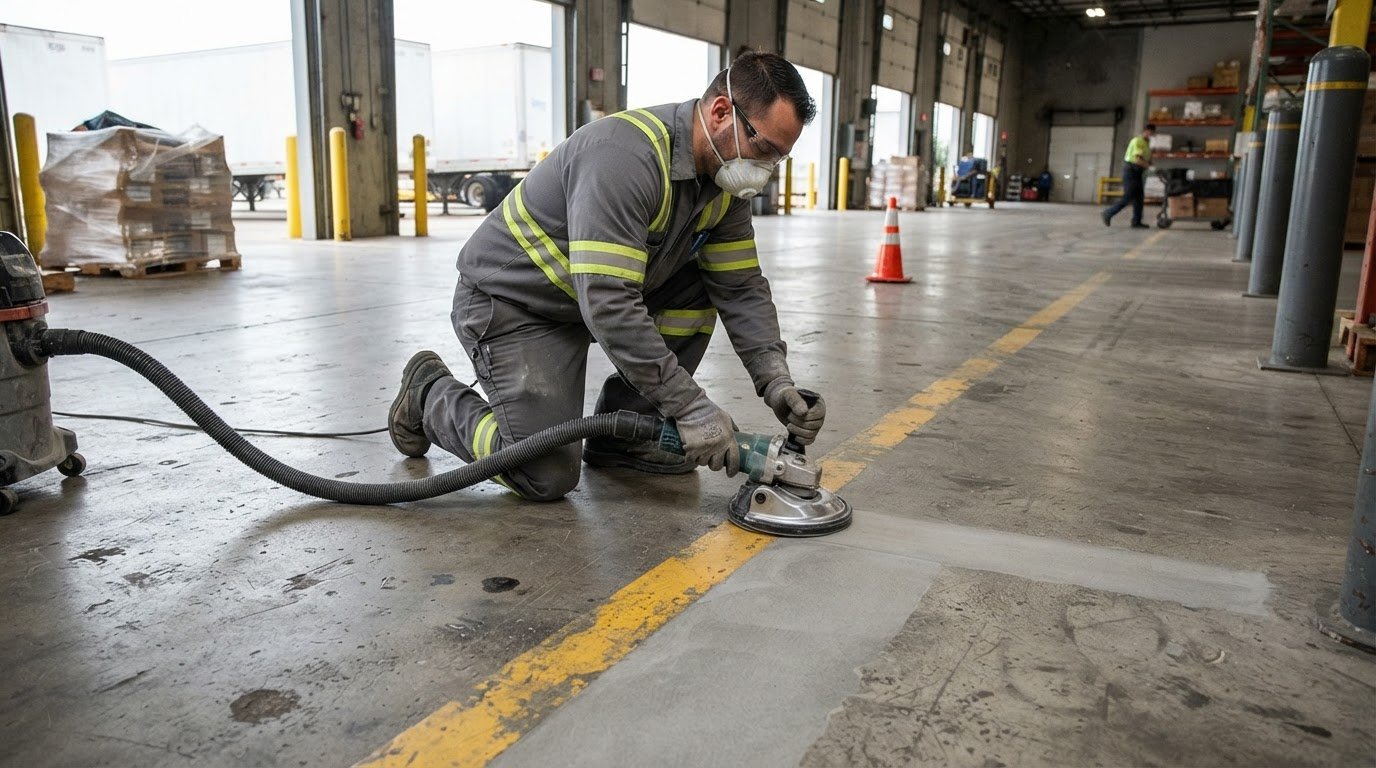
- Prepare surfaces. Assess existing lines and floor conditions. Remove old markings or grind the surface where the project requires it, then clean and prepare the area for the new application.
- Apply markings. Follow the selected system’s application requirements and maintain the agreed work-zone restrictions.
- Inspect the work. Check that lines and boundaries are clear, complete, and consistent with the approved layout.
- Reopen the zone. Confirm the system’s requirements and project plan allow access before removing restrictions and notifying teams.
Preparation is more than a cosmetic step. Old lines can conflict with a revised layout, while contaminants or unsuitable surface conditions can affect adhesion. When existing striping needs to come off before replacement, warehouse line striping services can include removal and new markings as part of the project plan. Reopening depends on the selected system and site conditions, so don’t assume a zone is ready based on a generic curing time.
Keep hazard boundaries consistent with the facility’s approved visual system. OSHA’s Safety Color Code for Physical Hazards identifies yellow for physical hazards and caution, and red for danger and fire protection equipment. Phased warehouse striping can be planned around facility access needs through a discussion of your floor-marking project.
Maintain a 24/7 facility’s floor-marking system after installation
Traffic, cleaning, spills, and layout changes can make once-clear markings difficult to read. In floor marking in a 24/7 operational facility, maintenance should be part of routine operations, not something that waits until a large area becomes confusing. Set an inspection schedule that fits the site’s traffic and operating conditions, and give teams a clear way to report issues between inspections.
How to inspect markings without disrupting daily work
Use scheduled walk-throughs to check visibility, surface wear, damage, obstructions, and whether signs or floor labels remain understandable from the routes workers use. Include supervisors and employees from different shifts. They may see different traffic patterns or notice that staged materials regularly block a marking. Record each defect by zone, location, and a brief description so the team can track recurring problems and prioritize follow-up.
Not every defect has the same operational impact. A faded boundary near a key intersection or a damaged pedestrian route may need attention sooner than a worn line in a low-traffic storage area. Assign an owner to receive reports, assess the issue, and decide whether the zone needs repair, replacement, or a layout review. Keep temporary controls clear while a marking awaits work so teams aren’t left to interpret an incomplete route.
When to plan professional striping or line removal
Plan professional work when markings are broadly worn, a new workflow changes traffic paths, or old lines conflict with the current layout. Before applying replacement lines, assess whether existing markings need removal and whether the floor needs mechanical preparation. A consistent transition from old lines to a revised layout helps avoid overlapping markings that leave workers uncertain about which route is current.
StripeGuys Warhouse Line Striping provides warehouse striping, epoxy line painting, and mechanical line removal for large commercial and industrial facilities, drawing on more than 29 years of experience. Coordinating these services with facility operations helps define work zones and plan the transition from existing markings to a revised layout. Reassess the system whenever equipment, storage positions, routes, or workflows change, then update markings to match the approved movement plan.
Discuss your facility’s floor-marking project to plan striping or line removal around your operational needs.
Keep your marking plan ready for what changes next
A floor-marking plan should keep pace with the facility it serves. When equipment, storage patterns, or workflows change, review the routes and boundaries workers rely on. For floor marking in a 24/7 operational facility, build that review into operational change planning instead of waiting for a major refresh. Assign an owner to update the layout and keep the current plan accessible to supervisors, so proposed adjustments are reviewed before they turn into informal workarounds.
StripeGuys supports large commercial and industrial marking projects nationwide, coordinating work around facility priorities. A focused discussion about your site’s needs can help shape a practical transition from the current layout to the next one. Plan your facility’s next floor-marking project with a system that can adapt as operations change.
Frequently Asked Questions
Is there a single OSHA color code for every warehouse floor marking?
No. OSHA doesn’t set one universal color code for every warehouse floor marking. Its standards address specific uses. For example, 29 CFR 1910.144 identifies red for danger and fire protection equipment, and yellow for physical hazards and caution. That is not a complete layout palette. See OSHA’s Safety Color Code. Document a consistent scheme and verify the requirements that apply to your workplace and hazards.
Can a facility keep operating while floor markings are installed?
Sometimes, but continued operation depends on the affected zones, layout, work method, floor condition, and access controls. Phasing may limit disruption, but it cannot guarantee that every area stays accessible or that work proceeds without interruption. Before scheduling, have operations and safety leaders identify routes that must close, safe alternatives, and reopening conditions. A dock or aisle with no workable alternate route may need a different plan from a low-traffic area.
How should floor markings be communicated to employees on different shifts?
Use one current map or written marking scheme, and include route changes in shift handoffs. Give affected teams advance notice that identifies the restricted area, alternate path, and when the change takes effect. Keep explanations concise and consistent so workers don’t receive conflicting directions. Include temporary workers and new employees in briefings. Posted notices can reinforce instructions, but they don’t replace site-specific access controls or safety procedures.
What should a facility do when its operations change after striping?
Review the layout whenever equipment paths, storage locations, workflows, or pedestrian movement change. A new staging position, for example, may block a marked aisle or push foot traffic across a vehicle route. Identify which markings no longer reflect approved movement, then plan to revise or remove them and communicate updated routes across shifts. Don’t simply cover old lines. Assess the existing material and surface before choosing how to prepare the area.
Can new floor markings be applied over old lines?
It depends on the existing marking material, its condition, the floor surface, and the new layout. Visible old lines may confuse workers about which route or boundary is current. Removal or other surface preparation may be needed before replacement markings are applied. Mechanical methods such as grinding or shot blasting can be considered based on site and project conditions; no single preparation method suits every floor.
How can a facility tell whether its floor-marking system is still effective?
Check that markings remain visible, consistent, unobstructed, and aligned with actual work practices. A route may need attention if wear makes its boundary hard to follow, stored materials repeatedly conceal it, or workers interpret an intersection differently. Ask workers and supervisors to report confusing or damaged areas during routine reviews. Recurring defects or changed workflows may indicate a wider layout issue, not just an isolated repair.